

A clean canister vacuum works better, lasts longer, and keeps dust from cycling back into your home.
A canister vacuum is one of those tools that quietly does a big job, but it only stays effective if you clean it the right way. After years of maintaining vacuums in real homes, I can say this: most suction problems are not “motor problems” at all. They are usually clogged filters, full bins, tangled brushes, or hidden dust buildup. If you want better airflow, stronger pickup, and fewer odors, learning how to clean a canister vacuum properly is worth it.
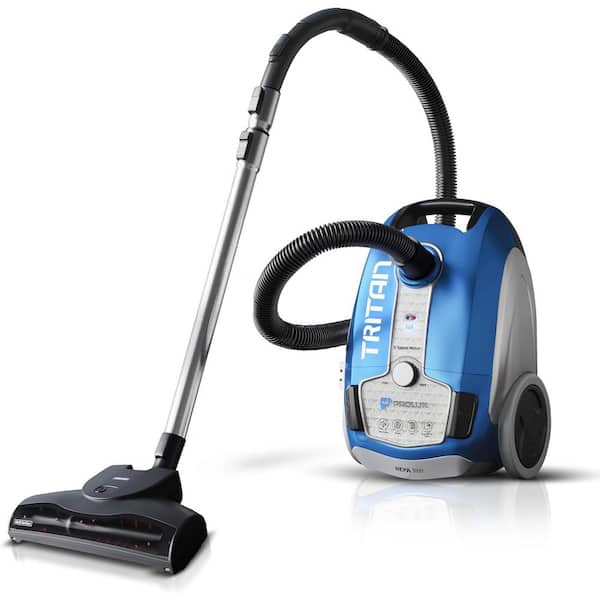
Why cleaning a canister vacuum matters
A canister vacuum pulls in dirt, hair, crumbs, and fine dust through hoses, filters, and the dust container or bag. Over time, all that debris slows airflow and makes the machine work harder. That can lead to weak suction, bad smells, and even early wear on the motor.
I have seen people buy a “new” vacuum feel from a simple deep clean. The difference is often surprising. A clean canister vacuum is easier to push, quieter, and much better at trapping dust instead of blowing it back out.
Regular cleaning also helps with indoor air quality. That matters if someone in the home has allergies, pets, or asthma. A neglected vacuum can become part of the problem instead of part of the solution.
What you need before you start
Before you clean a canister vacuum, gather a few basic supplies. This keeps the process simple and safe.
• Soft microfiber cloths to wipe the outside and inside surfaces
• A small brush or old toothbrush for vents and crevices
• Mild dish soap and warm water for washable parts
• A dry towel for drying parts completely
• Scissors for cutting tangled hair or string
• A trash bag for dirt, dust, and debris
• A replacement filter, if the old one is worn out
If your vacuum uses a HEPA filter, check the manual before washing it. Some HEPA filters are washable, while others are not. That detail matters more than people think.
How do you clean a canister vacuum step by step?
Cleaning a canister vacuum is not hard, but it works best when you do it in the right order. Think of it like tuning a car. You do not start with the paint if the engine needs attention first.
1. Unplug the vacuum and disconnect attachments
Safety comes first. Always unplug the vacuum before you open anything, remove parts, or clean near the motor area. Then detach the hose, wand, floor tool, and any extra accessories.
This also gives you a chance to inspect each piece. Many suction issues start in the hose or wand, not inside the main canister. A bent hose or hidden clog can choke airflow fast.
2. Empty the dust bin or replace the bag
If your canister vacuum is bagless, empty the dust bin into a trash bag. Do this outside if possible, since fine dust can puff into the air. Tap the bin gently to shake out stuck dirt.
If your vacuum uses a bag, replace it when it is about two-thirds to three-quarters full. Waiting until it is packed tight can reduce suction and strain the system. I have found that people often wait too long, and the vacuum starts sounding tired before they notice why.
3. Check the hose for clogs
Remove the hose and look through it toward a light source. If light does not pass through, something may be blocking it. Use a long, flexible tool or a straightened coat hanger very carefully if the hose design allows it, but avoid puncturing the material.
A clogged hose is one of the most common reasons a canister vacuum loses power. Even small blockages, like a clump of pet hair or a sock fragment, can affect performance. If your vacuum has a detachable elbow or connector, inspect that too.
4. Clean the filters
Filters do the hard work of catching fine dust, but they clog over time. Most canister vacuums have one or more filters, such as a pre motor filter and an exhaust filter. Some models also include a HEPA filter.
Follow the manufacturer’s instructions for each filter type.
• Washable foam or felt filters: Rinse gently with cool water and let them dry fully
• Reusable cartridge filters: Tap off loose dust, brush gently, or rinse if allowed
• Non washable HEPA filters: Tap clean only or replace when dirty
Never reinstall a damp filter. Moisture can trap dust, cause odor, and encourage mold. That is a mistake I have seen people make when they rush the job.
5. Wipe the canister body inside and out
Use a damp microfiber cloth with a little mild soap to wipe the inside of the dust chamber and the exterior shell. Clean around the latch, handle, hose port, and seams where dust collects. Then wipe it again with a clean damp cloth and dry it well.
This step helps more than it seems. Dust that sits inside the chamber can get kicked up each time you open the vacuum. A clean canister also makes it easier to see cracks, loose seals, or other wear.
6. Remove hair and debris from the brush roll or floor tool
If your canister vacuum includes a powered brush head, flip it over and inspect the brush roll. Hair, thread, and carpet fibers often wrap around the roller and slow it down. Use scissors or a seam ripper to cut along the tangled strands, then pull them away.
If the floor tool uses a simple suction head, clean the brush strip, wheels, and intake path. Debris here can make hard floors and carpets look less clean than they really are. I once found a tiny sticker jammed in a floor head that caused a noticeable drop in pickup.
7. Clear vents and air pathways
Dust can build up in intake vents, exhaust vents, and small air channels. Use a soft brush or dry cloth to remove buildup without pushing it deeper inside. If the vents are washable, only do that if the manual says it is safe.
Blocked vents make the motor run hotter. That can shorten the life of the vacuum and reduce suction at the same time. Think of airflow like breathing; if the path is crowded, everything feels harder.
8. Wash washable parts and dry them fully
Washable bins, foam filters, and some attachments can be cleaned with warm water and mild soap. Rinse them well so no soap remains. Soap residue can attract dust later.
Let every part dry completely before reassembly. This can take 24 hours or more, depending on the part and room humidity. Reassembling too soon is one of the biggest cleaning mistakes because trapped moisture can lead to odor or mold.
9. Reassemble and test the vacuum
Once everything is dry, put the vacuum back together. Make sure each filter, hose, and latch is seated correctly. Then run the vacuum for a short test on a hard floor.
Check for:
• Strong suction
• Normal sound level
• Smooth airflow
• No strange odor
• No rattling or loose parts
If suction is still weak, there may be a deeper clog, a worn seal, or a filter that needs replacement.
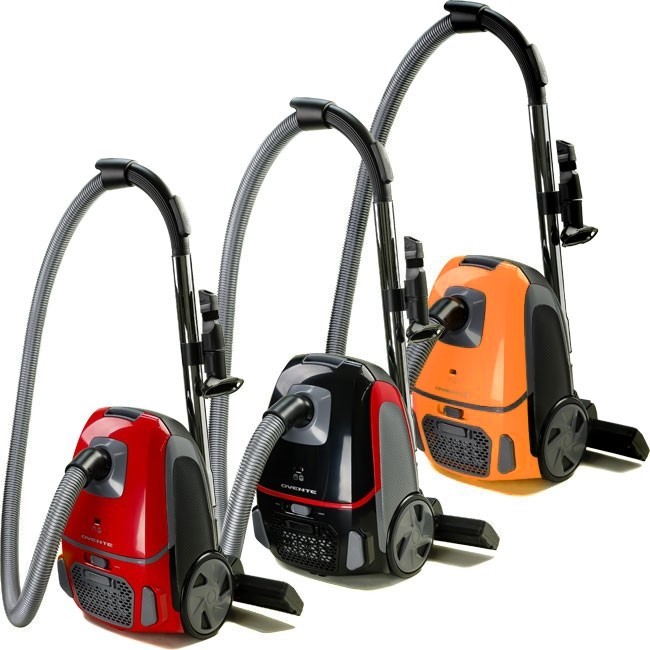
How often should you clean a canister vacuum?
The right cleaning schedule depends on how often you use it. A home with pets or heavy foot traffic usually needs more frequent care than a low use apartment. In general, light maintenance should happen often, while deep cleaning can be done less often.
A simple schedule looks like this:
• Empty the dust bin or change the bag after every few uses or when full
• Check the hose and brush head once a week
• Clean washable filters every 1 to 3 months, if the manufacturer allows it
• Deep clean the canister vacuum every 1 to 3 months
• Replace filters when they look worn, stained, or no longer clean well
If you notice weak suction, odd smells, or dust blowing out of the exhaust, do not wait for the next scheduled cleaning. That is your vacuum asking for help.
Signs your canister vacuum needs cleaning
A canister vacuum usually gives warning signs before it fails. The key is learning to spot them early. Most of these are easy to fix if you catch them soon.
Common signs include:
• Reduced suction power
• A louder or strained motor sound
• Dust or debris escaping from the exhaust
• A musty or burnt smell
• Overheating or automatic shutoff
• Hair and lint wrapped around the brush roll
• The dust bin filling unevenly
These signs often point to a restriction somewhere in the airflow path. In my experience, the first thing to check is always the filter, hose, and brush head.
Mistakes to avoid when cleaning a canister vacuum
People often mean well, but a few simple mistakes can cause more harm than good. Vacuum maintenance should protect the machine, not stress it.
Avoid these common errors:
• Using water on non washable filters
• Reassembling parts before they are dry
• Forgetting to unplug the vacuum first
• Pushing clogs deeper into the hose
• Using harsh cleaners on plastic parts
• Ignoring worn seals or cracked hoses
• Waiting too long to replace filters or bags
I also recommend avoiding quick shortcuts. A surface wipe may make the vacuum look clean, but hidden dirt is usually what hurts performance. The real fix is to clean the airflow path from end to end.
Canister vacuum cleaning tips for pet owners
Pet hair changes the game. It clogs filters faster, wraps around brush rolls, and leaves odors behind if you ignore it. If you have dogs or cats, your canister vacuum needs a little extra attention.
Helpful habits include:
• Emptying the bin more often
• Checking the hose for fur buildup
• Cleaning the brush head after each few uses
• Using a vacuum designed for pet hair if possible
• Replacing filters sooner when odors linger
A good pet vacuum routine feels a bit like grooming a pet itself. You stay ahead of the mess, and the work stays easier.
Benefits of a clean canister vacuum
A clean vacuum does more than look nice. It changes how the machine performs every day. Many people notice the improvement right away.
Benefits include:
• Stronger suction
• Better dust pickup
• Longer vacuum life
• Less odor
• Less strain on the motor
• Better air quality in the home
• Easier cleaning sessions overall
If you have ever felt like vacuuming was taking too long, a dirty machine may be part of the reason. A clean canister vacuum makes the whole task faster and less frustrating.

Frequently Asked Questions of How do you clean a canister vacuum?
Can I wash all the filters in a canister vacuum?
No, not all filters are washable. Some foam or felt filters can be rinsed, but many HEPA filters and cartridge filters must be tapped clean or replaced. Always check the manual before using water.
How do I know if my canister vacuum has a clog?
The clearest signs are weak suction, strange noise, or poor pickup even when the bin is empty. Check the hose, wand, floor head, and inlet path in that order. A flashlight can help you spot blockages fast.
What should I use to clean the inside of the vacuum canister?
A microfiber cloth, mild soap, and warm water usually work well for washable surfaces. Avoid soaking any electrical parts or motor housing. Dry everything fully before putting it back together.
How often should I replace the vacuum filter?
That depends on the model and how often you use it. Many filters last several months, but heavy use, pets, and fine dust can shorten that time. Replace a filter when cleaning no longer restores airflow or when it looks worn out.
Why does my canister vacuum smell bad after cleaning?
A bad smell often means a damp filter, hidden debris, or trapped dust in the hose or brush head. Make sure all parts are fully dry and check for organic debris like pet hair or food crumbs. If the odor continues, replace the filter.
Can I use compressed air to clean a canister vacuum?
You can use it carefully on some removable parts, but it is not always the best choice. Compressed air can push dust deeper into the machine or damage delicate filters. A soft brush and careful rinsing are usually safer.
Conclusion
Keeping a canister vacuum clean is one of the easiest ways to protect its suction, life span, and overall performance. When you empty the bin, clear clogs, clean the filters, and dry every part properly, the vacuum works like it should. Small maintenance habits now can save you from weak suction and costly repairs later.
If you make this part of your regular home routine, your vacuum will reward you with better results every time you use it. Try the steps above on your next cleaning day, and you will likely notice the difference right away. For more helpful home care guides, keep exploring practical maintenance tips and share your own vacuum cleaning routine in the comments.

