

You clean an upright vacuum filter by removing it, tapping out dust, washing if allowed, and drying it fully.
Knowing how to clean an upright vacuum filter the right way can make a huge difference in suction, airflow, and how long your vacuum lasts. I’ve seen plenty of vacuums lose power simply because the filter was clogged, damp, or put back too soon. If you want stronger pickup and fewer dusty smells, this guide will walk you through the process step by step.
Why cleaning an upright vacuum filter matters
An upright vacuum filter is the part that catches fine dust, pet hair, pollen, and debris before they move deeper into the machine or back into the air. When that filter gets packed with dirt, the vacuum has to work harder. That can weaken suction, strain the motor, and leave more mess behind.
From real-world use, this is one of the most common reasons a vacuum “stops working well” even though nothing is broken. I’ve helped people troubleshoot vacuums that seemed dead, only to find the filter was so full it could barely breathe. Learning how to clean an upright vacuum filter is a simple habit that helps your vacuum perform more like new.

Know your filter type before you start
Not every upright vacuum filter is cleaned the same way. Some vacuums use washable foam filters, while others use pleated paper or HEPA-style filters that may only be tapped clean or replaced. Checking the owner’s manual is the safest first step.
Here are the most common filter types you may find:
- Foam filters: Usually washable and reusable after drying
- Felt filters: Often washable, but they need gentle handling
- Pleated filters: May be washable or only tap-cleanable, depending on the model
- HEPA filters: Some are washable, but many are replace-only
- Pre-motor filters: Protect the motor and often need regular cleaning
- Post-motor filters: Help trap fine dust before air exits the vacuum
I always tell people not to guess here. A filter that looks sturdy may still be damaged by water. If the manual is missing, look up the model number online before you wash anything.
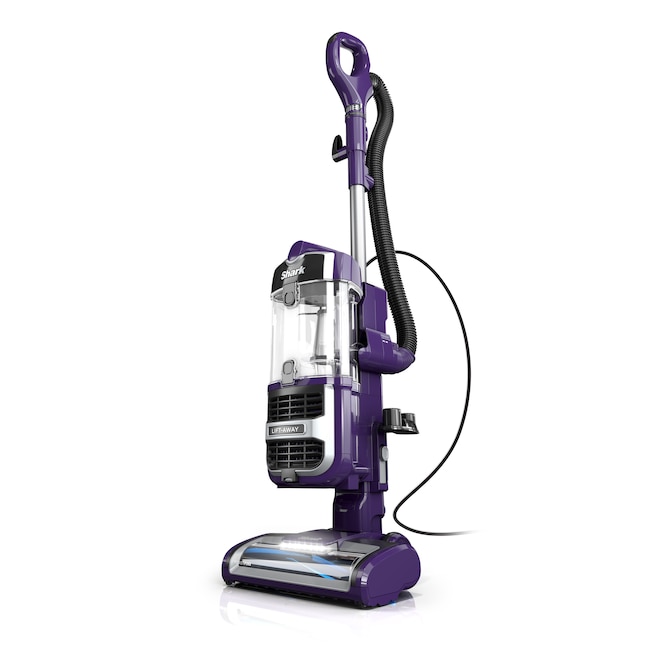
How do you clean an upright vacuum filter?
The basic method is simple: remove the filter, shake or tap out loose dust, rinse it only if the manufacturer allows it, then let it dry completely before reinstalling. The exact steps depend on the filter type, but the goal is always the same: restore airflow without damaging the material.
Here’s a safe process to follow:
- Turn off and unplug the vacuum for safety.
- Open the filter compartment, usually near the dust bin or inside the body.
- Remove the filter carefully so you do not tear it.
- Tap the filter gently over a trash can to remove loose dirt.
- If it is washable, rinse it with cool water only.
- Do not use soap unless the manual says it is safe.
- Squeeze foam filters gently, but never wring or twist them hard.
- Let the filter air-dry fully, which may take 24 to 48 hours.
- Reinstall only when the filter is completely dry.
- Test the vacuum to make sure suction has improved.
I’ve learned the hard way that “mostly dry” is not dry enough. Putting a damp filter back in can lead to odor, mold, and even motor problems. When in doubt, give it more drying time.
Step-by-step: cleaning washable upright vacuum filters
If your upright vacuum filter is washable, this is the most effective way to clean it without replacing it too often. The process is easy, but it needs patience. Think of it like washing a sponge: gentle care works better than force.
1. Unplug the vacuum and remove the filter
Safety comes first. Unplug the vacuum before opening anything, then remove the dust cup or access panel as directed by the manual. Hold the filter over a trash bin while you remove it so loose dust does not spread around your room.
2. Tap out loose debris
Gently tap the filter against the side of the trash can. This removes hair, dust clumps, and larger bits of debris before rinsing. If you skip this step, the rinse water can just turn muddy and push dirt deeper into the filter.
3. Rinse with cool water
Run cool water through the filter until the water comes out clearer. For foam filters, you can press lightly to help release trapped dirt. Avoid hot water, which can warp or weaken some filter materials.
4. Let the filter dry completely
Place the filter in a clean, open area with good airflow. Keep it away from direct heat, dryers, or radiators unless the manufacturer specifically allows it. In my experience, most people rush this step, and that is where problems start.
5. Reinstall the filter carefully
Once fully dry, put the filter back in place and close the compartment securely. Run the vacuum briefly to check airflow and sound. If suction still feels weak, the filter may need deeper cleaning or replacing.

How to clean nonwashable upright vacuum filters
Some upright vacuum filters should never go in water. These are often pleated paper filters or certain HEPA filters. Washing them can break the fibers and ruin their ability to trap fine dust.
For nonwashable filters, use this approach:
- Remove the filter according to the manual
- Tap it gently against a trash can
- Use a soft brush to remove surface dust
- If allowed, use a handheld vacuum on low power to lift debris
- Inspect the filter for tears, heavy discoloration, or collapsed pleats
- Replace the filter if it remains clogged or damaged
This is one place where less is more. I once saw someone try to “deep clean” a nonwashable filter with water and soap, and it came out misshapen and useless. If the label says nonwashable, believe it.
How often should you clean an upright vacuum filter?
How often you clean an upright vacuum filter depends on how often you vacuum and what kind of dirt you pick up. Homes with pets, kids, or lots of carpet usually need more frequent cleaning. A busy household can clog a filter fast.
A good rule of thumb is:
- Check the filter every 1 to 3 months
- Clean washable filters when they look dusty or airflow drops
- Clean more often if you have pets, allergies, or heavy foot traffic
- Replace filters according to the manufacturer’s schedule
Many vacuum brands recommend regular filter care because airflow affects performance. If you notice weaker suction, more dust blowing out, or a musty smell, the filter is often the first place to check.
Signs your upright vacuum filter needs cleaning or replacement
Sometimes the vacuum tells you what’s wrong if you know what to look for. A clogged filter does not always look dramatic, but the symptoms show up in day-to-day use. I usually check the filter before assuming a belt, hose, or motor problem.
Common signs include:
- Loss of suction
- Dust escaping while vacuuming
- The vacuum sounds strained or louder than usual
- A burnt or stale smell
- Visible dirt buildup on the filter
- Overheating or shutting off during use
If cleaning does not help, the filter may be worn out. Filters do not last forever, especially if they have been washed too many times or have started to break down.
Mistakes to avoid when cleaning an upright vacuum filter
Cleaning an upright vacuum filter is easy, but a few mistakes can shorten the life of your vacuum. These are the ones I see most often in homes and even with well-meaning DIY cleanup.
Avoid these common errors:
- Reinstalling the filter while it is still damp
- Washing a filter that is not meant to be washed
- Using soap, bleach, or harsh cleaners without permission from the manual
- Wringing foam or felt filters too hard
- Forgetting to clean the filter compartment
- Ignoring replacement schedules for worn-out filters
The biggest mistake is rushing. A vacuum filter needs time to dry and time to do its job. Clean care saves money later.
Extra maintenance tips for better vacuum performance
A clean filter works best when the rest of the vacuum is also maintained. Think of the filter as one part of a bigger airflow system. If the hose, brush roll, or dust bin is clogged, suction will still suffer.
To keep your upright vacuum working well:
- Empty the dust bin regularly
- Check the hose for blockages
- Cut away hair wrapped around the brush roll
- Inspect seals and gaskets for wear
- Replace filters on schedule
- Clean the vacuum’s air path every few months
I like to treat vacuum maintenance like changing the oil in a car. It is not glamorous, but it keeps everything running smoother. A little attention now can prevent a costly repair later.
Frequently Asked Questions about How do you clean an upright vacuum filter?
Can I wash every upright vacuum filter?
No, not every filter is washable. Some upright vacuum filters, especially certain HEPA or pleated filters, should only be tapped clean or replaced, so always check the manual first.
How long does an upright vacuum filter take to dry?
Most washable filters need 24 to 48 hours to dry fully. Foam filters may dry faster, but it is safest to wait until there is no moisture left at all.
What happens if I put the filter back in wet?
A damp filter can trap moisture inside the vacuum, which may cause odor, mold, and poor airflow. It can also stress the motor if the vacuum cannot breathe properly.
Why does my vacuum still smell after cleaning the filter?
The smell may come from a dirty dust bin, hose, brush roll, or an old filter that needs replacement. Sometimes the odor is caused by trapped pet hair or moisture that never dried fully.
How do I know if my vacuum filter needs replacing instead of cleaning?
If the filter stays discolored, damaged, misshapen, or clogged after cleaning, it is probably time to replace it. Loss of suction that does not improve after a proper cleaning is another common sign.
Conclusion
Keeping an upright vacuum filter clean is one of the easiest ways to improve suction, reduce odors, and help your vacuum last longer. The key is simple: know the filter type, clean it the right way, and let it dry completely before using it again. That small routine can make your vacuum feel far more powerful.
If you make filter care part of your regular home cleaning routine, you will save time, avoid frustration, and get better results every time you vacuum. Try it the next time suction drops, and you may be surprised how much difference it makes. If you found this guide helpful, explore more home maintenance tips and leave a comment with your own vacuum cleaning experience.

