

Image source: Bing (Web (fair-use with source credit))
Why Cleaning Your Wet/Dry Vac Correctly Matters
The Difference Between a Quick Rinse and a Proper Cleaning
A quick rinse clears the visible sludge. It doesn't clear the film of dirt, detergent residue, and moisture that stays behind on the tank walls. That film is exactly what mold needs to grow.
A proper cleaning removes debris, washes the tank, disinfects it, cleans the filters, and lets everything dry completely. It takes a few extra minutes. It also saves you from buying a new vacuum in a year.
The same logic applies to any machine that handles dirt and moisture. The parts that touch grime need regular attention. That kind of routine upkeep is what keeps equipment running well.
What Happens When You Skip It: Mold, Odors, Motor Failure, and Safety Risks
Skipping a full clean doesn't just make the vacuum smell bad. It creates a chain reaction.
- Mold appears in the tank within 48 hours of a wet job.
- The mold sends sour odors straight through the motor and out the exhaust.
- A dirty filter cuts airflow, so the motor works harder and runs hotter.
- Moisture that gets past the filter can reach electrical components.
That last point is the serious one. Water and wiring don't mix. A vacuum that runs hot or draws moisture where it doesn't belong is a fire risk, not just an annoyance.
Aggregate reviews from long-term owners show that most premature wet/dry vac failures trace back to one simple thing: not cleaning it properly after use.
What You're Actually Cleaning: Key Parts and Where the Grime Hides
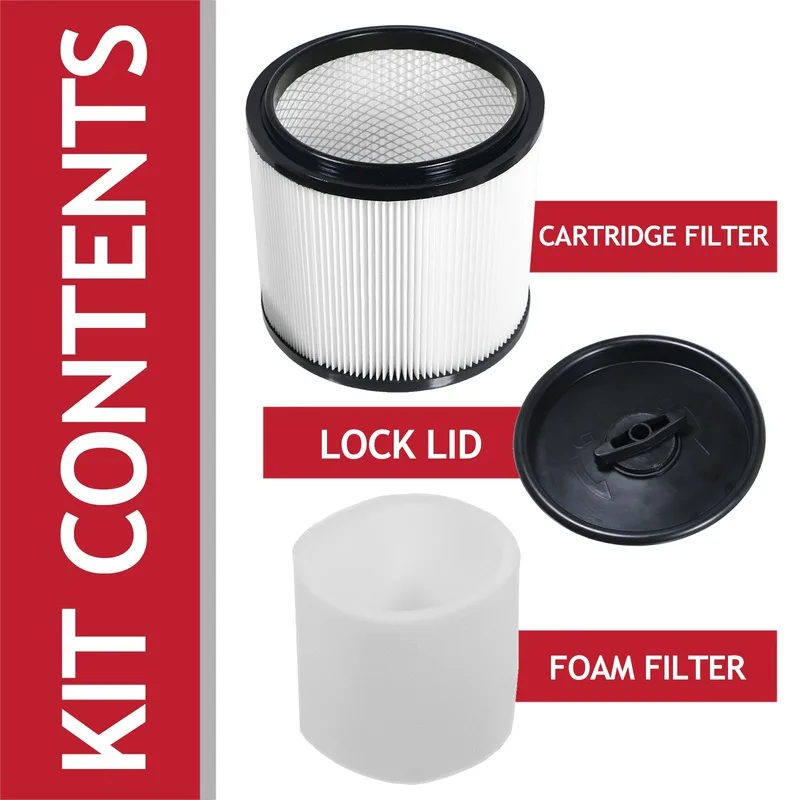
Image source: Bing (Web (fair-use with source credit))
The Collection Tank and Drain Plug
The tank is the biggest mess, literally. It holds everything you sucked up, from sawdust to soapy water. Many models have a drain plug near the bottom.
That plug lets you empty liquids without lifting the whole machine.
Before you open the drain plug, check what's inside. Wet waste can be heavy. Dry waste can billow into a dust cloud.
Tilt the vacuum carefully, and always unscrew the plug slowly. The tank also hides stubborn residue along the bottom lip, where the motor housing seals against it.
The Filters: Foam Sleeves vs Pleated Cartridges
The filter does the heavy lifting. If it's clogged or damaged, nothing else works well. Most wet/dry vacuums use two common filter types, and each one cleans differently.
| Filter type | Best for | How to clean | Typical drying time |
|---|---|---|---|
| Foam sleeve | Wet spills and general debris | Rinse, then squeeze out water | 12–24 hours |
| Pleated cartridge | Dry dust, sawdust, fine particles | Tap off dust, rinse with low-pressure water | 24–48 hours |
A foam sleeve is the friendly, forgiving option. It shrugs off water and bounces back after a good squeeze. A pleated cartridge catches finer particles, which is great for drywall dust but terrible for liquid.
Soaking a dry-oriented cartridge can collapse its pleats and ruin it.
The Float Valve, Hose, and Seals
The float valve is the quiet safety hero. When liquid fills the tank, it rises and blocks airflow before water reaches the motor. If it gets gummed up with dirt, it sticks.
Then you end up with water in places it should never go.
The hose deserves attention as well. Cracks and blockages cut suction fast. If your hose feels weak or the airflow seems low, check for clogs before you blame the motor.
A wet/dry vac hose can collapse internally just like a pool vacuum hose collapse, which starves the machine of airflow.
The seals and gaskets sit between the tank and motor head. They keep everything airtight. Wipe them clean with a damp cloth and inspect for cracks while you're in there.
Safety First: Rules to Follow Before You Touch Anything
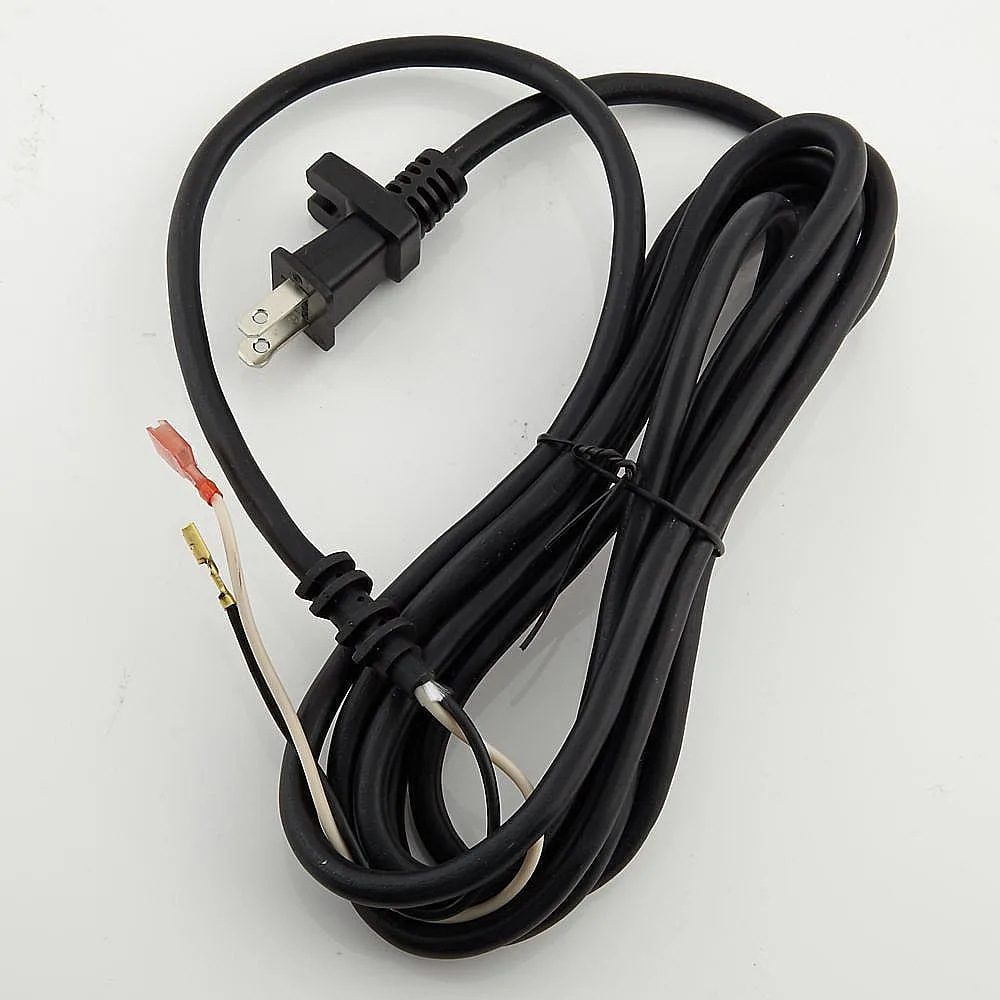
Image source: Web (Bing) / searspartsdirect.com (Web image (fair-use with source credit))
Unplug First: No Exceptions
Water and electricity don't mix. Always unplug the machine before you open the tank, reach for the filter, or check the float valve. The switch being off is not enough.
Wet/dry vacuums are UL-listed for a reason. Underwriters Laboratories tests them for electrical and fire safety. But certification doesn't make a plugged-in motor safe to handle while you're reaching into a damp tank.
The U.S. Consumer Product Safety Commission tracks recalls and safety notices for shop vacuums, and several have involved electrical issues.
Know What You Vacuumed Up (Flammables, Hazardous Dust, Chemicals)
This is the part most people skip, and it's the one that matters most.
Do not vacuum up gasoline, paint thinner, solvents, or anything flammable. The motor produces sparks internally. Those sparks can ignite flammable vapors inside the tank.
It's not a rare failure. It's a known hazard.
Drywall dust, lead paint dust, and silica are also a problem. They're fine to vacuum in small amounts, but they coat the filter and tank with fine particles. When you clean the vacuum, those particles can become airborne.
Wear a mask if you're sensitive to dust, and follow OSHA guidance on hazardous dust control when you're working in high-risk environments.
Protect Yourself with Gloves and Eye Covering
Rubber gloves keep your hands away from bacteria, mold spores, and rough debris. Safety glasses keep splash and dust from your eyes. You don't need fancy gear.
A pair of household gloves and any pair of goggles you own are enough. You're cleaning a dirty tool. It's not surgery.
But it's still better to keep sludge off your skin.
Step-by-Step: How to Clean a Wet/Dry Vac the Right Way
Emptying the Tank Safely: Liquid vs Dry Debris
Empty the tank before you clean anything else. For liquid waste, use the drain plug if your model has one. Let it flow into a bucket or a floor drain.
If there's no plug, lift the tank and pour slowly. And remember, wet waste is heavy. Use both hands.
For dry waste, carry the tank outside or to a large trash bag. Tip it slowly so dust doesn't burst into your face. Tap the sides to loosen stuck debris.
If the tank contains both wet and dry mess, treat it as wet and empty it at a drain.
Rinsing the Tank with Soap and Warm Water
Once the tank is empty, fill it with warm water and add a few drops of dish soap. Swish the water around. Let it sit for five minutes if there's stubborn grime.
Pour out the soapy water. Then use a soft sponge to wipe down every interior surface. Pay special attention to the lower edge and the underside of the lid.
That's where slime likes to hide. Rinse thoroughly with clean water until no suds remain.
Cleaning the Foam Filter Without Ruining It
Run warm water over the foam sleeve and gently squeeze the water through it. Keep squeezing until the water runs clear. If the foam is greasy, add a little mild dish soap and work it through the material.
Never twist or wring the foam. Twisting tears the fibers and creates gaps that let dirt pass through to the motor. Squeeze, rinse, repeat.
Then press it in a clean towel to remove excess water.
Cleaning a Pleated Cartridge Filter (Wet and Dry Methods)
Start with the dry method. Tap the cartridge gently against a flat surface to knock loose dust. If you have compressed air, blow from the clean side outward.
For heavier buildup, rinse the cartridge with low-pressure water. Hold it so the water runs from the inside out. That flushes debris away from the pleats instead of pushing it deeper.
Do not use a power washer. Do not scrub the pleats with a brush. Let it air dry completely, and don't put it back until it's fully dry.
Disinfecting with Bleach or Vinegar: Getting the Ratios Right
If the tank smells musty, a soapy rinse isn't enough. Mix one tablespoon of bleach with one gallon of water. Wipe the entire tank with that solution.
Let it sit for five minutes, then rinse well with plain water.
White vinegar also works. Use one part vinegar to three parts water, wipe it down, and leave it for ten minutes before rinsing. Don't mix bleach and vinegar.
That creates toxic fumes. Either one is fine on its own.
Drying Everything Completely Before Reassembly
Moisture is the enemy. A "clean" tank that stays damp will grow mold overnight.
Leave the tank upside down on a towel. Leave the filter sitting out in a dry area. Give everything 24 to 48 hours.
If you're in a hurry, speed things up with a fan, but don't reassemble a wet vacuum. Dry parts are the difference between a quick clean and a recurring mildew problem.
Common Mistakes That Ruin Wet/Dry Vacs and Create Real Hazards
Using a Dry-Only Filter for Wet Pickup
Some filters are designed for dry use only. Paper bags and certain cartridges fall apart when wet. If you use one for a flood cleanup or a spilled bucket of water, the filter collapses, and water goes straight for the motor.
Always check the filter's rating before switching over to wet pickup. If it doesn't say it's safe for water, it isn't.
Forgetting to Check the Float Valve
The float valve saves your motor, but only if it moves freely. Sludge, sawdust, and dried residue can pin it in place. When it's stuck, water fills the tank past the safe line and gets pulled into the fan assembly.
Make checking the float part of your cleaning routine. Push it up and let it drop. If it sticks, rinse it with warm water and wipe off any grime.
If it's cracked, replace it before the next wet job.
Twisting the Foam Filter Instead of Squeezing It
It's a natural instinct. You wring a sponge, so you wring the foam sleeve too. But foam tears under that twisting pressure.
Once the material separates, dust bypasses the filter and heads straight for the motor.
Squeeze instead. Press the foam flat between your palms, rinse, and repeat. The filter will last longer, and the motor will stay cleaner.
Leaving the Tank Closed While Everything Is Still Damp
Even a properly cleaned tank can develop mold if you snap the lid on while moisture remains. The enclosed space traps humidity. That's all mold needs.
Dry the tank, dry the filter, dry the hose, and leave the vacuum open until every surface feels dry to the touch. If you notice a musty smell when you open it next, it wasn't dry enough.
Protecting the Float Valve and Motor: A Quick Inspection Routine
How the Float Works and Why It Fails
The float valve rides inside a small cage near the motor intake. When liquid reaches a certain level, the float rises and seals off the opening. That stops water from entering the motor.
Dirt and soap scum can build up on the float and jam it. When that happens, water slips past and damages the fan assembly.
Make it a habit to push the float up and let it drop every time you clean the tank. If it moves freely, you're fine. If it sticks, rinse it with warm water and wipe off any grime.
When to Replace Worn Gaskets and Seals
The gaskets between the tank and motor head keep the system airtight. Cracked rubber lets air escape, which cuts suction dramatically. Inspect them during every deep clean.
If they feel hard, brittle, or show visible cracks, replace them. They're cheap parts and rarely worth repairing.
Filters: Clean Them, When to Replace Them, and Which One Does What
Signs a Cartridge Filter Is at the End of Its Life
A cartridge filter works fine until it doesn't. Look for crushed pleats that won't spring back, tears in the material, or a smell that won't go away. If suction stays weak after a thorough cleaning and full drying, the filter is done.
Buying a replacement is cheaper than replacing the motor.
Foam Filter Replacement Timelines
Foam sleeves last longer than cartridges if you treat them right. Squeeze them gently, never twist, and let them dry fully. Over time, the foam becomes brittle or stretched out.
Most owners get one to two years of regular use before replacement. If the filter doesn't hold its shape, replace it.
Handling Hazardous or Moldy Messes and Knowing When to Get Help
When to Call a Professional (Heavy Mold, Flood Water, Chemical Cleanup)
Not every spill is safe to clean with a shop vac. Sewage, flood water, and chemical spills are different. They can contain bacteria, viruses, or toxic compounds.
If you're facing that kind of mess, stop and call a professional cleanup service.
The Environmental Protection Agency and OSHA both stress that any moldy or contaminated material needs proper containment. Don't risk your health because it's convenient.
Safe Disposal of Contaminated Waste Water
Never dump contaminated waste water into a storm drain or backyard. That spreads hazards. Check local regulations for proper disposal.
For standard gray water from cleaning, a sink drain with running water is usually fine. For anything beyond that, contact your local waste authority.
A Quick-Clean Routine That Keeps Your Vac Ready Between Deep Cleans
You don't need a full disassembly after every job. A quick routine takes two minutes and prevents most problems.
- Empty the tank after every use.
- Rinse the tank with warm water.
- Squeeze out the foam filter and let it sit.
- Wipe the gasket and float with a damp cloth.
- Leave the tank and filter open to air dry.
A regular maintenance routine can also extend the life of other equipment you own. The same logic applies whether you're caring for a robotic pool vacuum or keeping a wet/dry vac ready for the next messy job.
Your Quick Questions, Answered (FAQ-Style)
Can I vacuum water with any shop vac?
No. Only use a wet/dry vacuum with a filter rated for moisture. A dry-only cartridge or paper bag will disintegrate on contact.
Check the label before you start.
How long should I let the filter dry?
Foam filters typically need 12 to 24 hours. Pleated cartridges need 24 to 48 hours. Drying time depends on humidity, so check by touch before reinstalling.
Can I use dish soap or need a special cleaner?
Dish soap works fine for the tank and foam filters. Use it sparingly and rinse thoroughly. For stubborn odors, use a diluted bleach solution or white vinegar.
Why does my wet/dry vac smell even after cleaning?
A smell usually means moisture is trapped somewhere. Check the foam filter, the underside of the tank lid, and inside the hose. If the odor persists after full drying, the filter may need replacement.
The Final Checklist: A Clean, Safe Vac for the Next Job
Run through this every time before you put the machine away.
- Unplugged before any cleaning
- Tank emptied and rinsed with warm, soapy water
- Filter cleaned properly and left to air dry
- Float valve moves freely inside its cage
- Gaskets wiped down and checked for cracks
- Tank and filter completely dry before reassembly
- Stored upright with the lid slightly open
That last step matters more than people think. A closed lid traps leftover moisture, which means mold starts growing before your next use. Leaving it cracked keeps air moving and keeps the tank fresh.
If you run into weak suction down the line, check the hose first. A clogged or collapsed hose starves the motor of airflow, just like a dirty filter does. Treat the symptoms early and your vacuum will keep performing for years.

