

Your wet/dry vacuum shuts off for one reason: it's protecting the motor. When the tank fills with liquid, airflow gets blocked, or heat builds up inside, a safety mechanism cuts the power. Figuring out which safeguard triggered is the fastest route to the fix.
In our research, most shutoffs trace back to four causes: the float valve, the thermal overload, a clogged filter or hose, or a tripped outlet. UL 1017, the standard that governs household vacuum safety, requires these protective systems on all residential models. Once you identify the trigger, the repair typically takes under ten minutes.
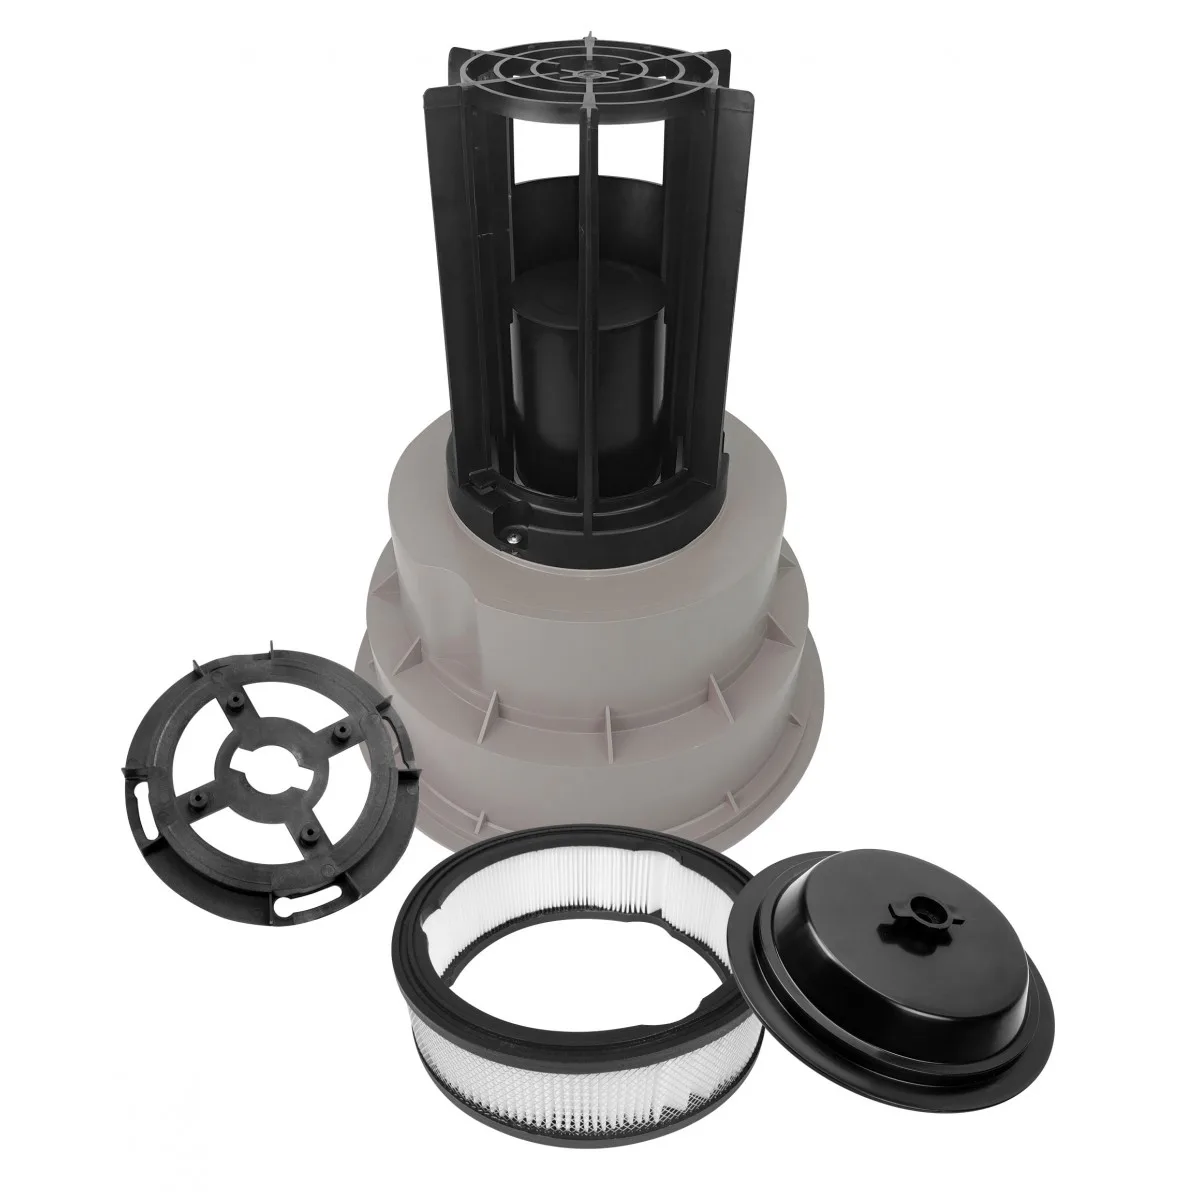
Image source: Bing (Web (fair-use with source credit))
Why Your Wet/Dry Vac Keeps Shutting Off: Quick Answer
Your wet/dry vacuum shuts off to protect its motor. The tank is full, the motor overheated, or airflow is blocked. Let the motor cool for 30 minutes if it stopped after heavy use.
Then check the float, filter, and hose for issues.
How the Auto-Shutoff System Works: Float Switches and Thermal Overload
Wet/dry vacuums rely on two built-in protection systems. Both prevent expensive motor damage.
The float valve assembly sits inside the tank, either on the lid or inside a float cage. When you pick up liquid, the water rises and lifts the float. At a specific tank level, the float blocks the suction inlet, cutting off airflow and stopping the pickup.
That's what halts the machine when the tank is full.
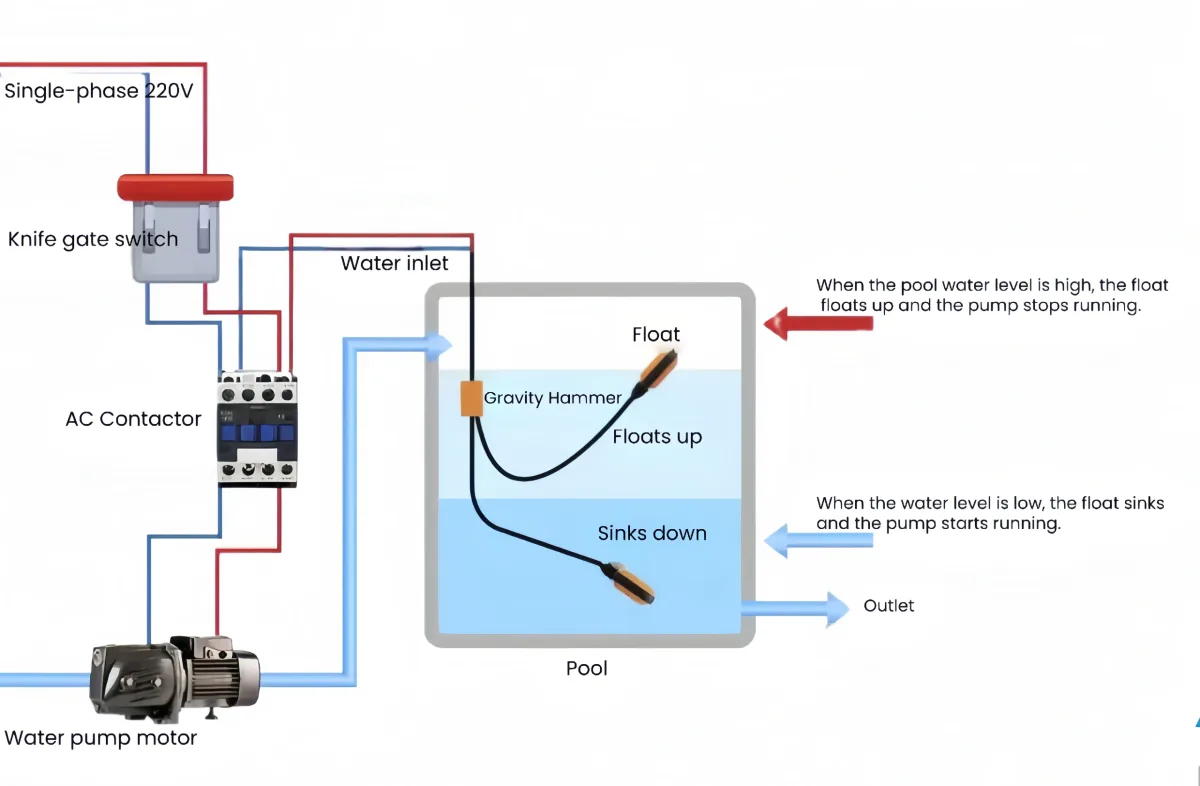
Image source: Bing (Web (fair-use with source credit))
The second layer is the thermal overload switch. This small thermostatic reset device mounts against the motor housing. When the motor runs too long or airflow is restricted, heat builds up in the motor windings.
Around 130°C, depending on the manufacturer, the thermal cutoff opens the circuit and kills power.
| Protection system | Triggers when | Result | Reset method |
|---|---|---|---|
| Float valve | Tank fills to capacity | Suction stops | Empty the tank |
| Thermal overload | Motor overheats | Power cuts entirely | Let motor cool, press reset |
Both systems extend motor life. Neither one means the vacuum is broken. They signal that something needs attention.
Branch 1: It Dies After Running a While (Overheating and Thermal Reset)
If the vacuum runs for 10 to 20 minutes and then shuts off completely, the thermal overload switch is working. Extended use builds heat, especially when airflow is restricted.
The motor draws cooling air through the machine to keep the windings at safe temperatures. When something blocks that air path, the heat builds fast. Common culprits include:
- A clogged cartridge filter loaded with fine dust
- A foam filter saturated with liquid
- A hose blockage like a sock or chunk of debris
- Using a dry-use filter for wet pickup, which causes it to swell
Turn the switch off and unplug the machine. Give it 30 to 60 minutes to cool completely. Then locate the thermal reset button.
On many RIDGID and Craftsman models, it sits near the cord inlet or on the motor housing. It's a small red or black button that pops out when tripped.
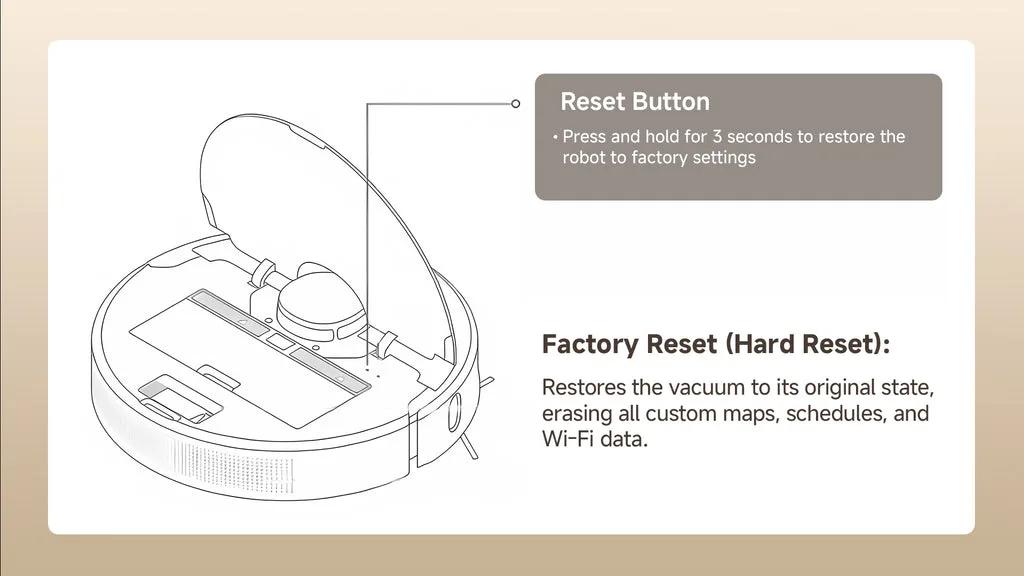
Image source: Web (Bing) / ca.dreametech.com (Web image (fair-use with source credit))
If the button popped, press it firmly until it clicks. If it hasn't popped, the motor may still be cooling. Wait a bit longer.
Here's the key point: pressing reset without fixing the root cause guarantees another trip. The thermal cutoff is a warning, not the disease. Find and clear the airflow restriction before restarting.
If the motor trips again immediately after a fresh filter and empty tank, you likely have a deeper motor issue. A repair shop is the next stop.
Branch 2: It Stops Mid-Pickup (Tank Full or Float Stuck)
If the vacuum dies while you're vacuuming a puddle, the float engaged. The tank is full, and the float prevented water from reaching the motor. That's exactly how it should work.
But what if the tank looks half full? Then the float is stuck closed. Debris like drywall dust, leaves, or small screws can wedge under the float or inside the float cage.
The float stays in the "up" position, cutting off suction even though the tank has plenty of capacity.
Here's how to diagnose it:
- Stop the vacuum and unplug it.
- Remove the lid and set it upside down.
- Locate the float cage or float assembly, usually a plastic cage around a ball or cylinder.
- Clear any debris between the float and the cage.
- Rinse the assembly with water if necessary.
- Confirm the float moves freely up and down.
If you vacuum fine dust regularly, the float cage can accumulate a pasty sludge. In drywall or concrete dust conditions, that sludge dries and jams the mechanism. Our research shows that cleaning the float cage after every few wet pickups is a best practice most owners skip.
A cracked float cage is another culprit. It lets debris inside and prevents the float from seating correctly. If the cage is damaged, replace the lid assembly.
Also, sudsy liquids can cause foam to lift the float early. Adding a few drops of defoaming additive keeps the float reading the actual liquid level. The same approach applies to clearing stuck debris in other vacuums.
Branch 3: It Runs Briefly Then Loses Suction (Filter or Hose Blockage)
Sometimes the motor stays on, but suction drops dramatically. If the vacuum sounds like it's straining but nothing moves, you have a blockage or a filter problem.
Here's what happens under the hood. The float rises when air pressure inside the tank drops. That typically occurs when the filter is clogged or the hose has an obstruction.
The motor keeps running, but it's pulling against a sealed path. That extra strain creates heat, and eventually, the thermal overload kicks in. A small blockage today becomes a motor shutdown tomorrow.
Work through this checklist in order:
- Disconnect the hose from the vacuum.
- Look through the hose toward a light source.
- If you don't see light, push a broom handle or coat hanger through it.
- Inspect the filter cartridge. If it's coated in fine dust, tap it out or rinse it with clean water.
- Reinstall the filter and check the airflow.
- Verify the exhaust vent is clear.
The exhaust port matters more than most owners realize. If the blower port or exhaust grill is blocked by a rag or a workbench, the motor can't push air out. That back pressure restricts cooling and trips the thermal switch.
Filter selection also drives airflow performance. A dry-use cartridge filter that gets wet will collapse, and its fibers swell. That chokes the motor completely.
A foam sleeve meant for wet pickup clogs in minutes when used with fine dry dust.
| Filter type | Best for | Common failure |
|---|---|---|
| Cartridge filter | Dry dust and general debris | Damaged when wet |
| Foam sleeve | Wet pickup, light dry use | Clogs fast with fine dust |
| Paper filter bag | Fine dust, drywall | Shreds when wet |
| HEPA cartridge | Allergies, fine particles | Needs frequent replacement |
Check the lid gasket too. A torn or missing seal lets air leak in, which reduces suction and forces the motor to work harder. Many of these hose collapse problems show up with other vacuums when airflow is restricted.
Branch 4: It Trips the Outlet or Breaker (GFCI and Wiring Issues)
If the entire outlet goes dead, that's an electrical trip, not a vacuum failure. The GFCI outlet detected a current leak and cut power to protect you from shock. This is especially important when water is involved.
First, find the "RESET" button on the outlet and press it. If it clicks and holds, plug the vacuum back in. If it trips again right away, the vacuum has an internal short or water reached the motor.
Second, check the home breaker panel. A tripped breaker means the circuit drew too much current. Wet/dry vacuums consume 8 to 12 amps on their own.
If other tools share the same circuit, the combined load easily trips a 15-amp breaker.
| Protection device | Why it trips | What to do |
|---|---|---|
| GFCI outlet | Detects current leakage | Press reset, test with another device |
| House breaker | Circuit overloaded | Unplug other devices, reset panel |
| Thermal overload | Motor overheated | Wait 30-60 minutes, press reset |
Extension cords cause many electrical trips. A thin 16-gauge cord running 50 feet drops voltage noticeably. The motor compensates by drawing more current, overheating the cord and the windings.
For any run over 25 feet, use a 12-gauge cord. That aligns with the National Electrical Code guidance for heavy-duty portable tools.
If the GFCI trips only with this vacuum, stop using it immediately. Moisture inside the motor housing or damage in the power cord are shock hazards. Inspect the cord from plug to motor for cracks or bare wire before every wet pickup.
Step-by-Step Troubleshooting Flow: From Symptom to Fix
You now have the full picture. This condensed flow walks you from symptom to working vacuum in less than ten minutes.
| If you notice | Likely cause | First action |
|---|---|---|
| Shuts off during wet pickup | Tank full or float stuck | Empty tank, inspect float |
| Shuts off after long dry run | Thermal overload | Cool down, reset switch |
| Weak suction then dies | Clogged filter or hose | Clean filter, clear hose |
| Outlet dead, no motor sound | Tripped GFCI or breaker | Reset outlet or panel |
| Burning smell | Motor damage | Unplug, consider replacement |
Follow these in order:
- Did it stop suddenly during liquid pickup? Empty the tank and check the float.
- Did it die after 10-20 minutes of heavy use? Cool the motor and press reset.
- Is the motor straining with weak suction? Check the hose, filter, and exhaust vent.
- Is the outlet dead? Reset the GFCI or breaker, then test with a lamp.
- Is there a burning smell? Unplug immediately.
This approach prevents guesswork. It also applies to other vacuums that struggle with intermittent suction loss. The flow is the same regardless of the machine.
Mistakes to Avoid When Diagnosing a Shutting-Off Vacuum
People repeat the same diagnostic mistakes. Skip these and you'll fix the problem on the first try.
- Resetting the thermal cutoff without fixing the cause. The motor re-trips in minutes.
- Using a dry filter for wet pickup. The cartridge swells, collapses, and blocks airflow.
- Ignoring the float cage. Dried sludge jams it, making the vacuum act like the tank is full.
- Vacuuming standing water with a paper filter bag. It shreds and clogs everything.
- Running a long, thin extension cord. Voltage drop overheats the motor.
- Forgetting the exhaust vent. A blocked blower port creates back pressure.
Every one of these mistakes restricts airflow. Airflow is the motor's only cooling method. Keep the air path open and the shutoff stays off.
Maintenance Routine to Prevent Future Shutoffs
A small regular routine prevents most shutoff problems. It takes about five minutes per session.
| Frequency | Task |
|---|---|
| After each use | Empty the tank, rinse if wet, dry the lid |
| Monthly | Clean or replace the filter cartridge |
| Monthly | Inspect the float cage and rinse out debris |
| Seasonally | Check the power cord for cracks |
| Seasonally | Clear the exhaust vent and blower port |
Store the vacuum with the lid slightly open. Moisture trapped inside a closed tank encourages mold, which clogs filters and creates odors. A dry tank is a healthy tank.
Keep a spare filter on hand. Our research shows that a second filter, swapped in while the first dries, cuts downtime dramatically. It also prevents the urge to run a damp filter for dry pickup.
The same upkeep routine applies to robotic pool vacuums.
When It's Not Worth Fixing: Motor Damage and Repair vs Replacement
Sometimes the vacuum is genuinely done. A burnt electrical smell, smoke from the motor housing, or a thermal reset button that never clicks back are all bad signs. The motor windings have failed.
Cracked tanks and broken lid gaskets are also terminal in many cases. If the tank leaks or the lid no longer seals, the vacuum loses suction completely. Parts can be replaced, but the cost adds up.
Here's the simple math. A new motor assembly costs $50 to $120 for most mid-size models. A brand new wet/dry vacuum with a comparable tank sells for $80 to $200 as of 2026.
If it's a 10-year-old machine with a burnt motor, replacement is almost always better.
The decision rule is straightforward. If the repair costs more than half the price of a new equivalent, replace it. Also check the Consumer Product Safety Commission for recall notices on your specific model.
Some older vacuums have documented motor issues that manufacturers fix for free.
If the motor still runs but trips constantly after a full cleaning, you may have a worn bearing or failing switch. A repair shop can diagnose it for about $50. That certainty is often worth the cost.
Just don't sink serious money into an aging machine. A new vacuum with a fresh warranty is sometimes the smarter investment.
Frequently Asked Questions About Wet/Dry Vac Shutoffs
Why does my vacuum shut off when the tank isn't full?
The float is likely stuck closed. Debris in the float cage or a cracked float assembly jams the mechanism. Clean the cage and confirm the float moves freely up and down.
How do I reset the thermal overload on my wet/dry vacuum?
Unplug the machine and let it cool for 30 to 60 minutes. Find the reset button near the motor housing and press it until it clicks. Clear any filter or hose blockage before restarting.
Why does my vacuum shut off when vacuuming drywall dust?
Fine dust clogs the cartridge filter quickly, restricting airflow and tripping the thermal overload. Use a HEPA-grade filter bag for drywall work and clean the filter frequently during use.
Can I use my wet/dry vacuum with a pool hose?
No, standard wet/dry vacuum hoses and pool vacuum hoses have different sizes and fittings. Using the wrong hose can restrict airflow and cause overheating. Stick to the manufacturer's accessories.
Final Decision Guide: Get the Vacuum Running Again Today
Run this five-point check right now. Empty the tank, clean the float, replace the filter, clear the hose, and reset the breaker.
If the motor still trips after that, compare repair costs against a new unit. Most shutoff issues are simple, solvable problems. You can fix them yourself in under an hour.
And if you're working on other machines, the same logic applies to other vacuum troubleshooting guides.

