

Replace the old filter by locating, removing, and installing the correct canister vacuum filter.
Today's Exclusive Deals
Limited-time Exclusive Deals. Check current discount on Amazon.
Check Price on Amazon As an Amazon Associate I earn from qualifying purchases.A canister vacuum filter is one of those small parts that can make a big difference in suction, airflow, and indoor air quality. I’ve seen plenty of vacuums “feel broken” when the real issue was just a dirty or worn filter, so knowing how to replace it can save time, money, and frustration.

What a canister vacuum filter does
A canister vacuum filter traps dust, pet dander, pollen, and fine debris before air leaves the machine. It protects the motor, keeps suction steadier, and helps stop dust from blowing back into the room.
Today's Exclusive Deals
Limited-time Exclusive Deals. Check current discount on Amazon.
Check Price on Amazon As an Amazon Associate I earn from qualifying purchases.Most canister vacuums use one or more filters. These may include a pre-motor filter, an exhaust filter, or a HEPA filter. The exact setup depends on the brand and model.
A clogged filter acts like a stuffed straw. Air cannot move well, so suction drops. That is why a clean canister vacuum filter matters more than many people realize.
Signs it is time to replace the filter
A canister vacuum filter does not last forever. Some filters can be washed and reused, while others must be replaced on schedule. If you wait too long, performance usually drops fast.
Common signs include:
Today's Exclusive Deals
Limited-time Exclusive Deals. Check current discount on Amazon.
Check Price on Amazon As an Amazon Associate I earn from qualifying purchases.• Weak suction even after emptying the bag or bin
• Dust smell during vacuuming
• Visible dirt, gray buildup, or damage on the filter
• The vacuum running hotter than normal
• More dust escaping back into the room
In my own experience, the biggest clue is usually airflow. If the vacuum starts sounding strained, the filter is often the first place I check.
Before you start
Before you replace a canister vacuum filter, check the owner’s manual. Different machines use different filter types, and the wrong part can reduce performance or fail to seal properly.
Gather what you may need:
• Replacement filter made for your exact model
• A soft cloth or paper towel
• A trash bag for the old filter
• Mild soap and water, if the filter is washable
• Gloves, if the filter is very dusty
If the vacuum recently picked up fine drywall dust, ash, or pet hair, be careful when opening it. Fine debris can puff out quickly, so work slowly and cleanly.
How do you replace a canister vacuum filter?
Replacing a canister vacuum filter is usually simple once you know where it sits. The exact steps vary by brand, but the process is similar for most models.
- Turn off and unplug the vacuum
- Open the dust compartment, filter cover, or filter chamber
- Remove the old filter carefully
- Clean out loose dust from the housing
- Insert the new filter in the correct direction
- Close the cover tightly
- Test the vacuum for proper suction
If your filter is washable, let it dry completely before reinstalling it. A damp filter can restrict airflow and may lead to odor or mold.
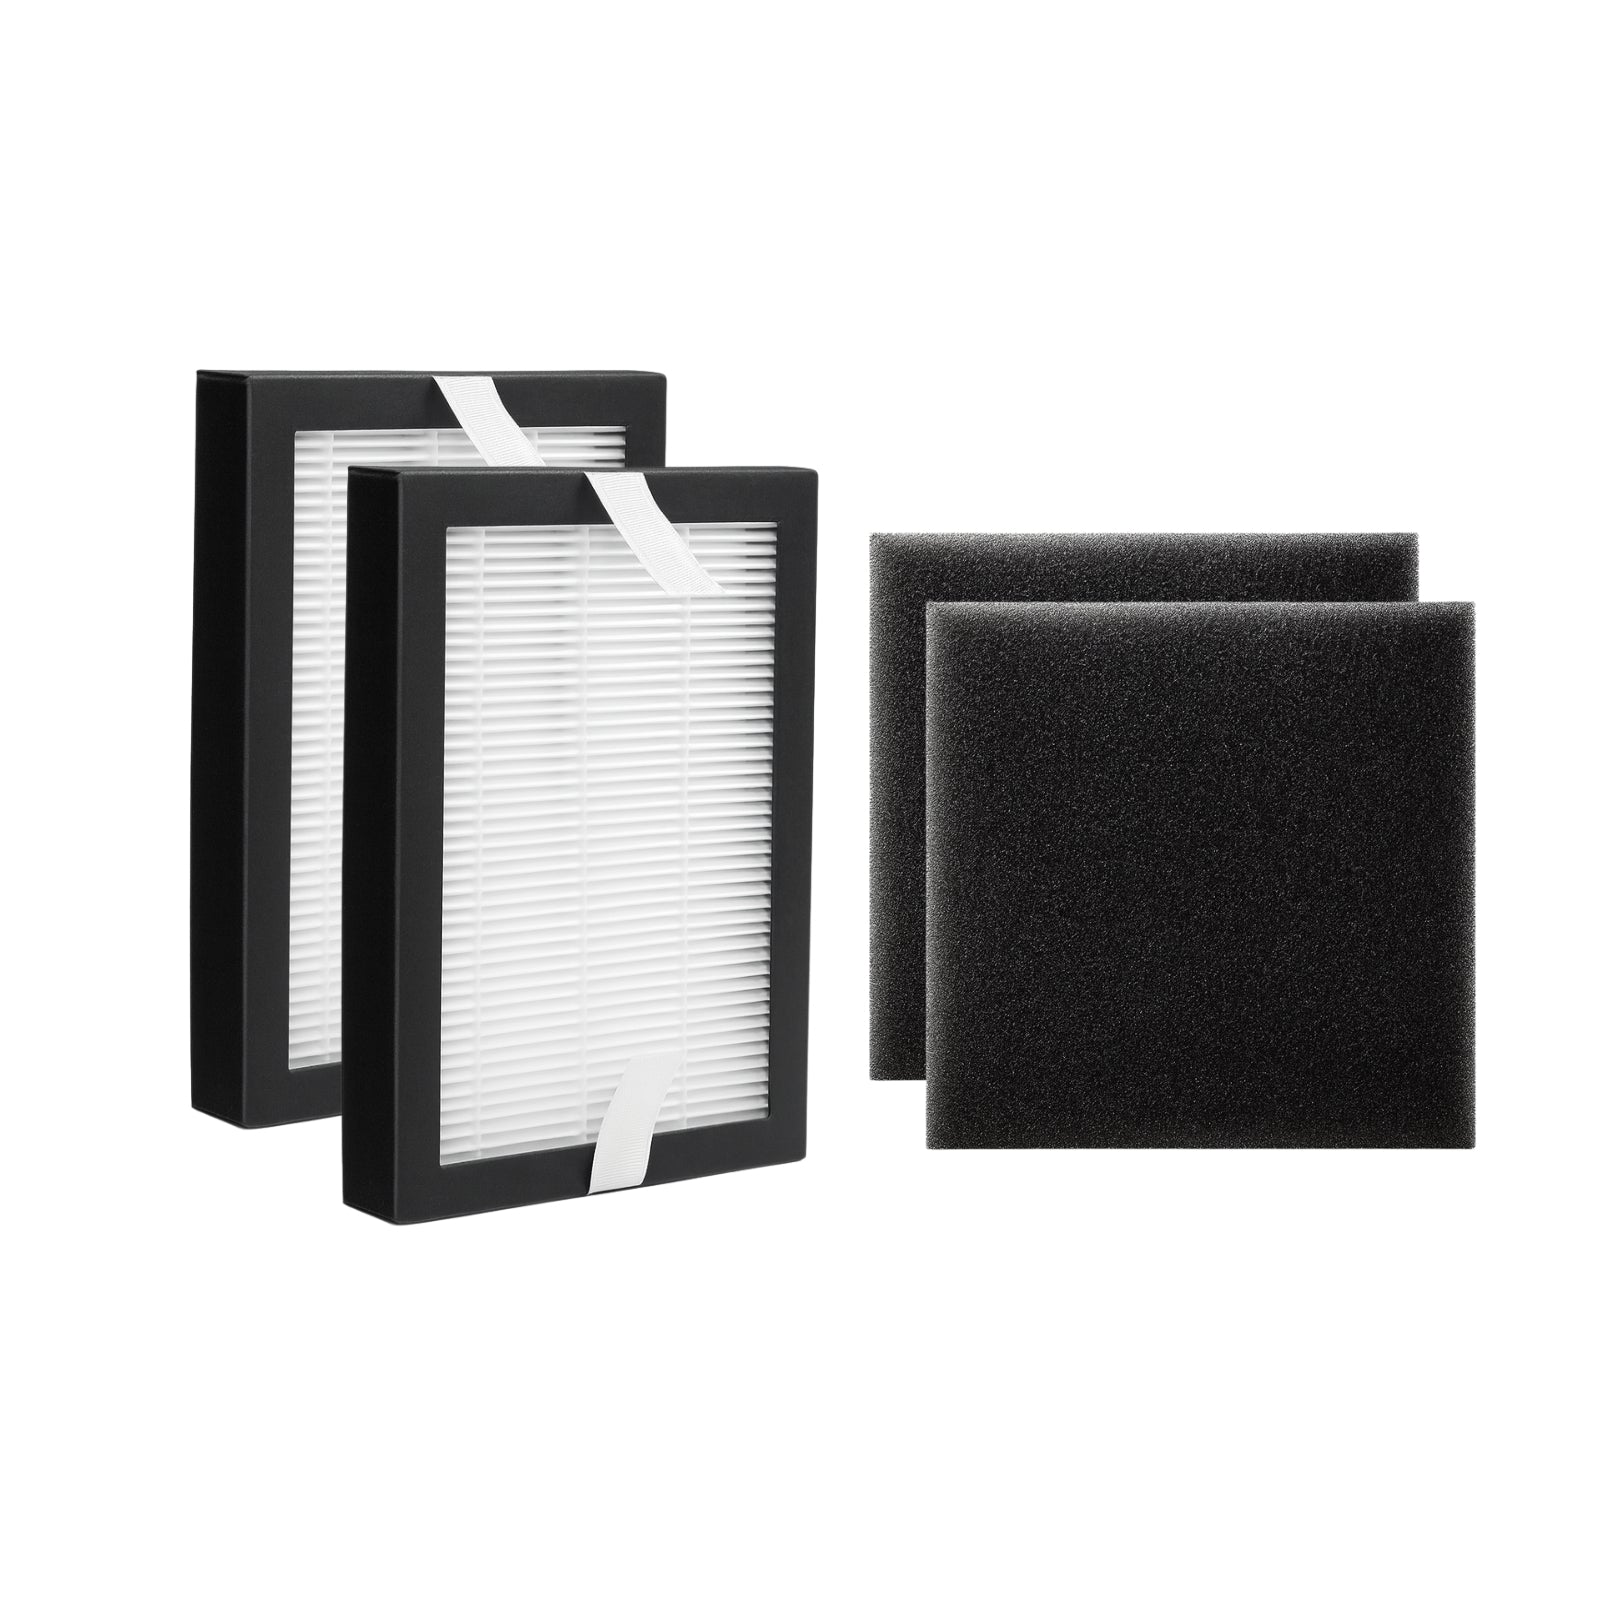
Step-by-step guide to replacing a canister vacuum filter
1. Unplug the vacuum
Safety comes first. Always unplug the vacuum before opening any filter compartment.
This prevents accidental startup and keeps dust from moving through the machine while you work.
2. Find the filter location
On many canister vacuums, the filter is near the dust bin, bag compartment, or motor housing. Some models have a pre-motor filter inside the canister, while others have an exhaust filter near the air outlet.
If you cannot find it right away, look for a labeled panel, latch, or removable cover. The manual usually shows the exact location.
3. Remove the old filter
Open the compartment and lift out the filter slowly. Tap it lightly over a trash bag if needed, but avoid shaking it too hard.
If the filter is snapped in place, press the release tabs gently. Forcing it can crack the frame or damage the seal.
4. Clean the housing
Use a dry cloth or soft brush to remove loose dust inside the filter area. This small step helps the new filter seal better and keeps dirt from escaping around the edges.
I have seen people skip this part and then wonder why the vacuum still smells dusty. A clean filter is good, but a dirty housing can still cause trouble.
5. Check the replacement filter type
Make sure the new filter matches the model number and filter position. A pre-motor filter is not the same as an exhaust filter, and HEPA filters often have a different shape and fit.
Also check whether the filter is:
• Disposable
• Washable
• Foam
• Pleated paper
• HEPA
Using the right type matters for suction and filtration.
6. Install the new filter
Place the new canister vacuum filter into the compartment the same way the old one sat. Follow arrows, tabs, or orientation marks if the filter has them.
It should fit snugly, but not feel forced. If it does not sit flat, remove it and check alignment again.
7. Close everything securely
Snap or latch the cover back in place. Make sure the seal is fully closed so air does not leak around the filter.
A loose cover can make even a brand-new filter seem weak. Small gaps can reduce suction and let dust escape.
8. Test the vacuum
Plug the vacuum back in and turn it on. Check for stronger airflow, smoother sound, and no unusual dust smell.
If suction still seems low, the issue may be another part, like the hose, wand, bag, or brush head. The filter may not be the only culprit.
Washable vs. replaceable canister vacuum filters
Not all canister vacuum filters are replaced the same way. Some are meant to be cleaned and reused, while others are designed for full replacement.
Washable filters are often made of foam or similar material. These can be rinsed, but they must dry completely before use. Replaceable filters, especially many HEPA and pleated filters, are meant to be swapped out on a schedule.
A simple rule I use is this:
• If the manual says wash it, wash it gently
• If the manual says replace it, do not try to stretch its life too long
• If the filter looks torn, warped, or permanently dirty, replace it
Trying to rescue a filter that is past its useful life usually costs more in lost suction than it saves in money.
How often should you replace a canister vacuum filter?
How often you replace a canister vacuum filter depends on use, debris type, and the vacuum brand. A home with pets, kids, or lots of carpet usually needs more frequent filter care than a low-traffic space.
Typical ranges include:
• Washable pre-motor filters: every 1 to 3 months for cleaning, replace when worn
• Exhaust or HEPA filters: about every 6 to 12 months, depending on use
• Heavy-use homes: more frequent checks may be needed
The best guide is the manufacturer’s schedule. Industry guidance from vacuum makers and filtration standards groups generally stresses regular filter maintenance because airflow and particle capture both depend on it.
Mistakes to avoid when replacing a canister vacuum filter
A filter swap is simple, but a few common mistakes can cause problems.
Avoid these:
• Installing the wrong filter model
• Reusing a damaged filter
• Putting in a wet washable filter
• Forgetting to clean the housing
• Leaving the cover slightly open
• Running the vacuum with the filter removed
One mistake I see often is impatience. People install a damp filter, then think the vacuum is defective when the suction drops or the smell gets worse. Dry time really matters.
Benefits of replacing the filter on time
Replacing a canister vacuum filter on schedule gives you more than just cleaner air. It also helps the machine work the way it should.
Main benefits include:
• Better suction and pickup
• Longer motor life
• Less dust blowing back into the room
• Reduced odor
• Lower strain on the vacuum system
• More reliable cleaning results
Think of the filter as the vacuum’s lungs. If the lungs are blocked, the whole machine works harder than it should.
How to keep your new filter working longer
A new filter can last longer with a little care. The goal is to keep heavy debris from building up too fast.
Helpful habits include:
• Empty the bin or replace the bag before it gets overfilled
• Clean the pre-filter regularly if the model allows it
• Avoid vacuuming wet debris unless the vacuum is made for it
• Keep the hose and wand clear of clogs
• Store the vacuum in a dry place
If your home has pets, check the filter more often. Pet hair and fine dander can load a filter much faster than normal household dust.
When the problem is not the filter
Sometimes people replace the canister vacuum filter and still have poor suction. That does not always mean the new filter is bad.
Other common causes include:
• A clogged hose
• A full dust bag or bin
• A blocked wand or nozzle
• A worn belt
• A cracked seal or gasket
• A motor problem
If the filter looks fine and suction is still weak, it is worth checking the airflow path from end to end. A vacuum is a chain, and one weak link can slow the whole thing down.
Frequently Asked Questions of How do you replace a canister vacuum filter?
How do I know which canister vacuum filter I need?
Check the model number on your vacuum and match it to the manufacturer’s parts list. The right filter must fit the filter slot and match the type, such as pre-motor, exhaust, or HEPA.
Can I wash any canister vacuum filter?
No, not all filters are washable. Some foam filters can be rinsed, but many pleated and HEPA filters are disposable and should be replaced instead.
What happens if I use the vacuum with a dirty filter?
A dirty filter can reduce suction, trap heat in the machine, and let more dust escape into the air. Over time, that can make the vacuum work harder and wear out faster.
How do I replace a canister vacuum filter if it is stuck?
Unplug the vacuum and check for tabs, clips, or a locking ring before pulling. If it still will not budge, use the manual for that model rather than forcing it, since hard pulling can crack the housing.
Why does my vacuum still smell after replacing the filter?
The smell may come from dust inside the hose, bin, or bag compartment, not just the filter. A damp washable filter can also cause odor if it was put back before drying fully.
Conclusion
Replacing a canister vacuum filter is a small task that can make a big difference in suction, air quality, and overall cleaning power. Once you know where the filter sits, how to remove it, and how to install the correct replacement, the job becomes quick and easy.
The key is to follow your vacuum’s manual, use the right filter, and keep up with regular care. If your vacuum has been struggling, this is one of the simplest fixes you can try today. Take a few minutes to inspect your filter, and you may bring your machine back to life without a costly repair.

