

The Eufy RoboVac 11S setup is simple: charge it, prep the floor, and start a test clean.
If you want a robot vacuum that feels easy from day one, the Eufy RoboVac 11S is a great place to start. I’ve helped set up a lot of robot vacuums over the years, and this model stands out because it keeps the process refreshingly straightforward. In this guide, I’ll walk you through how to set up Eufy RoboVac 11S the right way, so you can avoid the common mistakes, get better cleaning results, and make the most of your new vacuum from the start.
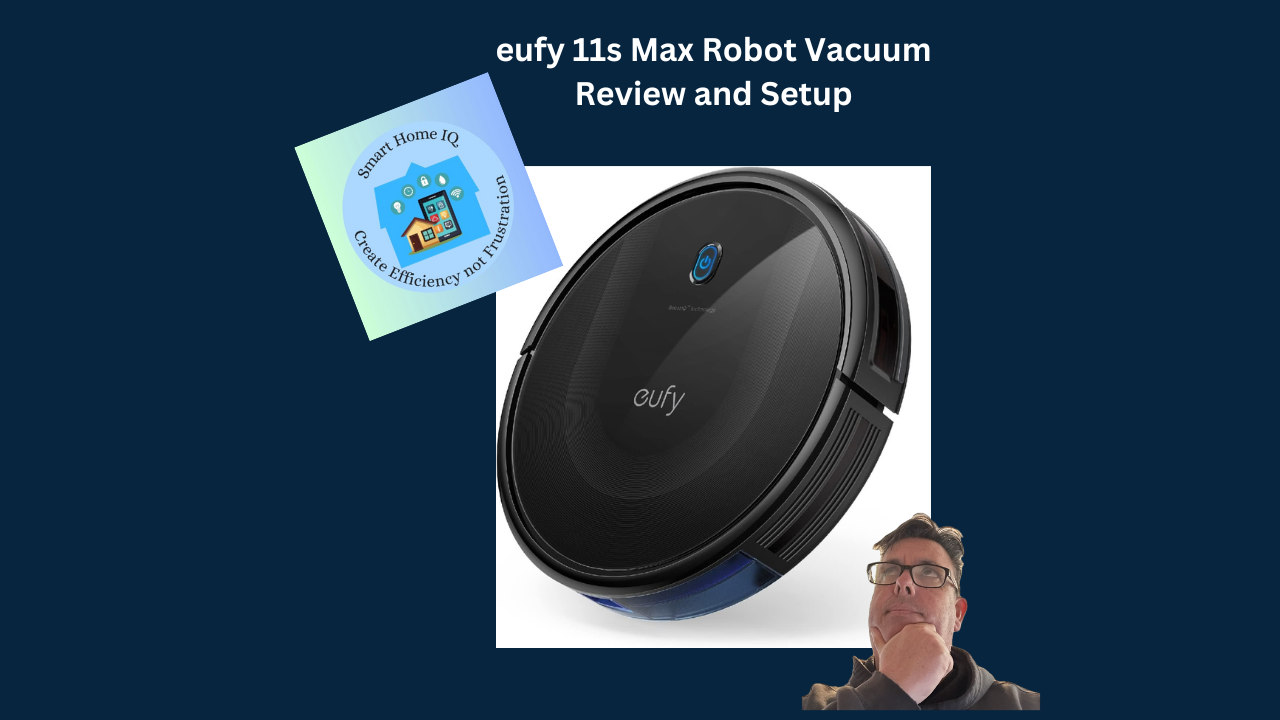
What to Know Before You Set Up Eufy RoboVac 11S
Before you power it on, it helps to understand what the Eufy RoboVac 11S is designed to do. This model is a slim, basic robot vacuum built for hard floors and low to medium-pile carpets. It does not use Wi-Fi or an app, which many people actually love because setup is faster and less confusing.
When I first used the Eufy RoboVac 11S, the biggest win was how little prep it needed. Still, a few small steps make a big difference. Think of setup like setting the table before dinner. If the space is ready, the machine can do its job without bumping into avoidable problems.
Here’s what to check before you begin:
- Unbox all parts and confirm you have the vacuum, charging base, remote, power adapter, side brushes, and filters.
- Pick a spot for the charging base near a wall outlet.
- Clear the floor of cords, socks, and small items.
- Check that the dustbin and filters are in place.
- Make sure the battery has enough charge for the first run.

How to Set Up Eufy RoboVac 11S Step by Step
Setting up the Eufy RoboVac 11S is easy if you follow the process in order. I usually tell people not to rush the first charge, because that one step saves a lot of frustration later. A full setup takes only a short time, but the battery and placement details matter.
1. Unbox and inspect the vacuum
Take everything out of the box and lay it on a flat surface. Look for the vacuum body, charging base, adapter, remote control, side brushes, extra filters, and user guide.
Check for shipping damage before you throw away the box. I once saw a user miss a cracked charging base because they skipped this step, and the vacuum kept acting “broken” when the real problem was the dock.
2. Install the side brushes
The Eufy RoboVac 11S usually comes with two side brushes. Press each brush into its matching slot until it clicks into place.
If they feel loose, remove them and try again. A brush that is not seated properly can make odd noises or reduce edge cleaning.
3. Place the charging base correctly
Put the charging base on a hard, level surface with enough open space around it. A good rule is to leave several feet of open room in front and some space on each side.
The dock should be:
- Near a power outlet
- Against a wall
- Away from tight corners
– Not blocked by furniture legs or rugs
This step matters more than people think. If the dock is shoved under a table or squeezed between objects, the RoboVac 11S may have trouble finding it later.
4. Plug in the dock and turn on the vacuum
Connect the power adapter to the charging base and then into the wall outlet. Turn the vacuum on using the main power switch, which is usually on the bottom or side of the unit depending on the model version.
Once the RoboVac 11S is on, place it on the charging base. You should see charging indicators light up. If nothing happens, recheck the power switch and the dock connection.
5. Charge the battery fully
Let the Eufy RoboVac 11S charge before the first cleaning cycle. A full charge helps the battery calibrate and gives you the best first-use experience.
In my experience, people often try to use the vacuum too soon because they are excited to test it. I get it. But waiting for a proper charge makes the first run smoother and avoids short cleaning sessions.
6. Prep the room for the first run
This is one of the most overlooked parts of how to set up Eufy RoboVac 11S. Clear the floor so the vacuum can move freely without getting stuck.
Remove or lift these items:
- Charging cables
- Small toys
- Loose socks
- Fragile décor
- Thin rugs that bunch up easily
If you have long curtains or low-hanging tablecloths, lift them first. The RoboVac 11S is smart, but it is not magic. A little prep keeps it from getting tangled.
7. Start a test cleaning cycle
Press the clean button on the vacuum or use the remote control to start a cleaning session. Watch the first few minutes so you can see how it handles your floor plan.
A test run helps you learn:
- Where it gets stuck
- Which furniture it avoids well
- How it handles carpet edges
- Whether the dock is easy to return to
I always recommend this step, even for experienced users. It gives you a baseline and shows you what needs adjustment before you let it clean on its own.
8. Adjust the space after the first run
After the first cleaning, look for trouble spots. If the vacuum kept bumping into one chair leg or getting trapped under a side table, move that item or create more open space.
This is where setup becomes personal. Every home is different, and the Eufy RoboVac 11S works best when you “teach” it the layout by removing obstacles.

Best Placement Tips for Better Eufy RoboVac 11S Performance
Good placement can make the Eufy RoboVac 11S feel much smarter than it already is. The vacuum uses infrared sensors and a simple navigation system, so it benefits from a clean, open environment. If the dock is in a bad spot, the whole experience can feel less polished.
Here are my best real-world placement tips:
- Put the charging base in a low-traffic area.
- Keep it away from direct sunlight if possible, since bright light can interfere with some sensors.
- Avoid placing the dock near stairs or drops.
- Do not hide the base behind a chair or in a cramped corner.
- Give the vacuum room to line up cleanly when it returns.
A lot of setup problems are really placement problems. Once I moved a dock just two feet to the left in one home, the robot started finding it much more reliably. Small changes can make a big difference.
How to Use the Remote Control on Eufy RoboVac 11S
The remote is one of the best parts of the Eufy RoboVac 11S because it gives you basic control without an app. That makes it easier for people who want a simple robot vacuum experience.
The remote usually lets you:
- Start or stop cleaning
- Send the vacuum back to the dock
- Use spot cleaning
- Schedule cleanings on supported settings
- Adjust cleaning modes
If the remote does not seem to work, check the batteries first. I’ve seen people assume the vacuum is faulty when the remote just needed new batteries. Also, make sure nothing is blocking the signal path if you are using it from another room.
Cleaning Modes and What They Mean
Understanding the cleaning modes helps you use the Eufy RoboVac 11S more effectively. Since it is designed for convenience, the modes are simple and practical instead of overly technical.
Common cleaning modes include:
- Auto cleaning: The vacuum cleans the room on its own and moves around the area.
- Spot cleaning: It focuses on one small area, which is useful for crumbs or dirt piles.
- Edge cleaning: It works along walls and corners.
- Single room or max mode: On some versions or settings, this increases cleaning intensity or time.
If your home has a lot of pet hair or dust, auto cleaning on a regular schedule works well. If you cook a lot, spot cleaning near the kitchen can be a lifesaver after meals.
Common Setup Mistakes to Avoid
Most setup problems with the Eufy RoboVac 11S come from small, avoidable mistakes. The good news is that they are easy to fix once you know what to look for.
Watch out for these common issues:
- Forgetting to turn on the main power switch
- Placing the charging base in a cramped space
- Leaving cords and small items on the floor
- Not charging the vacuum fully before the first use
- Expecting it to map the home like a premium smart robot vacuum
- Skipping the test run
That last one is a big one. The Eufy RoboVac 11S does not create detailed room maps, so it learns the space in a simpler way. That means your setup and room prep have a direct impact on how well it performs.
Maintenance Tips After Setup
Once you finish the initial setup, a little maintenance keeps the Eufy RoboVac 11S running well. Robot vacuums are like shoes. If you take care of them, they last longer and feel better every day.
Keep up with these basic tasks:
- Empty the dustbin after each cleaning or when needed
- Clean the filter regularly
- Remove hair from the brushes
- Wipe the sensors with a soft, dry cloth
- Check the wheels for tangled string or debris
- Replace worn parts when suction or movement drops
From experience, the filter is one of the most important parts to watch. A clogged filter can make the vacuum sound weaker and clean less effectively, even if the machine itself is fine.
Why the Eufy RoboVac 11S Is a Good Starter Robot Vacuum
The Eufy RoboVac 11S is a solid choice if you want simple automation without a steep learning curve. It is not overloaded with app features, voice control, or complex mapping, which actually makes it easier for many households.
A few clear benefits stand out:
- Easy setup with minimal parts
- Quiet enough for many daily routines
- Slim design for cleaning under furniture
- Good for basic floor cleaning
- Simple controls that are easy to learn
That said, it does have limits. It is not the best choice for advanced smart home users who want app control, no-go zones, or room mapping. Knowing that upfront helps set the right expectations.
Frequently Asked Questions of How to Set Up Eufy RoboVac 11S
How long does it take to set up Eufy RoboVac 11S?
The basic setup usually takes about 15 to 30 minutes, depending on how much floor prep you need. The first charge takes longer, so the full first-use process can take several hours.
Do I need Wi-Fi to set up Eufy RoboVac 11S?
No, you do not need Wi-Fi because this model does not rely on an app for setup. That makes it a good option for people who want a simpler, more traditional robot vacuum.
Why is my Eufy RoboVac 11S not charging?
Check that the power switch is on, the dock is plugged in, and the vacuum is seated properly on the charging base. If it still does not charge, clean the charging contacts and try a different outlet.
Can Eufy RoboVac 11S clean carpet?
Yes, it can clean low to medium-pile carpet, but it works best on hard floors and lighter carpet surfaces. Thick or shaggy rugs may slow it down or reduce performance.
Why does my RoboVac 11S keep getting stuck?
It may be running into cords, chair legs, low furniture, or messy floor areas. Clear the space more carefully and try another test run to see which spots need adjustment.
How often should I clean the filter and brushes?
A good habit is to check them every few uses and clean them as needed. If you have pets or a dusty home, you may need to do it more often to keep suction strong.
Conclusion
Learning how to set up Eufy RoboVac 11S is really about making a few smart choices at the start. Charge it fully, place the dock well, clear the floor, and do a test run before trusting it with your whole home. Once those basics are in place, the vacuum becomes much easier to live with and far more effective.
If you take one thing from this guide, let it be this: a little setup time now saves a lot of cleanup later. Try the steps above, adjust your space as needed, and enjoy a smoother robot vacuum experience. If this helped, explore more cleaning tips, subscribe for future guides, or leave a comment with your own setup questions.

