

When your central vacuum system suddenly stops working, it can be a frustrating experience. You rely on it for efficient home cleaning, and a sudden shutdown leaves you wondering what went wrong. This guide will help you troubleshoot why your central vacuum is not turning on, covering the most common issues and how to fix them.
Power Supply Problems
The most basic reason a central vacuum won’t turn on is a lack of power. This can stem from several places, from the wall outlet to the circuit breaker.
Check The Breaker Box
Your central vacuum system, like other major appliances, is connected to your home’s electrical system via a circuit breaker. Sometimes, these breakers can “trip,” meaning they have shut off automatically due to an overload or a short circuit.
Locate your home’s main electrical panel. Look for a breaker that is in the “off” position or somewhere in the middle between “on” and “off. ” To reset it, push the breaker firmly to the “off” position, then flip it back to the “on” position.
If the breaker trips again immediately, there might be a more serious electrical issue with the vacuum unit itself, and you should consult a professional.
Examine The Power Cord And Outlet
Ensure the vacuum unit is properly plugged into a working electrical outlet. If your unit has a separate power cord for the motor, check that it is securely connected to the unit and the wall. Sometimes, the cord might have become loose or even disconnected.
Test the outlet with another small appliance, like a lamp or a phone charger, to confirm it is receiving power. If the outlet is dead, the problem might be with your home’s wiring or the outlet itself, not the vacuum.
Low Voltage Issues
In some cases, a central vacuum might not turn on if it’s not receiving enough voltage. This is less common but can happen if the wiring in your home is old or if there are other high-demand appliances running simultaneously on the same circuit.
Issues With The Vacuum Unit Itself
If you’ve confirmed power is reaching the unit, the problem might lie within the central vacuum system’s components.
The Motor
The motor is the heart of your central vacuum. If the motor has failed, the unit will not power on. Motors can fail due to age, overheating, or internal damage.
If you suspect a motor issue, you might hear a faint humming sound when you try to turn it on, or you might hear nothing at all. Unfortunately, motor replacement is usually a job for a professional technician.
Overheating Protection
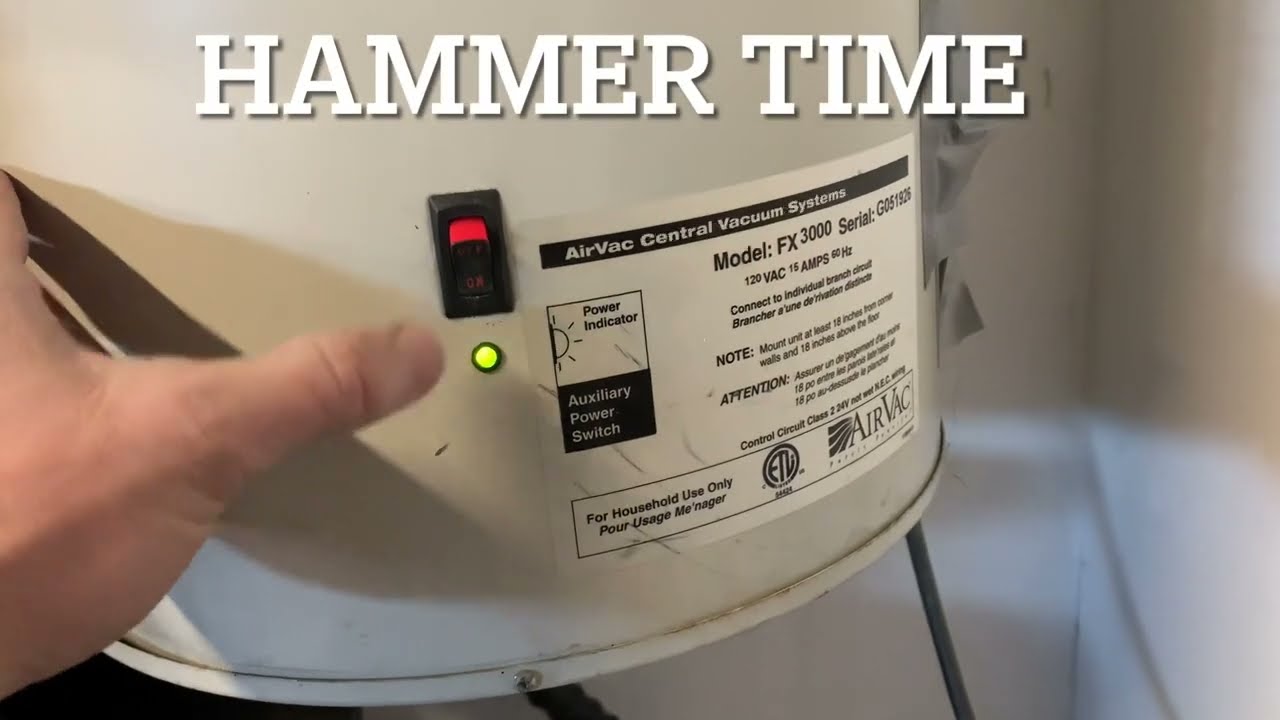
Most central vacuum units have a thermal overload protector. This safety feature shuts off the motor if it gets too hot, preventing damage. If the vacuum has been running for an extended period or if the filters are clogged, the motor can overheat.
If the unit shut off unexpectedly, give it at least 30 minutes to cool down completely before trying to turn it on again. Ensure that the unit’s vents are not blocked and that the filters are clean.
Damaged Internal Wiring
Over time, internal wires within the vacuum unit can become loose, corroded, or damaged. This can interrupt the flow of electricity to the motor or control systems.
This is a more complex issue that requires disassembling the unit. Unless you have experience with electrical repairs, it’s best to leave this to a qualified service technician.
Problems With The Piping And Accessories
Sometimes, the issue isn’t with the central unit itself but with how it’s trying to operate, especially if it’s related to suction or control signals.
Clogged Pipes Or Hose
While a clogged pipe or hose typically results in loss of suction, in some rare cases, it might prevent the unit from starting. This can happen if the clog is severe and creates an excessive load on the motor, tripping a safety switch or overload protector.
Check your hose for blockages. Also, inspect the inlet ports in your walls for any visible obstructions. You can often clear minor clogs by using a long, flexible tool or by running water through the hose (if it’s a type that can be cleaned this way).
Faulty Wall Inlet Valve
The wall inlet valve is where you plug in your vacuum hose. These valves contain electrical contacts that signal the central unit to turn on when the hose is connected. If these contacts are dirty, damaged, or misaligned, they might fail to send the “on” signal.
You can try cleaning the contacts inside the valve with a small brush or compressed air. If the valve seems physically damaged, it may need to be replaced.
Problems With The Vacuum Hose’s Power Unit
Many modern central vacuum hoses have a powered brush head that requires a separate electrical connection from the wall inlet valve. If this connection is faulty or if the hose itself has an electrical issue, it might prevent the main vacuum unit from starting.
Check the cord that runs along the hose for any damage. Ensure the prongs on the hose’s connection end are clean and not bent.
Control System Issues
Central vacuums often have various control systems, including low-voltage wires that run from the wall inlets to the main unit.
Damaged Low-voltage Wire
The low-voltage wires are responsible for sending the signal from the wall inlet to the power unit to start or stop the motor. If these wires are cut, shorted, or disconnected anywhere along their path (from the inlet to the unit), the vacuum will not respond to the switch on the hose or inlet.
Damage can occur due to rodents, renovations, or simply wear and tear over time. Diagnosing and repairing breaks in these low-voltage lines can be challenging and often requires specialized tools and knowledge.
Control Board Malfunction
The control board inside the central vacuum unit manages its various functions, including power delivery and safety features. If this board malfunctions or has a burnt component, it can prevent the unit from turning on.
This is another issue that typically requires professional diagnosis and repair or replacement of the control board.
Maintenance And Filter Problems
Regular maintenance is key to a well-functioning central vacuum. Neglecting it can lead to various issues, including a unit that won’t start.
Clogged Filters Or Collection Canister
A clogged filter or an overfilled collection canister restricts airflow. While this usually manifests as reduced suction, extreme blockages can sometimes cause the motor to strain, overheat, and shut down via its thermal protector. If it overheats severely, it might not restart until it has cooled significantly.
Regularly check and empty the collection canister. Most units have a full-indicator or a clear window to show when it’s getting full. Also, inspect and clean or replace the system’s filters according to the manufacturer’s recommendations. A clean filter system is crucial for efficient operation and motor longevity.
Here’s a look at common filter types and their maintenance needs:
| Filter Type | Maintenance Frequency | Typical Cleaning Method | Replacement Frequency |
|---|---|---|---|
| **Pre-motor Filter** | Monthly or as needed | Tap to clean, wash | Annually |
| **HEPA Filter** | Every 6-12 months | Replace only | Annually |
| **Bagged Canister** | When full | Replace bag | As needed |
| **Bagless Canister** | When full | Empty canister | As needed |
Water In The Collection Canister
Central vacuum systems are designed for dry debris only. If water or excessive moisture gets into the collection canister, it can damage the motor and other internal components. This can lead to short circuits and prevent the unit from turning on.
Ensure you are only vacuuming dry materials. If water accidentally enters the system, unplug the unit immediately and allow it to dry thoroughly. You may need to check internal components for moisture damage.
When To Call A Professional
While many common issues can be resolved with simple troubleshooting, some problems require the expertise of a professional central vacuum technician.
If you’ve checked the power supply, the breakers, and basic maintenance like cleaning filters and emptying the canister, and the unit still won’t turn on, it’s time to call for help. Issues involving

