

It's one of the most annoying questions in smart-home ownership: why does my robot vacuum keep stopping? You're not alone if you've watched it quit halfway across the living room, turn around, or just sit there blinking. The good news?
Most of these issues are simple to fix, and almost none of them mean your robot is dead.
Here's the thing. Robot vacuums are basically sensors, a motor, and a battery wearing a tiny chassis. When one of those three systems gets confused, blocked, or low, the whole machine stops.
As of 2026, the most common causes are still dirty sensors, brush jams, clogged dustbins, and charging contact failures. Let's walk through the clues and get your cleaner back on the job.
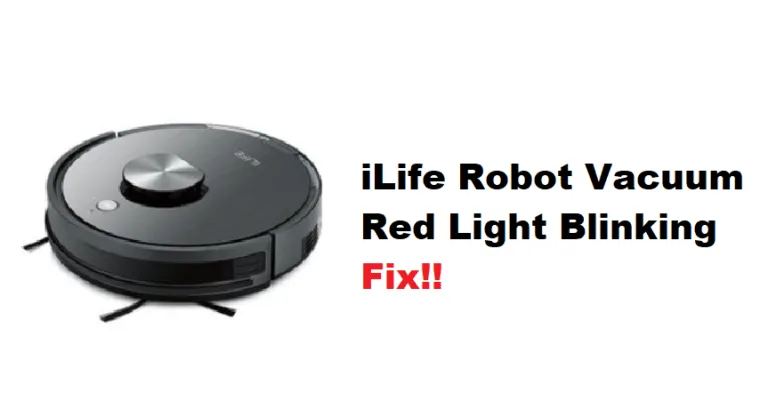
Image source: Bing (Web (fair-use with source credit))
Quick Answer
Robot vacuums stop because dirty sensors and clogged dustbins cause most random failures. Tangled brush rolls stall the robot mid-clean. Weak charging contacts send it back to the dock early.
Software glitches and map errors explain the rest. Most of these fixes take less than ten minutes.
What's Actually Happening Inside: The 6 Main Culprits
Robot vacuums don't stop for no reason. They always have a trigger, even when the error message is vague. Here's what's usually going on under the plastic.
- Dirty sensors. Cliff sensors, bumper sensors, and wall sensors are optical parts. A thin film of dust scatters the infrared beam, so the robot misreads its surroundings and stops to protect itself. This is the number one cause of random stops.
- Brush roll tangles. Pet hair, carpet threads, and rug fringe wrap around the roller. The motor senses extra resistance and trips its overload protection. The result? The robot stops abruptly, often with a brush error.
- Clogged dustbin and airflow path. A full dustbin or a blocked air channel triggers pressure sensors. The robot thinks the bin is full even when it barely has anything inside, then pauses the cycle.
- Battery and charging contacts. An aging battery can't hold its charge. Corroded or dirty contacts on the robot or the dock interrupt power when the machine tries to recharge. That causes early dock returns and mid-clean shutdowns.
- Dock communication failures. The dock uses infrared beacons to guide the robot home. If the dock is in direct sunlight, wedged under furniture, or sitting on an uneven surface, the robot can't find it correctly.
- Software and map errors. Corrupted maps, failed no-go zones, and stale virtual walls can cause stops at invisible boundaries. These often appear after firmware updates or power interruptions.
For brush roll issues specifically, our guide to clearing hair from a brush roll covers the exact removal process.
The Decision Tree: When Does It Stop?
The fastest way to diagnose the problem is to pay attention to when the stopping happens. Use these branches as a rough if/then map.
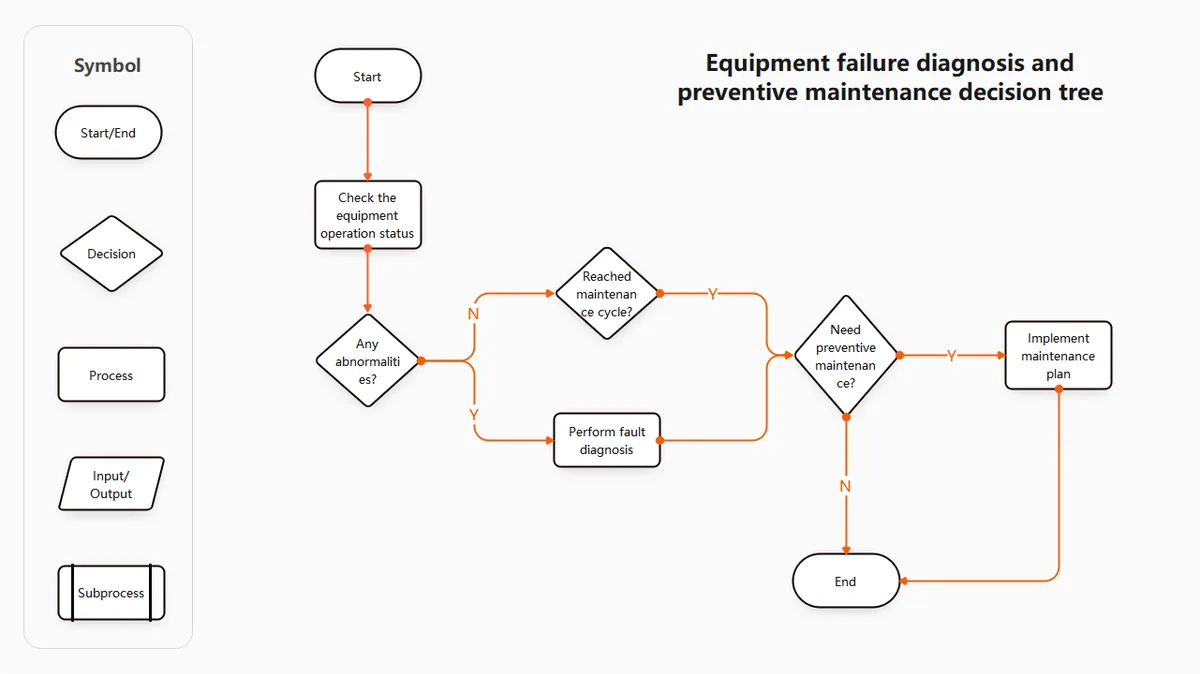
Image source: Bing (Web (fair-use with source credit))
It Stops Mid-Clean in a Random Spot
If the robot stops in different places each run, think battery, sensors, or a brush jam. Random stops after 20 to 30 minutes point to a weak battery. Stops within the first five minutes usually mean a jam or a sensor error.
Check the app's error history before tearing anything apart.
It Stops at the Exact Same Spot Every Time
If the robot always stops near a rug fringe, a dark floor transition, or a doorway, suspect the cliff sensors. Dark floors absorb infrared light, so the robot thinks there's a drop that isn't there. A hidden virtual wall or no-go zone can also create a hard stop in the same place every run.
It Stops and Returns to the Dock Early
When the robot heads home before the job is done, look at the charging contacts and dock placement. Dirty contacts make the robot think it isn't charging, so it bails early. A dock in direct sunlight or near a heat vent confuses the infrared return signal.
It Stops With an Error Code or Flashing Light
Don't guess. Look up the specific error code on the manufacturer's support portal. Codes like "check brush" or "sensor clean" usually mean exactly what they say, and the app often shows a live diagram of the problem part.
It Stops After Just a Few Minutes of Running
This is classic overload protection. The brush roll, side brush, or wheels are stuck. Remove the robot and inspect every rotating part.
If those are clear, check the filter. A filter clogged with fine dust can mimic a jam.
How to Fix It: Step-by-Step Troubleshooting by Symptom
Here's a quick reference table based on the most common stopping patterns we see in owner reports and support forms.
| If it stops… | Likely cause | First move |
|---|---|---|
| Randomly mid-clean | Dirty sensors or weak battery | Clean sensors with a dry cotton swab; check the battery report in the app |
| In the same spot every time | Dark floor color or rug tassels | Move the rug, trim tassels, or add a no-go zone |
| Right after starting | Brush jam or clogged filter | Remove the brush roll and clean it; tap out the filter |
| And returns to the dock | Dirty charging contacts or dock position | Wipe contacts; reposition the dock with 3 feet of clearance on each side |
| With an error code | Specific jam or sensor fault | Look up the code in the app or manual, then inspect that part |
For most sensor issues, start with a dry cotton swab. Gently wipe the cliff sensors on the bottom, the bumper sensors on the front, and the wall sensors on the side. Do not use water or solvent.
Moisture can short out the sensor board.
Next, flip the robot over and check the brush roll. Hair and string wrap tightly around the axle, not just the bristles. Pull away everything you can reach, then use scissors to cut through stubborn loops.
Spin the roller by hand to confirm it moves freely.
Then empty the dustbin and check the airway. Most bins have a small tube or chute that connects to the filter. If that passage is blocked with a clump of debris, the airflow sensor will keep triggering.
Clear it and the robot usually starts behaving again.
The 10-Minute Maintenance Routine That Prevents 80% of Stops
Robot vacuums are maintenance machines, not set-and-forget devices. A weekly routine stops most problems before they start. Here's the exact process we recommend.
- Empty the dustbin after every run. A half-full bin still reduces airflow and creates false "full" alerts.
- Wipe the cliff sensors once a week. A dry cotton swab is enough. This one step prevents more stops than anything else.
- Remove the brush roll and clear hair. This takes about two minutes. Check the axle as well as the bristles.
- Inspect the side brush. Thread, hair, and carpet fibers wrap around the base. Trim them with scissors.
- Wipe the charging contacts. Use a dry microfiber cloth on both the robot's contact strips and the dock's metal pins.
- Run a single-room test clean. This confirms everything works before you send the robot out on a full-house schedule.
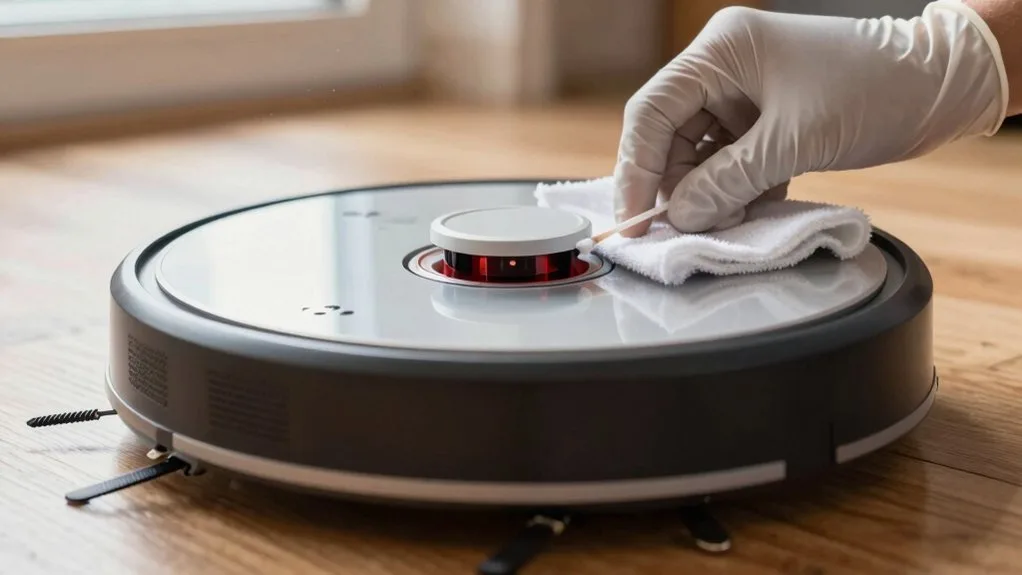
Image source: Web (Bing) / vacuumtips.com (Web image (fair-use with source credit))
Remember that the filter matters too. If your robot uses a HEPA filter, a clogged one can cause suction loss that mimics sensor failures. Checking it during your weekly routine takes about five seconds.
For more on filter upkeep, our guide to washing vacuum filter media covers the basics.
Mistakes That Make It Worse (And Keep It Stopping)
Some owners accidentally train their robots to fail. Skipping the "clean sensor" alert is the biggest one. That warning isn't a suggestion.
It's the robot telling you its eyes are foggy.
Moving the dock mid-run breaks the return beacon. The robot circles, loses signal, and shuts down in a random corner. Letting tassels and cables stay on the floor wraps them around the brush roll, which trips jam detection again and again.
Wet wipes on sensors are another trap. Moisture shorts the optical board. Dry cotton swabs only.
Ignoring filter changes for months also tricks the pressure sensor into false "full bin" stops. And if you're running a robot with poor clearance over thick carpet, the chassis drags, wheels lose grip, and the whole unit stalls. Our guide to setting the right carpet height explains what works for deep pile.
When to Reset vs. When to Repair
Not every stop needs a screwdriver. Work your way up from the cheapest fix to the most invasive one.
The Soft Reset That Fixes Most Glitches
Turn the robot off with the physical power button. Wait 30 seconds. Power it back on.
That clears temporary memory errors and often fixes app-related pauses. It costs nothing and takes less than a minute.
The Factory Reset That Clears Bad Maps
If the robot stops at the same invisible point every time, the map is corrupted. Open the app, find the factory reset setting, and delete the existing map. Let the robot rebuild it during its next clean.
Skip virtual walls for that first run.
Signs It's a Hardware Problem, Not a Glitch
If the brush roll spins freely but the jam error persists, the motor is likely failing. If the battery drains in minutes despite a full charge, it's worn out. For robots older than three years, a repair often costs more than the machine is worth.
That's when switching to a traditional upright vacuum starts making sense. Many owners find an upright simpler to maintain and more predictable.
Why Your Home Setup Could Be the Hidden Cause
Sometimes the robot isn't broken. The room is just working against it. Dark hardwood and glossy LVP floors trick cliff sensors into seeing drops that don't exist.
That's why some robots stop on dark floors but run fine on light ones.
High-pile rugs cause wheel spin-outs and bottoming out. Dangling cables and curtain tassels wrap around the brush roll. A dock in direct sunlight confuses the infrared guidance system, and weak Wi-Fi near the dock makes the app show "paused" states the robot never started.
If you have reflection-prone floors, robot vacuums built for luxury vinyl plank use upgraded sensors that handle glare better. Your floor type might genuinely be the difference between a smooth clean and a constant stop-start loop.
Environmental factors matter too. Dusty homes clog filters faster, so the robot hits false "full bin" alerts sooner. Pet owners deal with more brush jams, especially during shedding seasons.
Seasonal shifts, like an open window that lets in pollen, can also coat sensors within days. Adjust your maintenance routine to your home's actual conditions, not a fixed calendar schedule.
One more hidden factor is the charging dock's power source. If the dock is plugged into a switched outlet or a surge protector that gets turned off, the robot wakes up with no signal. It wanders, gets confused, and stops mid-clean.
Always plug the dock into a constantly powered outlet and verify the light on the dock stays on.
Quick FAQ: Fast Answers to Common Stopping Scenarios
Why does my robot vacuum stop and then restart?
This usually means the robot hit a temporary error and recovered by itself. Brush jams and dropped Wi-Fi are the most common triggers. Check the app's error history to confirm.
A soft reset usually clears the loop.
Why does my robot vacuum think the dustbin is full when it isn't?
Airflow sensors measure pressure, not actual fullness. A clogged filter or blocked air channel triggers a false reading. Tap out the filter, clear the airway, and the sensor will typically reset.
Why does my robot vacuum stop right before reaching the dock?
Dirty charging contacts are the usual culprit. The robot can't align properly, so it pauses inches away. Wipe both the robot's contact strips and the dock pins with a dry cloth.
Make sure the dock sits on a level surface.
Can a firmware update cause stopping issues?
Yes, though it's rare. Updates can corrupt map data, creating invisible stopping points. If the problem started right after an update, check for a new patch.
A factory reset and remap usually fixes it.
The Final Decision Guide: Fix It, Replace It, or Call Support
Here's the clean breakdown.
| Situation | Action |
|---|---|
| Stops once a week, quick sensor wipe fixes it | Keep up the 10-minute maintenance routine |
| Stops every cycle despite a full cleaning | Contact the manufacturer's support team before ordering parts |
| Under warranty with error codes | Don't open the chassis. File a support ticket |
| Battery dead, robot older than 3 years | Replacement beats paying for repairs |
Most manufacturer support portals also host official error-code documentation. Check those pages first before buying any replacement parts. For specific codes, the manufacturer's response usually pinpoints the exact sensor or motor.
Robot vacuums are predictable machines. Once you learn what makes yours stop, the fix takes under a minute most of the time. And when the robot itself is beyond saving, upgrading to a cleaner you can control manually, like a good upright, is never a bad fallback.

