

Clean a Dyson Gen5detect by emptying the bin, washing the filter, and removing dust from the brush bar and wand.
Keeping a Dyson Gen5detect clean is not just about looks. It helps the vacuum hold strong suction, track dust more accurately, and last longer with less strain. If you want a clear, practical guide on how to clean Dyson Gen5detect the right way, this walkthrough covers every key part in simple steps, plus the common mistakes I’ve seen people make in real life.
Why cleaning your Dyson Gen5detect matters
A cordless vacuum like the Dyson Gen5detect works hard in a small body. Fine dust, hair, and debris can build up fast, especially if you use it on carpet, pet hair, or high-traffic floors. When that buildup grows, airflow drops and the machine has to work harder.
From experience, the first sign is usually not a full breakdown. It is a small change: weaker pickup, a musty smell, or more frequent clog alerts. I have seen vacuums go from “great” to “why is this not grabbing crumbs?” simply because the filter and brush bar were overdue for cleaning.
The good news is that how to clean Dyson Gen5detect is fairly simple once you know the right order. You do not need special tools for most of it, just a soft brush, a dry cloth, and a little patience.

What you should clean on the Dyson Gen5detect
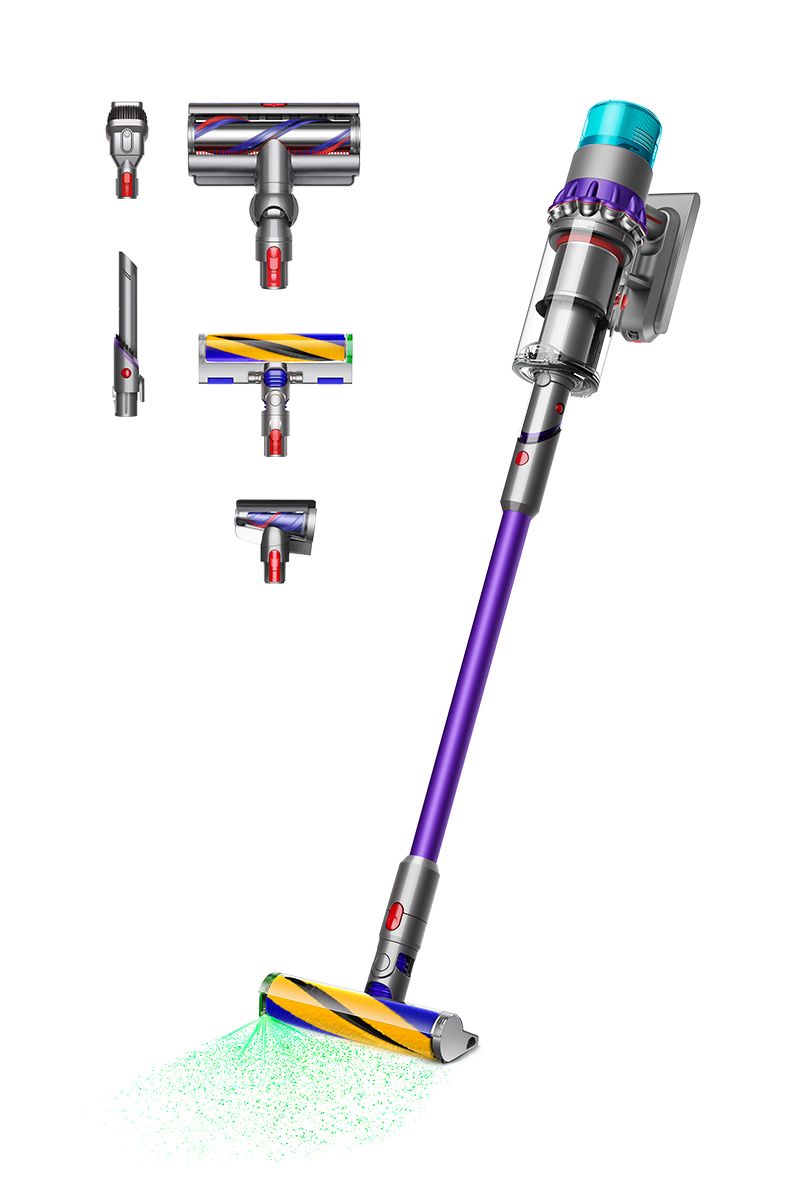
To keep the vacuum running well, focus on the parts that collect dust and slow airflow. The Dyson Gen5detect has several areas that need regular care, and each one plays a different role.
Here are the main parts to clean:
- Dust bin: This fills with debris and fine powder fast.
- Filter: This traps microscopic dust and needs regular washing.
- Brush bar and cleaner head: Hair and string can wrap around the roller.
- Wand and inlet openings: These can collect hidden clogs.
- Sensors and lens areas: These help with dust detection and should stay clear.
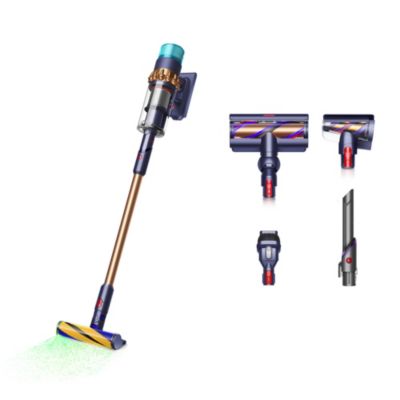
- Attachment tools: Small heads and accessories can also trap dirt.
If you only clean the bin and forget the filter, you are only doing half the job. The full process matters because airflow is like the vacuum’s breathing system. Block one part, and the whole thing starts to feel tired.

Before you start: what you need and what to avoid
Before cleaning, turn the machine off and remove it from the charger. Let it cool down if it has been running for a while. That sounds basic, but rushing this step is where a lot of people make avoidable mistakes.
You will usually need:
- A dry, soft cloth
- A small brush or old toothbrush
- Scissors for cutting tangled hair
- Lukewarm water for the filter
- A clean towel for drying parts
Avoid these common mistakes:
- Do not use bleach or harsh cleaners
- Do not wash electrical parts
- Do not put wet parts back on the vacuum
- Do not use a hair dryer or heater to speed drying
- Do not reassemble the vacuum until every washable part is fully dry
I learned the hard way that “mostly dry” is not dry enough. Once, I reattached a filter too soon, and the vacuum smelled off for days. Since then, I always let washable parts air-dry fully, usually for at least 24 hours.
How to clean Dyson Gen5detect step by step
Cleaning the Dyson Gen5detect is easiest when you move from the dirtiest parts to the more delicate ones. This keeps loose dust from falling back into clean areas.
1. Empty the bin
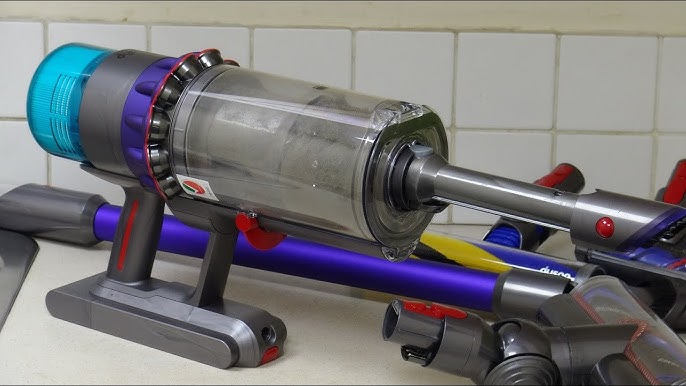
Hold the vacuum over a trash can and slide the bin release. Let the dirt drop out fully. If dust clings inside, tap the bin gently and wipe it with a dry cloth.
If the inside looks cloudy or dusty, that is normal. The dust chamber often keeps a fine film after emptying, especially if you vacuum flour, pet dander, or dry soil. Wiping it out helps keep the clear bin easier to read next time.
2. Check for clogs in the wand and inlet
Remove the wand and inspect both ends. Look for packed dust, lint, or anything that could slow suction. A flashlight helps here, especially if you suspect a hidden clog.
If you see a blockage, remove it carefully with your fingers or a soft tool. Do not force anything sharp into the tube, because that can scratch the inside or damage the airway.
3. Clean the filter
The Gen5detect uses a washable filter, and this is one of the most important parts to maintain. Remove it according to the model’s instructions, then rinse it under cold or lukewarm water until the water runs clearer. Do not use soap unless the official care guide specifically says it is safe.
After rinsing:
- Gently squeeze out excess water
- Repeat until the water is mostly clear
- Set it on a flat surface in a warm, airy room
- Let it dry completely for at least 24 hours
A wet filter is one of the fastest ways to cause odor and performance issues. In my experience, a clean but damp filter can make the vacuum feel weaker than a truly dirty one.
4. Clean the brush bar
Hair wraps and fibers are common on the brush bar, especially if you have pets or long hair in the home. Remove the cleaner head if needed, then inspect the roller closely. Use scissors to cut tangled strands and pull them away by hand.
Wipe the brush housing with a dry cloth. If dust has packed into the edges, a soft brush works well. Keep water away from the motorized parts unless the manual says a specific component can be rinsed.
5. Wipe the sensors and visible dust lens areas
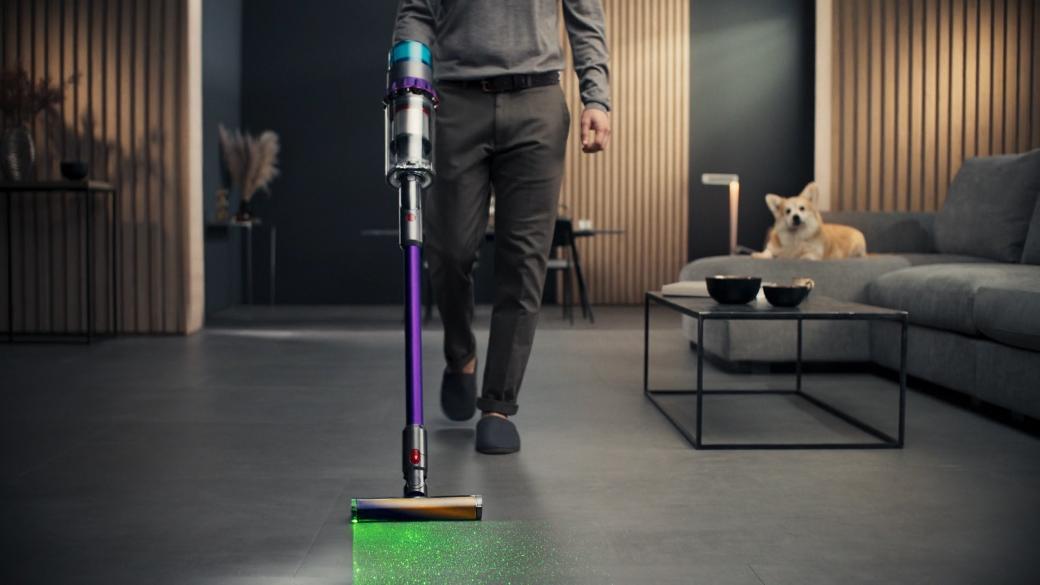
The Gen5detect is known for its dust-detection feature, so clean sensor areas gently. Use a dry, soft cloth to remove smudges, fine dust, or haze from clear surfaces. A dirty lens can affect how well the machine reads particles.
I always treat this part like cleaning eyeglasses. Light pressure is enough. If you press too hard, you risk scratching the surface and making the detection less reliable.
6. Clean the attachments
Detach tools like the crevice tool, mini motorized head, or upholstery tool. Shake out loose dust, then wipe them clean. If a tool has a removable roller and the manufacturer allows washing, rinse it and dry it fully before reusing.
Attachments often get ignored, but they can hold old dust and spread it right back onto clean floors. That is especially true for pet homes, where fur can collect deep in small corners.
7. Reassemble only when fully dry
Once all washable parts are completely dry, put the vacuum back together. Make sure every piece clicks into place the way it should. A loose fit can reduce suction or make the machine sound odd.
Before your next full cleaning session, run the vacuum for a short test on a small area. If the airflow sounds normal and the pickup feels strong, your cleaning worked.
How often to clean Dyson Gen5detect
How often you clean the Dyson Gen5detect depends on how you use it. A busy household with pets, carpet, or lots of foot traffic will need more frequent care than a low-dust apartment.
A simple schedule looks like this:
- Empty the bin after every use or every few uses
- Wipe the bin and housing weekly if needed
- Wash the filter about once a month, or sooner if suction drops
- Check the brush bar weekly for hair or string
- Inspect the wand and inlet when you notice reduced performance
- Clean attachments as needed
If you vacuum fine dust, like drywall powder or flour, you may need to clean it more often. Those particles act like talc in the machine and can build up fast.
Signs your Dyson Gen5detect needs cleaning
The vacuum usually gives clues before it has serious trouble. You just need to know what to watch for.
Common signs include:
- Weaker suction
- A full-looking bin even after light use
- Strange smell during operation
- Brush bar not spinning smoothly
- Dust visible in the wand or head
- Battery seeming to drain faster because the motor is working harder
- Dust-detection features not seeming as responsive
One of the most useful habits I’ve learned is to clean based on performance, not just the calendar. If your vacuum starts acting tired, it probably is.

Mistakes to avoid when cleaning the Dyson Gen5detect
A careful cleaning routine protects the machine and saves time later. The biggest problems usually come from trying to rush the process.
Avoid these mistakes:
- Washing parts that are not meant to get wet
- Using heat to dry the filter faster
- Reinstalling damp parts
- Ignoring hidden clogs in the wand
- Letting hair wrap around the brush bar for too long
- Using rough tools on sensors or clear plastic
- Forgetting to check the post-bin seals and click points
The Dyson Gen5detect is a precision machine, not a heavy-duty shop vac. Treating it gently keeps it performing more like a finely tuned tool and less like a stressed appliance.
Tips to keep your Dyson Gen5detect cleaner for longer
A little upkeep goes a long way. Small habits can make cleaning day easier and reduce wear on the vacuum.
Try these habits:
- Empty the bin before it is packed full
- Vacuum slowly on dusty floors so debris does not overload the head
- Remove hair from the brush bar before it builds up
- Store the vacuum in a dry place
- Let the filter dry fully before reinstalling
- Inspect the dust path every couple of weeks
- Use the right attachment for the surface
I also suggest keeping a small cleaning kit near the charging dock. A soft brush, scissors, and a cloth make it much more likely you will do quick maintenance instead of putting it off.
Why regular maintenance improves performance
Regular cleaning does more than make the vacuum look neat. It helps preserve suction, keeps dust detection more consistent, and reduces strain on the motor. That can improve the overall lifespan of the machine.
There is also a comfort factor. A clean vacuum smells fresher, feels easier to push, and does not scatter dust back into the room. If you have allergies or pets, that difference can be very noticeable.
Think of maintenance like changing the oil in a car. You do it before the engine complains, not after. The Dyson Gen5detect works best when airflow stays open and every part can do its job without resistance.
Frequently Asked Questions of How to Clean Dyson Gen5detect
How do I wash the filter on my Dyson Gen5detect?
Remove the filter and rinse it under cold or lukewarm water until it runs clear. Let it dry completely for at least 24 hours before putting it back in the vacuum.
Can I use soap to clean the Dyson Gen5detect filter?
In most cases, water alone is the safest choice unless the care instructions say otherwise. Soap can leave residue that may affect airflow or leave odor behind.
Why does my Dyson Gen5detect smell bad after cleaning?
A damp filter or hidden debris in the wand, bin, or brush bar can cause odor. Make sure every washable part is fully dry and that no old dirt is trapped inside the vacuum path.
How often should I clean the brush bar?
Check the brush bar weekly, especially if you have pets or long hair in the home. Remove tangled hair and fibers as soon as you spot them to keep the roller spinning freely.
Can I rinse the whole Dyson Gen5detect with water?
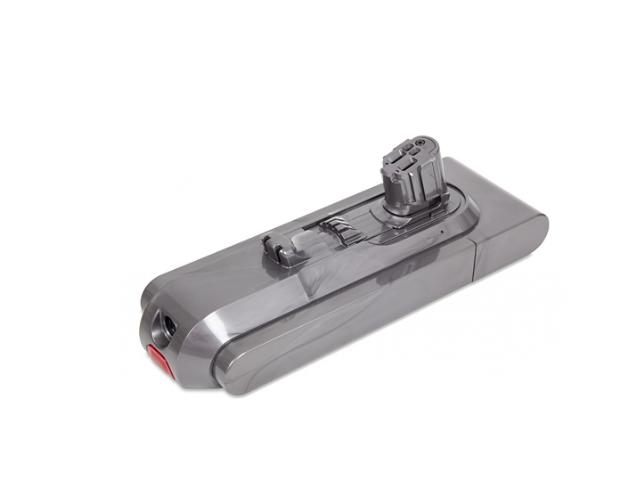
No, only specific washable parts should be rinsed. The main body, motor, battery area, and electrical components should stay dry at all times.
Conclusion
Keeping up with how to clean Dyson Gen5detect is one of the easiest ways to protect your vacuum and keep it working the way it should. When you empty the bin, wash the filter correctly, clear the brush bar, and check for clogs, you give the machine a much better chance to perform well every day.
The best part is that this does not take a huge amount of time once it becomes a habit. Start with a simple routine this week, and your Dyson Gen5detect will reward you with stronger suction, better airflow, and less hassle down the road. If you found this guide helpful, save it, share it, or leave a comment with your own cleaning tips.

