

Turn off and unplug the vacuum, then remove hair, dust, and debris from the brush roll with care.
Learning how to clean a vacuum brush roll helps your vacuum pick up more dirt, protect the belt, and reduce bad smells. After testing many vacuum types, I have found that a slow, careful cleaning works best. The steps below explain what to use, what to avoid, and how often to repeat the job.
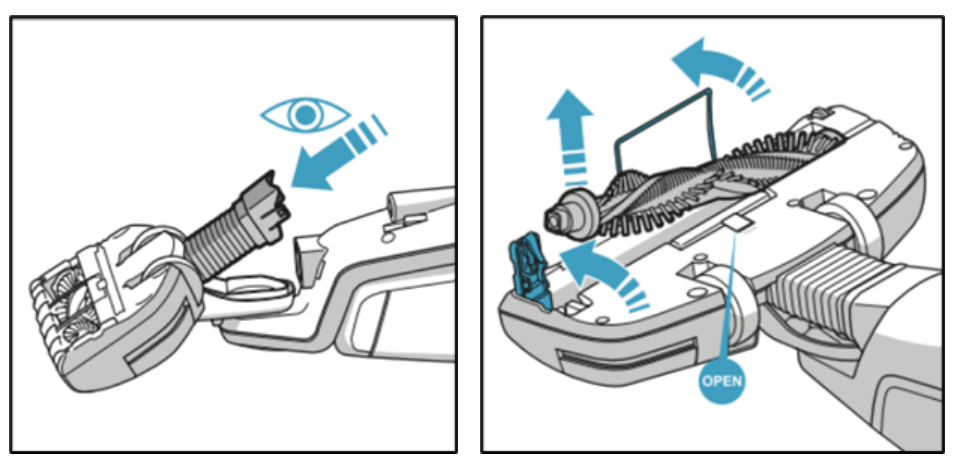
Why You Should Clean a Vacuum Brush Roll
The brush roll, also called a beater bar or roller brush, spins near the vacuum head. Its bristles lift hair, crumbs, and dirt from carpets and floors. Over time, hair and threads wrap around it and stop the roll from moving freely.
A dirty brush roll can cause several problems:
• Weak cleaning power
• Loud or unusual sounds
• Burning smells
• Overheating
• Extra strain on the belt and motor
• Scratches on some hard floors
A clean brush roll lets the vacuum move air and dirt more easily. It also helps the roller spin at the speed the manufacturer intended.
In my experience, long hair is the main cause of trouble. A small amount may not seem serious, but it can form a tight band around the roller ends. That band acts like a brake. Cleaning the brush roll early is much easier than cutting through a thick, dusty mat later.
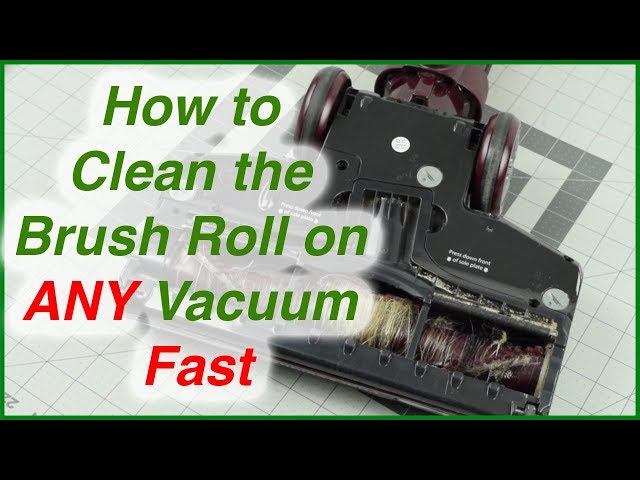
What You Need Before You Start
Most brush roll cleaning jobs need only a few simple tools. Gather everything before you begin so you do not rush or force a part.
• The vacuum’s user manual
• A clean, dry cloth
• Scissors with narrow tips
• A seam ripper or plastic cleaning tool
• An old toothbrush or soft brush
• A small bowl
• Mild dish soap
• Warm water
• A flashlight
• Protective gloves, if the roller is very dirty
Check the manual first. Some brush rolls lift out with a button. Others need a coin or screwdriver. Some models have sealed brush rolls that should not be removed by the user.
Do not use water on the roller until you know which parts are washable. Electric parts, bearings, sensors, and belts must stay dry. When in doubt, clean the part with a dry cloth instead.
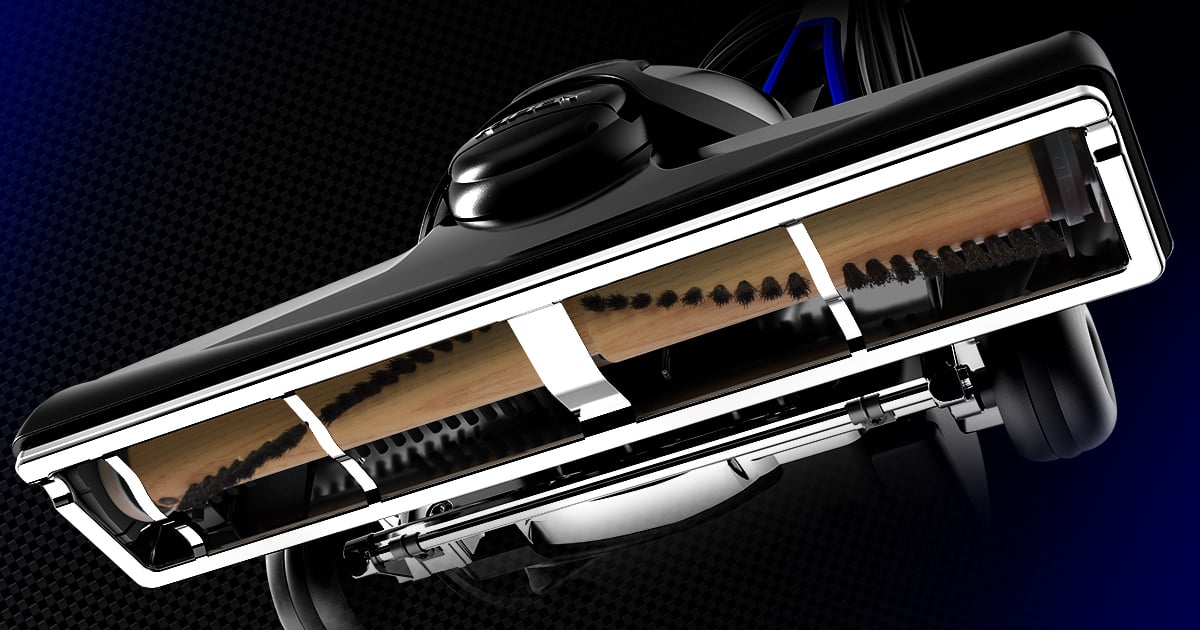
How to Clean a Vacuum Brush Roll Step by Step
The safest method is simple, but each step matters. Never work on a powered vacuum. Even cordless models should be switched off, and the battery should be removed when the design allows it.
1. Turn Off and Unplug the Vacuum
Switch off the vacuum and unplug it from the wall. For a cordless vacuum, remove the battery if the manufacturer permits this.
Place the vacuum on a flat surface with good light. A towel under the floor head can protect the floor and catch loose dust.
2. Remove the Floor Head or Brush Cover
Look for release buttons, clips, or screws on the floor head. Use the correct tool and keep small screws in a cup or tray.
Take a photo before removing parts. This small step can save time when you put the vacuum back together. I learned this after once placing a small side plate on the wrong side of a floor head. The vacuum looked fine, but the roller would not sit level.
3. Inspect the Brush Roll
Use a flashlight to inspect the full roller. Look at both ends, the bristles, the belt area, and the roller housing.
Check for:
• Hair and thread
• Pet fur
• Paper and food pieces
• String or carpet fibers
• Cracked bristles
• Melted plastic
• A loose or damaged belt
If the roller is cracked or badly worn, cleaning may not solve the problem. A replacement part may be safer and more effective.
4. Cut Away Wrapped Hair
Hold the scissors parallel to the roller. Cut through hair along the built-in groove, if the roller has one. If there is no groove, make short cuts between the rows of bristles.
Never push the scissor tips deep into the roller. You could cut the bristles, damage the belt, or scratch the roller housing.
A seam ripper can help with tight hair near the ends. Work slowly and pull the loosened hair away with your fingers or tweezers.
5. Pull Out the Debris
Use your fingers, tweezers, or a plastic tool to remove the cut hair. Rotate the roller by hand as you work around it.
Do not yank hard. A strong pull can damage the end cap or bearing. If the roller does not turn easily, remove debris from both ends before trying again.
6. Brush Away Dust
Use an old toothbrush or soft brush to remove dust from the bristles and housing. Brush toward the opening so the dirt falls out instead of deeper into the floor head.
A dry microfiber cloth works well on smooth plastic. For fine dust, a handheld vacuum can collect the debris as you brush.
7. Wash Only Approved Parts
If the manual says the roller is washable, rinse it with warm water and use a small amount of mild dish soap. Avoid bleach, strong cleaners, and very hot water.
Rinse away all soap. Then place the roller in a warm, well-ventilated area until it is fully dry. Drying may take a full day, depending on the roller design.
Never reinstall a damp roller. Moisture can damage bearings, create odors, and reach electrical parts.
8. Clean the Roller Housing
Wipe the inside of the floor head with a dry cloth. Remove dirt from the air path, side channels, and small wheels.
If a part must be cleaned with water, use only a lightly damp cloth. Keep water away from the motor, belt, lights, charging contacts, and sensors.
9. Check the Belt and End Caps
Look at the belt for cracks, fraying, slack, or a burnt smell. A stretched belt may cause the brush roll to spin slowly or stop under pressure.
Spin the roller by hand. It should turn smoothly without grinding or side-to-side movement. If it feels rough, one of the bearings may need replacement.
10. Reassemble and Test the Vacuum
Put the roller, cover, belt, and screws back in their original positions. Make sure the cover clicks or screws into place.
Run the vacuum for a few seconds on a safe floor. Listen for rubbing, clicking, or squealing. Stop at once if you smell burning or see that the roller is not spinning correctly.
This complete process is the most reliable way to clean a vacuum brush roll without causing avoidable damage.

How to Clean a Vacuum Brush Roll Without Removing It
Some vacuums do not allow easy brush roll removal. You can still clean the roller, but the work requires more care.
First, unplug the vacuum and turn the floor head upside down. Use scissors to cut hair into short sections through the opening. Pull each section out with your fingers or a plastic tool.
Use a dry brush to loosen dirt from the bristles. Then wipe the visible parts with a dry cloth. Do not spray cleaner into the floor head.
Turn the roller by hand as much as the opening permits. If it will not turn, do not force it. A jammed roller may need professional service or a replacement floor head.
This method can remove surface debris, but it may not reach hair behind the end caps. For a very dirty roller, full removal is usually better when the design allows it.
How to Clean Different Types of Brush Rolls
Vacuum rollers vary by model. A method that works for a basic upright vacuum may not suit a cordless stick vacuum.
Upright Vacuum Brush Rolls
Upright vacuums often have a wide roller under a removable base plate. They may use a belt that connects the roller to a motor.
Keep the belt dry and check its condition during cleaning. A belt that feels loose or shows cracks should be replaced with the exact part recommended for that vacuum.
Cordless Stick Vacuum Rollers
Cordless vacuums may have a soft roller, a bristle roller, or a combination roller. Many soft rollers collect fine dust and hair but require gentle care.
Some soft rollers are washable. Others have a small motor or electrical contacts inside and must stay dry. Always check the care instructions before rinsing one.
Robot Vacuum Brushes
Robot vacuums often have a removable central brush and smaller side brushes. Press the release tabs and lift the central brush out if the manual allows it.
Clean the brush ends as well as the center. Hair often collects around the small caps, where it can stop the brush from turning.
Pet Vacuum Brush Rolls
Pet vacuums collect more fur than standard models. They may need cleaning more often, especially in homes with long-haired pets.
Check the roller after each heavy cleaning session. Removing a little fur often is easier than removing a thick layer once it becomes packed with dust and oils.
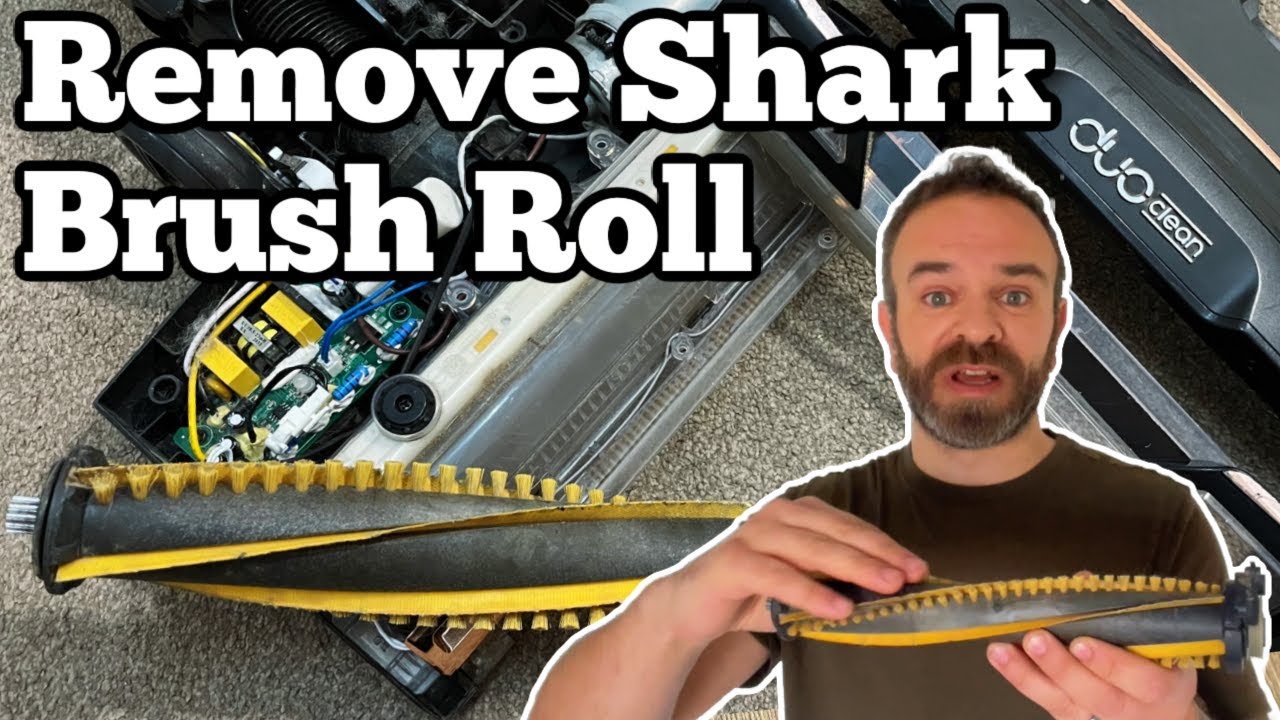
How Often Should You Clean a Vacuum Brush Roll?
The right schedule depends on your floor type, household, and pets. A home with long-haired people or animals may need weekly cleaning. A low-shedding home may need it every two to four weeks.
Use these simple signs as a guide:
• Clean the roller weekly if you have pets or long hair
• Inspect it every two weeks in a busy home
• Clean it monthly in a low-dirt home
• Check it after vacuuming string, ribbon, or thick carpet fibers
• Clean it at once if the vacuum smells hot or sounds different
Do not wait for a problem. A quick inspection takes less than a minute and can prevent a stuck roller.

Common Mistakes to Avoid
Many brush roll problems come from rushing. Avoid these mistakes when you clean a vacuum brush roll:
• Cleaning while the vacuum is plugged in
• Pouring water into the floor head
• Using a knife that can cut bristles or plastic
• Pulling hair with too much force
• Reinstalling a damp roller
• Losing track of screws or clips
• Ignoring a worn belt
• Using the vacuum before checking that the cover is secure
• Spraying oil into the roller housing
Oil may attract dust and can damage rubber belts. Most brush roll bearings are not meant to be serviced at home.
Another common error is cleaning only the center of the roller. Hair often hides behind the end caps, so inspect both sides every time.
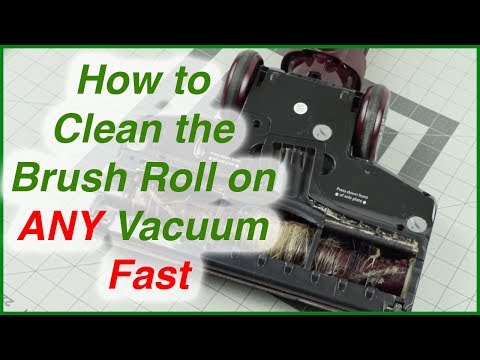
Tips to Keep the Brush Roll Cleaner
Regular care reduces the amount of work needed later. Before vacuuming, pick up cords, ribbons, rubber bands, and small pieces of string from the floor.
Trim loose threads from rugs when safe to do so. Keep pet hair brushed and remove large clumps by hand before vacuuming. These habits help prevent the roller from becoming overloaded.
Empty the dust cup before it reaches the maximum line. A full cup can reduce airflow, even when the brush roll is clean. Replace or wash filters according to the manual as well.
If your vacuum has a brush roll control, turn the roller off on delicate hard floors when the instructions recommend it. This can reduce unnecessary wear and prevent debris from scattering.

When to Replace the Brush Roll
Cleaning cannot repair every roller. Replace it when the bristles are heavily worn, the roller is cracked, or the end caps do not hold it firmly.
A worn roller may still spin, but it may not lift dirt well. You may notice more debris left in carpet tracks or a need to make repeated passes.
Replace the belt if it is stretched, split, shiny, or smells burnt. Use the correct replacement part for your model. Generic parts may fit poorly or change the roller height.
Contact the manufacturer or a qualified repair shop if the roller motor, wiring, or control board seems damaged. Electrical repairs inside a floor head are not a good do-it-yourself project unless you have the right training.
Safety and Care Limits
The safest way to clean a vacuum brush roll is to follow the model’s manual. Designs differ, and advice for one vacuum may damage another.
Avoid working on a vacuum with a hot motor. Let it cool first. Keep sharp tools away from children and pets, and wash your hands after handling dust, mold, or pet waste.
If you find broken glass, needles, or other sharp objects, use gloves and place the debris in a strong container. Do not handle hazardous material with bare hands.
Manufacturers may also limit warranty coverage when users open sealed parts. If the vacuum is new or under warranty, check the service terms before removing screws.
Frequently Asked Questions About How to Clean a Vacuum Brush Roll
How often should I clean a vacuum brush roll?
Inspect it every one to two weeks, and clean it whenever you see wrapped hair or thread. Homes with pets or long hair may need weekly cleaning.
Can I wash a vacuum brush roll with water?
Only wash it if the user manual says it is washable. Keep electrical parts, belts, bearings, and motor areas dry, and let any washable roller dry completely before reinstalling it.
Why is my vacuum brush roll not spinning after cleaning?
The roller may still have hair near an end cap, or the belt may be loose or broken. Check that the roller is seated correctly and that the floor head cover is fully closed.
Can I use a knife to remove hair from the roller?
A knife can cut the bristles, belt, or plastic housing. Scissors, a seam ripper, or a plastic cleaning tool is safer when used with the blade facing away from the roller.
How do I clean a vacuum brush roll without removing it?
Unplug the vacuum, turn the floor head over, cut wrapped hair into small sections, and pull it out. Use a dry brush and cloth, but do not spray liquid into the floor head.
What should I do if the brush roll smells burnt?
Stop using the vacuum and unplug it. A burnt smell may point to a jammed roller, slipping belt, blocked airflow, or motor problem that needs inspection.
Conclusion
A clean brush roll helps your vacuum pick up dirt, protect its belt, and run with less strain. The key steps are simple: unplug the machine, remove hair with care, keep electrical parts dry, inspect the belt, and test the roller before normal use.
Make brush roll care part of your regular cleaning routine, especially if you have pets, long hair, or thick carpets. Follow your vacuum manual for model-specific limits, and replace damaged parts instead of forcing a worn roller to work.
Try these steps during your next cleaning session, then share your best vacuum care tips or explore more maintenance guides for a longer-lasting machine.


1 Comment
Pingback: How To Replace A Vacuum Belt: Easy Step-By-Step Guide - Vacuum Cleaner Tips