

When considering a central vacuum system, a common question is about the installation timeline. Understanding how long central vacuum installation takes is crucial for planning your project, whether it’s for a new home build or a retrofit in an existing one. The duration can vary significantly based on several factors, from the size of your home to the complexity of the installation.
Factors Affecting Central Vacuum Installation Time
Several key elements influence the total time required for installing a central vacuum system. These can range from the type of home being worked on to the specific choices made for the system itself. A professional installer will assess these before providing an estimate.
New Construction Vs. Retrofit Installation
Installing a central vacuum system in a newly constructed home is generally much faster. This is because the walls are open, making it easy to run the necessary piping. Installers can access spaces easily without cutting into finished walls or ceilings.
In contrast, retrofit installations in existing homes take longer. This involves cutting holes in drywall, navigating around existing wiring and plumbing, and patching holes afterward. This process requires more labor and care to avoid damage to the home’s structure and finishes.
Home Size And Complexity
The square footage of your home is a primary driver of installation time. Larger homes require more piping, more inlets, and a longer hose to reach all areas. A bigger system naturally demands more time for planning and execution.
The layout of the house also plays a role. Homes with multiple levels, complex floor plans, or difficult-to-access areas like basements or attics will extend the installation period. Obstacles such as concrete slabs, brick walls, or finished basements can significantly increase the difficulty and time.
System Components And Design
The number of inlet valves needed also impacts the timeline. Each inlet requires a connection to the central unit via the piping network. More inlets mean more connections to make and more holes to cut.
The location of the central power unit (the vacuum collection unit) matters too. If it needs to be installed in a remote garage or basement, running the exhaust and power can add time. Some homeowners opt for more advanced systems with specialized tools or features, which might also require extra setup.
Typical Installation Timelines
The time it takes for central vacuum installation can be broken down into different scenarios. These estimates are based on typical professional installations.
New Home Construction
For a new build, a complete central vacuum installation can often be completed in 1 to 3 days. This includes running all the PVC piping through the walls and ceilings, installing the inlet valves, and connecting everything to the central unit location. The work is usually done concurrently with other construction trades.
The rough-in phase, where pipes are laid before drywall goes up, is the quickest part. Once the drywall is installed, the final connections and installation of the power unit and accessories are completed, typically within a few hours.
Existing Home Retrofit
Retrofitting a central vacuum system into an existing home is a more labor-intensive process. This can take anywhere from 2 to 5 days, sometimes even longer for very large or complex homes. The extra time is due to the need to carefully cut into finished walls, conceal piping, and repair any damage.
The installer must meticulously plan the pipe routes to minimize disruption and ensure a clean finish. This often involves working from the attic or basement, or making strategic cuts in closets or behind furniture.
Installation Of The Central Unit And Accessories
Regardless of whether it’s new construction or a retrofit, the final step involves installing the central power unit and connecting the accessories. This typically takes a few hours to complete. This includes mounting the unit, connecting the main pipe, electrical wiring, and testing the system.
The installer will also demonstrate how to use the system and its various attachments, ensuring you understand its operation and maintenance.

What The Installation Process Involves
A professional installation follows a structured process to ensure efficiency and proper function. Understanding these steps can help you appreciate the time involved.
Planning And Design
The process begins with a site assessment and system design. The installer will walk through your home, determine the best locations for inlets, the central unit, and the exhaust. They will map out the most efficient pipe routes.
This planning phase is crucial, especially for retrofits, to minimize disruption and ensure optimal performance. A well-designed system means fewer problems and a more effective vacuum.
Rough-in: Running The Piping
This is the most time-consuming part of the installation, particularly in new construction. PVC pipes are run through walls, floors, and ceilings from the planned inlet locations to the central unit’s location. Holes are drilled, and pipes are glued together, creating a sealed network.
In retrofits, this stage involves carefully cutting openings in drywall or other surfaces to snake the pipes through. This requires precision to avoid damaging existing structures.
Installing Inlet Valves
Once the main piping is in place, the inlet valves are installed. These are the ports where you’ll plug in your vacuum hose. They are typically mounted at a convenient height on the wall and wired to the system for power, if required by the model.
Connecting The Central Unit
The central power unit is mounted, usually in a garage, basement, or utility room. It’s connected to the main piping network, and electrical wiring is completed. The exhaust vent is also installed, allowing the unit to expel filtered air outside.
Testing And Cleanup
Finally, the system is tested to ensure all inlets are drawing air properly and there are no leaks in the piping. The installer will clean up any debris from the installation process. They will also provide a demonstration of the system’s operation and any included accessories.
Factors That Can Cause Delays
While the estimates above are typical, several factors can unexpectedly extend the installation time. Being aware of these potential issues can help manage expectations.
Unexpected Obstructions
During a retrofit, installers might encounter hidden structural elements like concrete beams, steel supports, or unexpected plumbing and electrical lines. Discovering these can require rerouting pipes, which adds significant time.
Weather Conditions
For installations that involve working in attics or garages, extreme weather can cause delays. Heavy rain, snow, or extreme heat can make these spaces uncomfortable or unsafe to work in for extended periods.
Material Availability
Occasionally, specific parts or materials might be out of stock or delayed in delivery. This can halt progress until the necessary components arrive.
Homeowner Decisions Or Changes
If a homeowner decides to change the placement of inlets or alter the system design mid-installation, this will inevitably add time. It’s best to finalize all decisions before work begins.
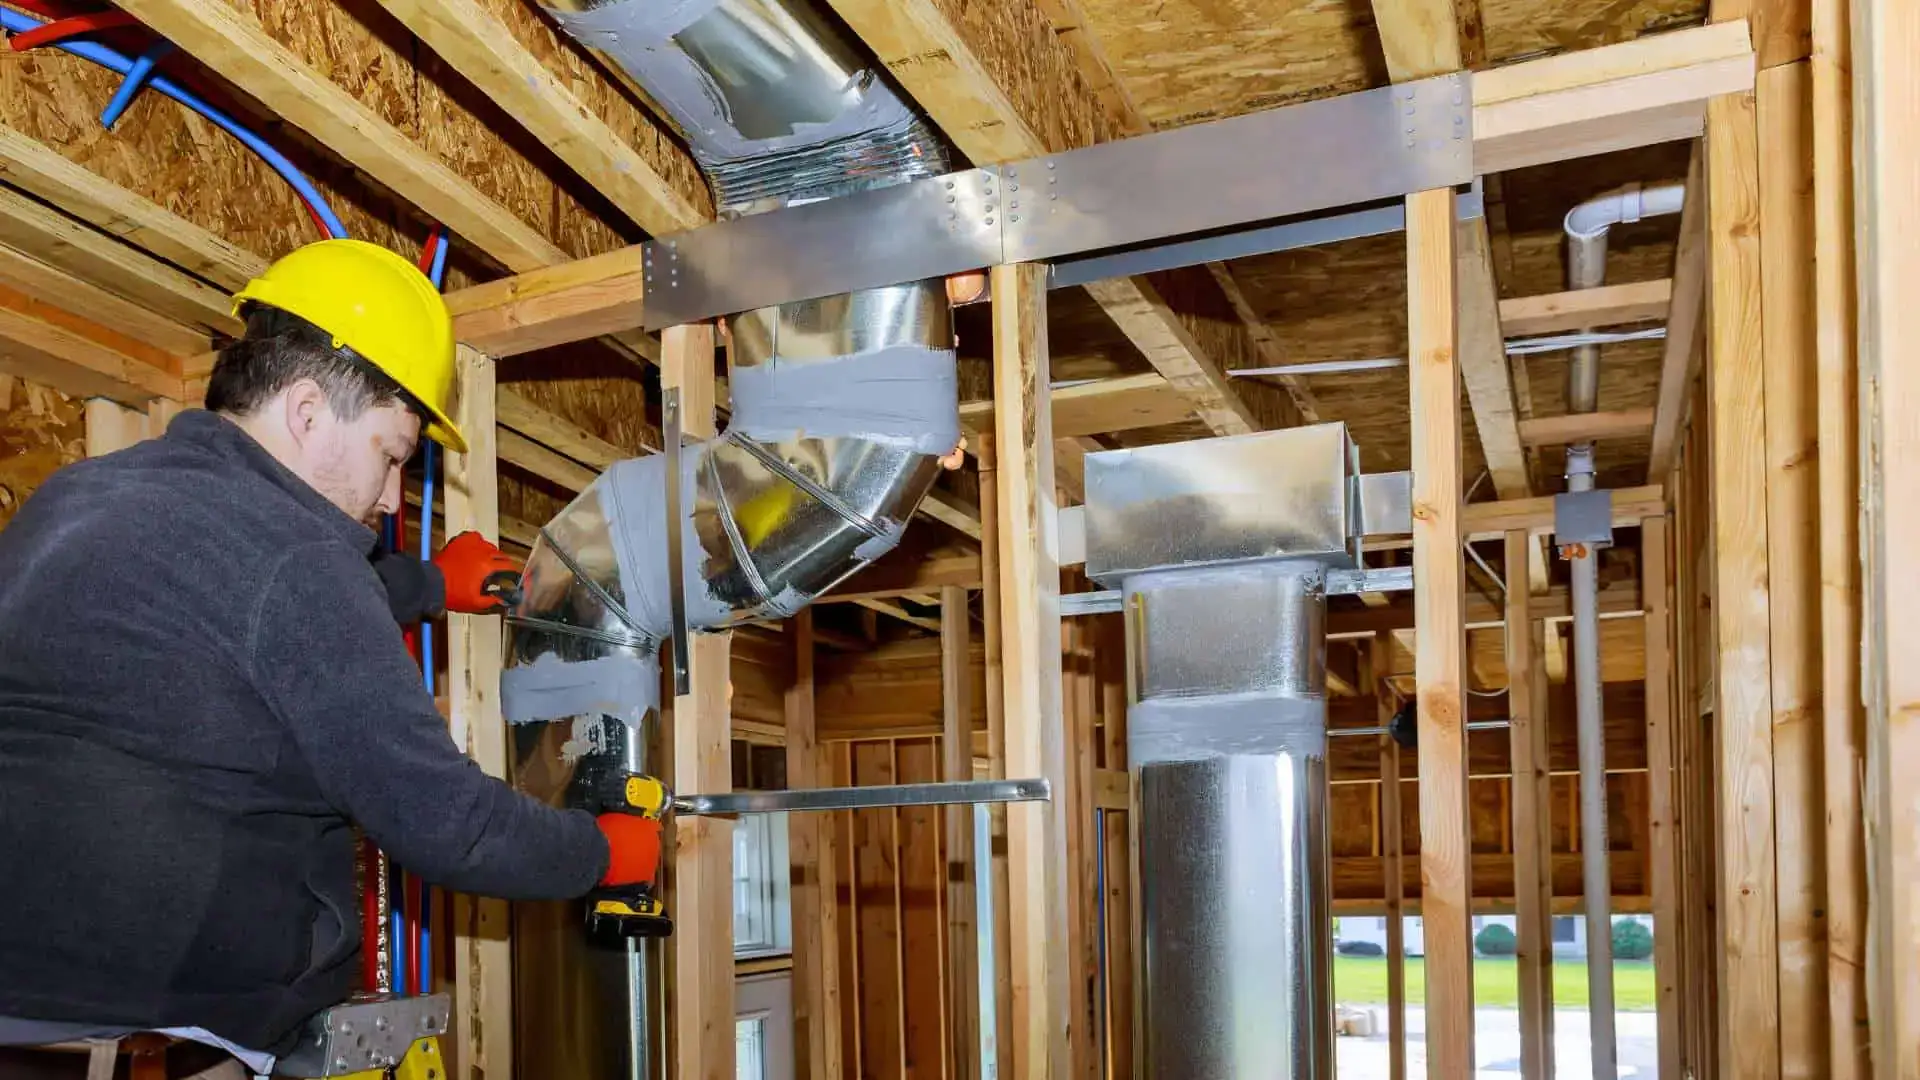
Diy Vs. Professional Installation
The decision to install a central vacuum system yourself versus hiring a professional significantly impacts the timeline and potential for issues.
Professional Installation
Hiring a professional installer is generally recommended. They have the experience, tools, and knowledge to complete the job efficiently and correctly. While it costs more, it saves time and reduces the risk of errors that could lead to costly repairs later. A professional installation typically takes the timeframes mentioned earlier (1-3 days for new builds, 2-5 days for retrofits).
Diy Installation
A DIY installation can save money on labor but will almost certainly take longer. For someone inexperienced, a new construction rough-in might take a week or more. A retrofit could take several weeks, spread out over weekends or evenings.
There’s also a higher risk of mistakes, such as improper pipe connections leading to air leaks, or incorrect wiring. These issues can compromise the system’s performance and require professional correction, negating some of the cost savings.
Pro Tip: Plan For The Accessories
Don’t forget to factor in time for selecting and understanding your central vacuum accessories. While not part of the core installation, choosing the right hose, powerhead, and attachments is vital for effective cleaning. Some systems come with standard kits, while others offer a wide range of optional tools.

Frequently Asked Questions
How Long Does It Take To Install A Central Vacuum In A Small Apartment?
Installing a central vacuum in a small apartment or condo is less common due to space constraints and building regulations. However, if feasible,

