

Replacing a central vacuum hose might seem like a straightforward task, but doing it correctly ensures your system works efficiently for years. A damaged or worn-out hose can lead to reduced suction power and make cleaning less effective. This guide will walk you through the process step-by-step, helping you identify when it’s time for a replacement and how to choose the right hose.
Why Replace Your Central Vacuum Hose?
Central vacuum hoses are the lifeline of your cleaning system, carrying dirt and debris from your living space to the central unit. Over time, these hoses can suffer wear and tear. Common issues include cracks, splits, leaks, and electrical problems if the hose has a power unit.
A damaged hose can significantly impact your vacuum’s performance. You might notice a loss of suction, which is the most obvious sign. The hose might also make unusual noises, such as hissing, indicating air is escaping. If your hose is designed to power an electric brush head and it stops working, the hose’s internal wiring might be the culprit.
Signs Your Central Vacuum Hose Needs Replacing
Knowing when to replace your hose is crucial for maintaining your central vacuum’s effectiveness. Several indicators point to a hose that has reached the end of its lifespan.
Visible Damage
The most straightforward way to tell if your hose needs replacing is by visual inspection. Look for obvious cracks, tears, or punctures along its entire length. Pay close attention to the areas where the hose connects to the wand and the power unit, as these points often experience the most stress.
Loss Of Suction Power
If you’ve noticed a significant decrease in suction power, even after cleaning or replacing the central unit’s filter, the hose is a prime suspect. Air leaks in the hose allow the vacuum to lose its ability to draw air and dirt effectively. This can make cleaning carpets and hard floors much more difficult.
Hissing Or Air Leaks
While cleaning, listen for any hissing sounds. This sound is a clear indication of air escaping through a hole or crack in the hose. You might also feel air blowing from the damaged area if you run the vacuum briefly.
Electrical Issues (for P-type Or Electric Hoses)
If your hose is designed to carry electricity to a power brush (often called a P-type or electric hose), and the brush stops working, the hose could be the problem. The internal wires that transmit power can fray or break over time, especially if the hose is bent or kinked excessively.
Kinks And Bends
While minor kinks are usually temporary, persistent or deep kinks can weaken the hose material and eventually lead to cracks. If your hose has developed permanent bends that impede airflow, it’s a sign of internal damage that may require replacement.

Types Of Central Vacuum Hoses
Central vacuum hoses come in different types, primarily distinguished by their functionality and how they connect to the power unit and cleaning attachments. Understanding these types is essential for choosing the correct replacement.
Standard Hose (air Only)
These are the most basic hoses. They only carry air and debris to the central unit. They are typically used with friction-fit wands and attachments and are suitable for basic cleaning tasks.
P-type Hose (direct Connect)
P-type hoses are designed for central vacuum systems that use direct-connect inlets. They feature a small electrical connection port on the hose handle that mates with a corresponding port on the wall inlet. This allows them to transmit power to an electric brush head.
Electric Hose (button Lock Or Swivel Hose)
These hoses are similar to P-type hoses but often have a swiveling cuff at the handle end for easier maneuverability and a button-lock mechanism for attaching wands. They also carry power to an electric brush and are a popular choice for their convenience and performance.
Hose Lengths And Diameters
Central vacuum hoses come in various lengths, typically ranging from 25 to 35 feet. Choosing the right length depends on the size of your home or the area you need to clean without constantly switching outlets. Hose diameters also vary, with 1.25 inches and 1.5 inches being common. Ensure the diameter matches your vacuum’s inlets and wands.
How To Choose The Right Replacement Hose
Selecting the correct replacement hose ensures compatibility and optimal performance for your central vacuum system. Here’s what to consider:
System Compatibility
The most critical factor is ensuring the hose is compatible with your central vacuum brand and model. Some manufacturers use proprietary connections or electrical systems. Check your vacuum’s manual or the manufacturer’s website for compatible hose types.
Hose Type
As discussed, determine whether you need a standard air-only hose, a P-type hose, or an electric hose. If your old hose powered an electric brush, you’ll need a compatible electric hose. If your inlets are direct-connect, a P-type hose is likely required.
Length And Diameter
Measure your old hose or consider the size of the areas you need to clean. A hose that is too short will be inconvenient, while one that is excessively long can be cumbersome to store and maneuver. Ensure the diameter matches your existing wands and inlets.
Durability And Features
Look for hoses made from durable materials like high-quality PVC or reinforced plastics. Features like swivel cuffs, durable handles, and reinforced ends can add to the hose’s longevity and ease of use. Some hoses also come with integrated controls on the handle for adjusting suction or turning the vacuum on/off.
Here’s a quick comparison of common hose types:
| Hose Type | Power to Brush | Inlet Type | Common Features |
|---|---|---|---|
| Standard Air-Only Hose | No | Friction-fit | Basic, lightweight, affordable |
| P-Type Hose | Yes | Direct-Connect | Integrated power connection, often with switch |
| Electric Hose | Yes | Direct-Connect | Swivel cuff, button lock, handle controls |
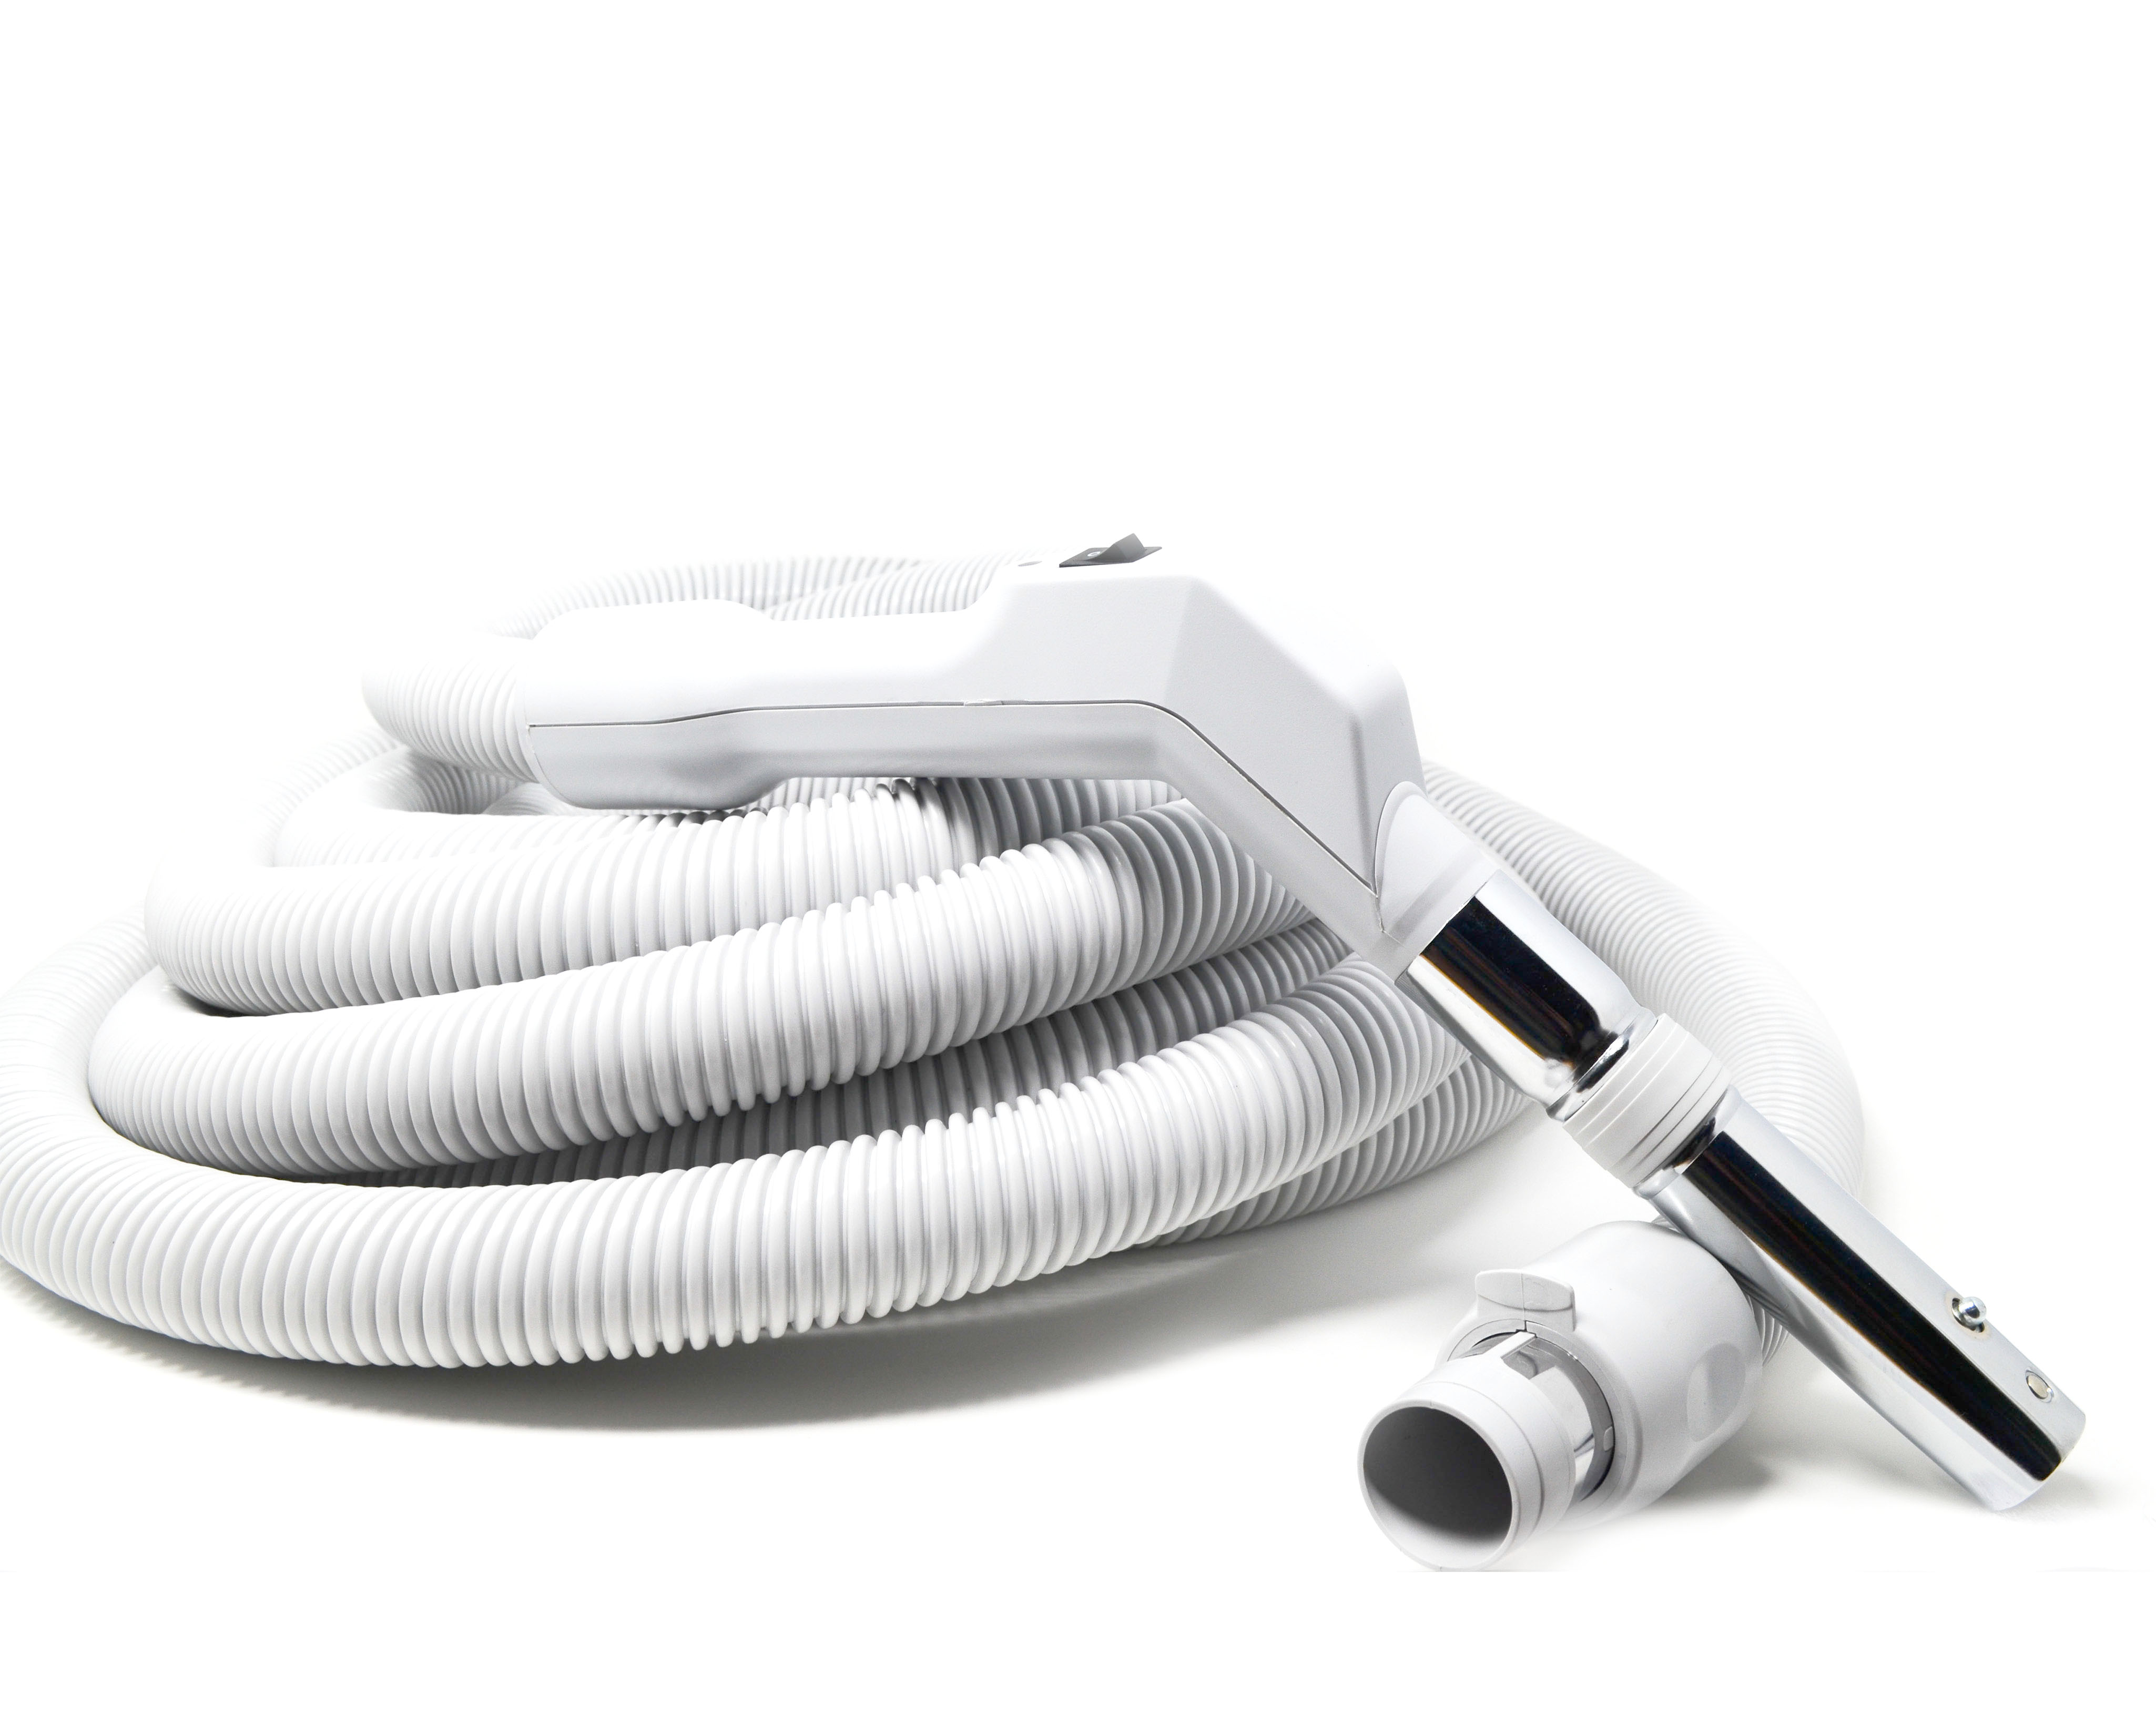
Step-by-step Guide To Replacing Your Central Vacuum Hose
Replacing a central vacuum hose is a manageable DIY project. Follow these steps carefully for a smooth replacement.
Step 1: Gather Your Tools And New Hose
Before you begin, ensure you have your new replacement hose, and potentially a screwdriver if you need to detach any part of the old hose from the wall inlet (though this is rarely necessary for hose replacement). Make sure the new hose is the correct type, length, and diameter for your system.
Step 2: Disconnect The Old Hose
First, turn off the central vacuum unit at its power source. Then, detach the old hose from the wand and any attachments. If it’s an electric hose, carefully unplug the electrical connector from the wall inlet.
Step 3: Inspect The Wall Inlet
Examine the wall inlet where the hose connects. Ensure there is no debris lodged inside. If you have an electric hose, check the electrical contacts within the inlet for any signs of corrosion or damage. Clean them gently with a dry cloth if necessary.
Step 4: Connect The New Hose
For standard hoses, simply attach the new hose to your wand or desired cleaning tool. For electric or P-type hoses, align the electrical connector on the hose with the port on the wall inlet and push firmly until it clicks into place. Ensure a secure connection.
Step 5: Test The New Hose
Turn the central vacuum unit back on. Test the suction power and functionality. If you’re using an electric hose, ensure the power brush operates correctly. Walk around with the hose to check for any stiffness or kinks that might impede movement.
Pro Tip: When connecting an electric hose, ensure the power switch on the hose handle or the wall unit is in the ‘off’ position before connecting. This prevents electrical surges.
Troubleshooting Common Issues After Replacement
Sometimes, even after replacing the hose, you might encounter minor problems. Here are a few common issues and how to resolve them.

