

Drywall dust gets everywhere. It coats your floors, your tools, and your lungs if you're not careful. Can shop vacuums pick up drywall dust?
Yes, but only with the right filter and bag setup. A basic shop vacuum will suck it up, then blow a fine cloud right back into the room.
Drywall dust is mostly gypsum, and a big share of it measures between 1 and 50 microns. That's small enough to slip through a standard pleated filter. As of 2026, most manufacturers still sell "HEPA-type" filters that aren't certified to the real HEPA standard, which is 99.97% capture at 0.3 microns.
That distinction makes all the difference.
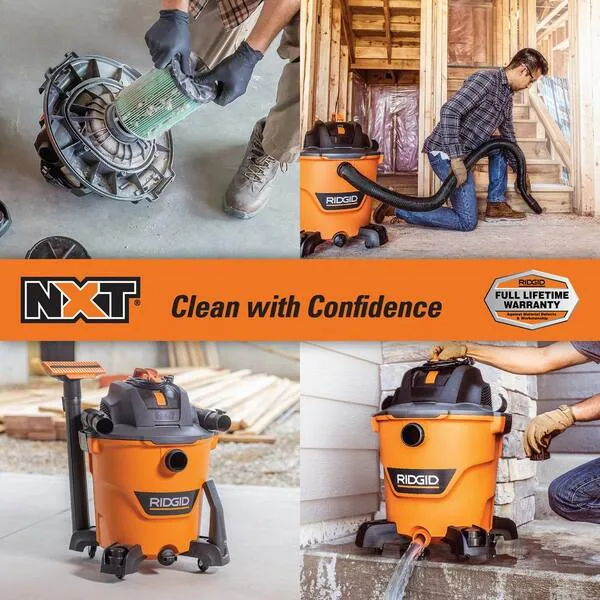
Image source: Web (Bing) / homedepot.com (Web image (fair-use with source credit))
Quick Answer
Yes. Shop vacuums can pick up drywall dust with a true HEPA filter and a disposable dust bag. Without them, the filter clogs fast and fine dust blows out the exhaust.
With them, a standard shop vac handles drywall jobs safely.
Why Drywall Dust Is Different from Regular Sawdust
Drywall dust is not like sawdust. Sawdust particles are larger and heavier. They drop into the tank and stay there.
Drywall dust is a fine powder that behaves more like flour. It floats, clings, and finds gaps in seals.
The Particle-Size Problem
Most of the dust from sanding joint compound is too fine to see. HEPA filters are built to catch those particles. Standard pleated filters let them pass straight through the motor and out the exhaust.
That's why your vacuum seems to create a haze in the room.
The Filter-Clogging Problem
A standard cartridge filter clogs quickly with drywall dust. Once the pores pack tight, airflow drops and the motor runs hotter. You'll hear the strain.
Then suction dies. It's the same reason any vacuum that keeps losing suction usually has a filter or airflow blockage first.
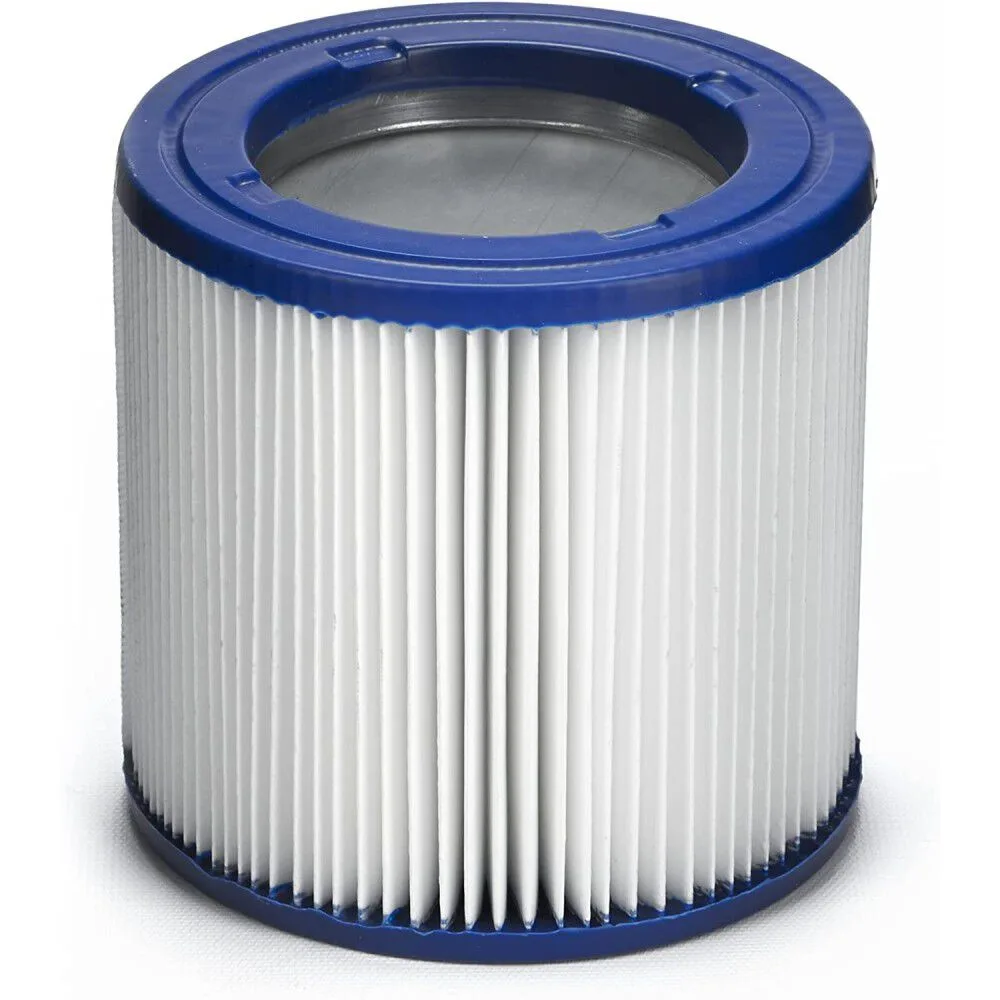
Image source: Web (Bing) / kindpng.com (Web image (fair-use with source credit))
Breathing that powder is a health concern too. Joint compound can contain crystalline silica. The National Institute for Occupational Safety and Health publishes guidance on silica exposure, and their advice is clear: limit your exposure to fine dust at work.
A shop vacuum with the wrong filter can make things worse by throwing that dust back into the air.
The Decision Tree: Match Your Setup to the Right Approach
The right answer depends on three things: your filter type, whether you use a bag, and the size of the job. Walk through these branches before you start.
Do You Have a HEPA Filter?
If yes, move on to the next question. If no, you can still vacuum a tiny patch of dust, but you'll pay for it later. The filter will cake up fast and some dust will escape.
For anything bigger than a sanded nail spot, stop and fit a HEPA filter.
Image source: Bing (Web (fair-use with source credit))
Do You Have a Dust Bag Installed?
A bag catches the bulk of the dust before it reaches the filter. That's the single biggest upgrade you can make. No bag means you'll be cleaning the filter several times per job.
With a bag, you can finish a whole room without touching the filter.
What's the Scope of Your Job?
| Setup | What happens | Best for |
|---|---|---|
| Standard filter, no bag | Clogs fast; dust blows out the exhaust | Tiny patches only |
| HEPA filter, no bag | Good capture, but the filter loads quickly | Small rooms |
| HEPA filter plus dust bag | Dust stays in the bag; filter stays clean | Whole rooms |
| HEPA plus bag plus cyclone | Minimal filter cleaning | Whole-house drywall work |
What You Need to Buy: Filters, Bags, and Accessories
You don't need a new vacuum. You need three things: a true HEPA filter, a disposable dust bag, and maybe a cyclone separator for bigger jobs. Most shop vacuums accept all three.
Filters: Look for "HEPA," Not "HEPA-Type"
"HEPA-type" is not a real standard. It's a marketing phrase. Manufacturer specifications confirm that true HEPA filters meet 99.97% efficiency at 0.3 microns.
Check your vacuum's model number before buying anything.
Bags: The Closest Thing to a Cheat Code
A disposable dust bag does two jobs. It captures the bulk of the dust before it reaches the filter. And it keeps exposure low when you're done.
Just pinch the top and toss it. Drywall-specific bags use felt or coated paper, and they cost more than standard bags.
Cyclones: Worth It for Big Jobs
A cyclone separator sits between the hose and the vacuum. It spins the incoming air so heavy dust falls into a bucket instead of reaching the vacuum. As of 2026, working models run about $50 to $100.
For more than one room of sanding, that's money well spent.
| Item | Why it matters | Typical cost |
|---|---|---|
| True HEPA filter | Stops fine particles from passing through | $20 to $60 |
| Drywall dust bag | Keeps dust off the filter and makes disposal easy | $5 to $20 each |
| Cyclone separator | Collects most dust before the vacuum | $50 to $100 |
How to Set Up Your Shop Vac for Drywall Dust (Step-by-Step)
Once you have the right gear, setup takes about ten minutes. Follow this order.
Step 1: Swap In the HEPA Filter
Remove the standard filter and any old bag. Install the HEPA filter exactly as the manual says. Make sure it seats fully.
A loose seal will leak dust.
Step 2: Install the Dust Bag
Check that your vacuum accepts bags. Slide the bag collar into the intake port and lock it in place. A loose bag will collapse or leak dust around the edges.
Step 3: Connect a Cyclone Separator (If You Have One)
Attach the cyclone to the vacuum inlet. Then connect the hose to the cyclone port. Use the shortest hose you can between the vacuum and the cyclone.
Long hoses reduce airflow.
Step 4: Check the Seal and Exhaust
Run the vacuum with the hose attached. Put your hand near the exhaust vent. If you feel dust or air leaking, stop and check the filter seal.
This takes thirty seconds and prevents a huge mess.
Step 5: Connect to Your Sander or Keep the Hose Close
For dustless sanding, attach the hose directly to the power sander's dust port. For manual sanding, keep the vacuum hose within a few inches of the sanding pad. Let the vacuum pull the dust as it falls.
Keep the hose as straight as you can. A bent or kinked hose kills airflow, just like a hose that loses its shape under suction. Work in small sections.
Move the vacuum closer. Keep the airflow path clear.
Best Practices for Sanding and Vacuuming Drywall Dust
Work clean from the start. Move the vacuum as you sand. Keep the hose within inches of the sanding surface.
That catches dust at the source instead of letting it coat the room.
Sand with a light touch. Heavy pressure creates deeper scratches and more dust. Use a pole sander for ceilings and walls.
For corners and small patches, a sanding sponge works fine.
Run the vacuum continuously while you sand, not just at the end. If you shut it off, dust drifts into the next room. A constant draw keeps the air visibly clearer.
Seal off the workspace before you start. Close doors and vents. Tape plastic over doorways if you're working in a finished home.
That one step cuts cleanup time dramatically.
| Sanding method | Vacuum setup | What works best |
|---|---|---|
| Power sander with dust port | Hose attached directly | Dustless sanding setup |
| Pole sander on walls | Hose held near the pad | Good capture, some drift |
| Hand sanding corners | Hose pinned close by | Acceptable for small jobs |
Empty the bag before it's full. A full bag kills airflow, and the motor works harder. Keeping the airflow path clear beats any brand upgrade.
Common Mistakes That Ruin Shop Vacs or Cause Dust Explosions
Drywall dust won't blow up your vacuum. The real risks are clogged filters, overheating motors, and dust clouds in your lungs. Those come from predictable mistakes.
Using the stock filter. The standard pleated filter that shipped with your vacuum is the wrong tool. It lets fine dust pass through and clogs almost immediately. Swap it for a true HEPA filter.
Skipping the dust bag. No bag means the filter does all the work. It loads up fast, suction drops, and you'll be cleaning the filter mid-project. A bag also makes disposal safe and tidy.
Emptying the tank indoors. Even with a HEPA filter, opening the tank releases residual dust. Take it outside. Wear a respirator.
Tip it slowly into a trash bag.
Pointing the exhaust at people. Set the vacuum so the exhaust blows away from you and the work area. You'll notice the difference in air quality.
Ignoring a weak filter seal. Dust finds the tiniest gap. If the filter isn't seated perfectly, dusty air bypasses it completely. Always test the exhaust flow before starting.
If you run into a sudden drop in pickup strength, check the filter first. The same troubleshooting logic applies to any vacuum: clogged filter, blocked hose, or full bag. Find the blockage and clear it.
Shop Vac vs. Dedicated Dust Extractor: When to Upgrade
A shop vacuum works for occasional drywall jobs. A dedicated dust extractor is built for continuous tradesman use. The difference comes down to airflow, filtration, and duty cycle.
| Feature | Shop vacuum with HEPA | Dedicated dust extractor |
|---|---|---|
| HEPA standard | Often certified to 99.97% | Often certified to higher M or H class |
| Airflow | 60 to 200 CFM | 100 to 250+ CFM |
| Hose size | 1.25 to 2.5 inches | 1.5 to 2.5 inches, rigid options |
| Duty cycle | Designed for intermittent use | Built for hours of continuous work |
| Typical cost | $100 to $400 total setup | $300 to $1,200 |
If you sand drywall once a year, a shop vacuum with a HEPA filter and dust bag is enough. If you hang and finish drywall weekly, a dust extractor pays for itself in filter longevity and time saved.
For the occasional project, don't let anyone convince you that you need a $1,000 machine. The setup from earlier sections handles a spare bedroom or garage ceiling. Know the limits and upgrade when the work becomes regular.
What Works for Different Users: DIYers, Contractors, and Cleanup Crews
Your role in the project changes what you need from the setup.
DIY homeowners. You're doing a one-time job. Buy a HEPA filter and a few dust bags. Keep your existing shop vacuum.
It'll get you through a room or two without a big investment.
Remodeling contractors. You're doing this every week. Add a cyclone separator to protect your vacuum. Consider a dedicated dust extractor if drywall is a major part of your business.
Cleanup crews. You walk into a dusty site after the sanders are done. The dust has already settled, so capture is less about the source and more about the filter. A true HEPA filter plus a bag is mandatory.
A taller tank saves trips.
Painters. You need dust-free surfaces before priming. Vacuum walls and trim before the first coat. A fine brush attachment helps more than a cyclone here.
Each user group has the same core needs: capture the dust and keep it out of the air. The differences are in how often you do the work and how much dust you face at once.
Costs and Specs: What to Expect at Each Level
You can build a drywall dust setup for under $80 or spend over $1,000. Here's what each level gives you.
| Setup level | Components | Approximate cost | Best for |
|---|---|---|---|
| Entry | HEPA filter plus dust bag on existing shop vac | $40 to $80 | Single room, occasional use |
| Practical | HEPA filter plus bag plus cyclone separator | $100 to $200 | Regular DIY or small jobs |
| Serious | Dedicated dust extractor | $300 to $1,200 | Daily professional use |
Storage space matters too. A 5-gallon shop vacuum is portable but needs frequent emptying. A 16-gallon tank holds more but takes up garage space.
Most DIYers are happiest with a 6 to 12-gallon tank.
Filters don't last forever. A HEPA filter used regularly for drywall can wear out after a year or two depending on dust load. Replace it when the pleats flatten, tear, or the plastic frame cracks.
Don't rinse it unless the manufacturer says you can.
Safety First: Dust Exposure and Respiratory Protection
Drywall dust is a respiratory hazard, not just a mess. Joint compound can contain crystalline silica, and sanding releases it into the air. Repeated exposure is linked to serious lung problems.
Follow the guidance from the National Institute for Occupational Safety and Health when handling silica dust.
Wear an N95 respirator or higher while sanding and cleaning up. A standard dust mask doesn't seal well enough to stop fine particles. Open windows and create cross-ventilation whenever you can.
Check the vacuum exhaust before you start. Point it away from you and the room. A true HEPA setup keeps most dust contained, but the exhaust still moves air.
Venting the hose outdoors is the safest option if your vacuum allows it.
Keeping Your Vac Alive: Cleaning and Maintenance After Drywall
Strip the setup down as soon as the job ends. Remove the dust bag, seal the opening, and toss it outdoors. Tap the HEPA filter gently outside to knock off loose dust between uses.
Don't rinse the filter unless the manual approves it. Water collapses the pleats and ruins filtration. Wipe down the tank interior with a damp cloth and dry it fully before storage.
Clear the hose and check the seals while you're at it. A clogged hose kills suction. The same care routines that keep a pool vacuum reliable apply here.
Regular filter care is the difference between a vacuum that lasts a decade and one that dies in a year.
FAQs About Vacuuming Drywall Dust
Do I need a special bag for drywall dust?
Yes. Use a disposable bag designed for fine dust. Felt bags hold more and clog less than standard paper bags.
Can a shop vac pick up drywall dust without a HEPA filter?
It can, but it will blow fine dust out the exhaust. The HEPA filter is what keeps it from becoming a health issue.
Will drywall dust ruin my shop vacuum?
Not if you use the right filter and bag. Without them, the filter clogs and the motor can overheat.
What respirator should I wear while vacuuming drywall dust?
Wear an N95 or higher. A multi-layer dust mask is better than nothing, but it won't seal as tightly around your face.
How often should I clean the filter after drywall work?
Tap it out after every job. Replace it when the pleats flatten or the frame cracks. Empty the dust bag before it fills completely.
Final Verdict: Should You Do It?
Yes. The setup is simple and affordable for occasional drywall work. A true HEPA filter plus a disposable dust bag turns a regular shop vac into a drywall-safe machine.
Most DIYers can cover the whole setup for well under $100.
If you'd rather skip the prep, the alternative is sweeping and dusting for hours. Or you could pay several hundred dollars more for a dedicated extractor. Neither matches the practicality of a ten-minute setup on gear you already own.
Do it right and your vacuum will serve you for years. Skip the filter and bag and you'll be scrubbing drywall dust off every surface in the room. The choice is clear.

