

How do you unclog a wet/dry vacuum? The answer depends on where the blockage sits and what caused it. That loud motor with zero suction is frustrating, but most clogs clear in under ten minutes.
You just need the right approach.
Manufacturer specifications as of 2026 show most residential wet/dry vacuums use hoses between 1.25 and 2.5 inches in diameter. Airflow ratings typically land between 100 and 200 CFM. A blockage anywhere in that path starves the motor of cooling air and makes it work far harder than normal.
Let's walk through the exact steps to get your suction back.
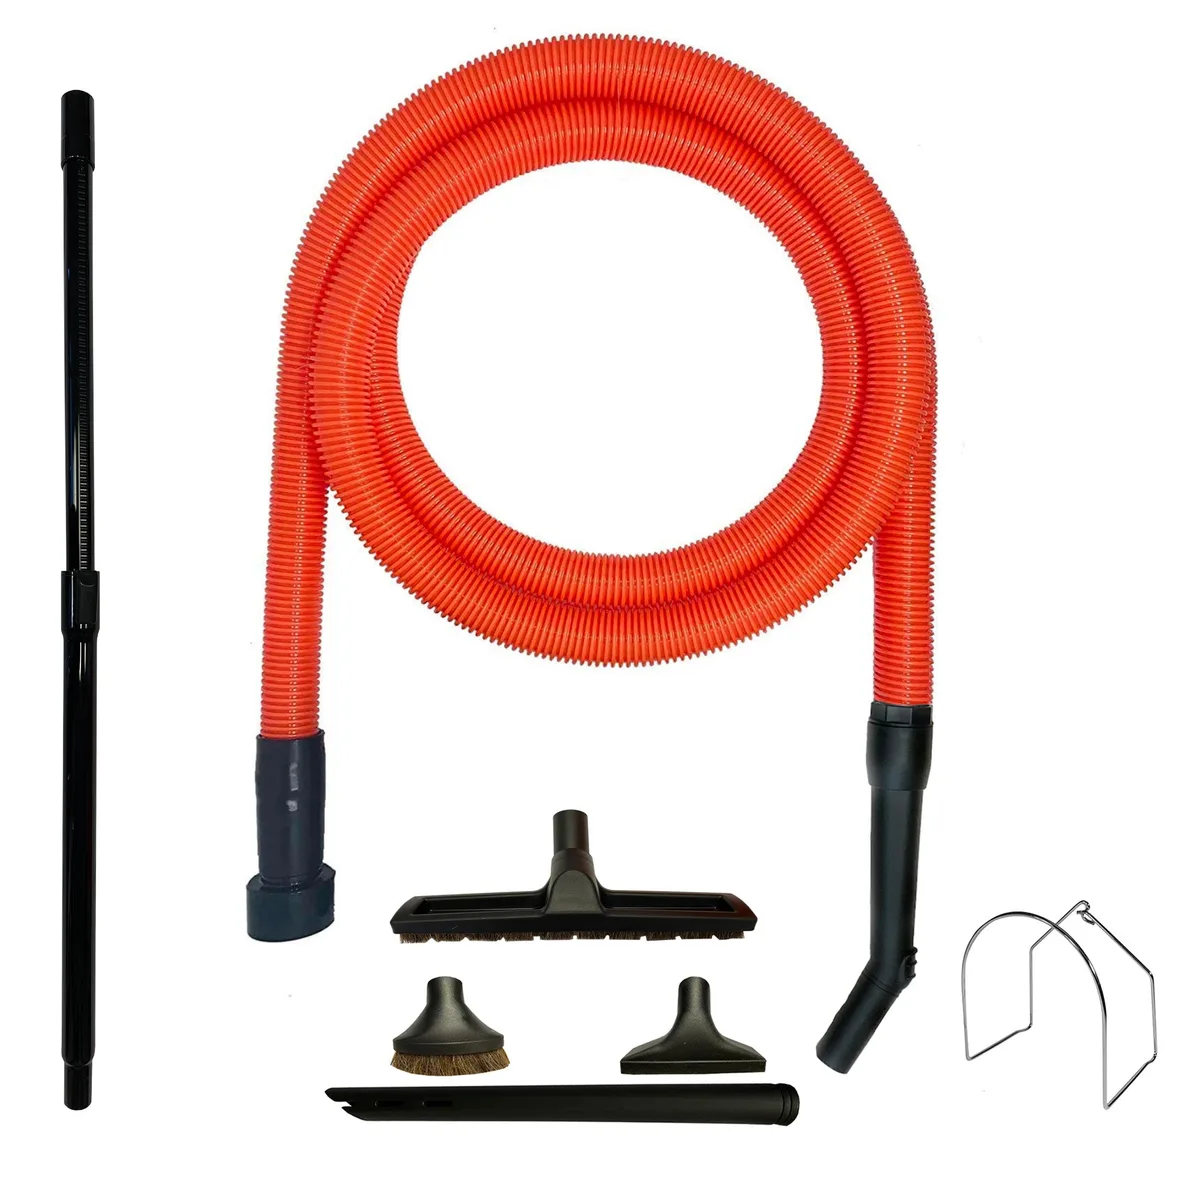
Image source: Bing (Web (fair-use with source credit))
Quick Answer
To unclog a wet/dry vacuum, start with the hose. Remove it and inspect the full length. Push debris out or blow it back through.
If the hose is clear, check the filter and the float valve. Most clogs live in the hose, not the motor.
Know What You're Dealing With Before You Poke Anything
Before you start poking around, figure out what you're working with. A wet clog and a dry clog are completely different problems. And "no suction" is not the same as "weak suction." Get these basics right, and you'll solve the issue faster.
No Suction vs Weak Suction
Zero suction usually means a physical blockage somewhere in the airflow path. Weak suction points to a filter that's matted down, a tank that's too full, or a stuck float valve. The fix for each is different, so don't skip this diagnosis.
| Symptom | Most Likely Cause | Where to Look | | No suction | Blockage in the hose or intake port | Hose, nozzle, intake elbow | | Weak suction | Dirty or wet filter | Filter housing | | Intermittent suction | Debris partially blocking the hose | Full length of the hose | | Motor revs but no airflow | Float valve stuck or tank overfull | Inside the tank |
Safety standards from UL cover how these machines handle wet pickup and electrical grounding. If your vacuum's motor sounds strained, treat that as a warning sign.
Wet Debris vs Dry Debris
Dry debris like sawdust, drywall dust, or wood shavings packs into a dense plug. You can often break it apart with a long stick. Wet debris is stickier.
Mud, soaked leaves, and damp sawdust cling to the hose walls and resist poking.
Here's the key difference. You can blow a dry plug out with the vacuum's exhaust port. A wet plug is better flushed with water, because poking it just smears it deeper.
That's especially true if you vacuumed wet material with a paper filter. The filter is likely ruined. Wet drywall dust turns to paste the moment it hits water.
The 60-Second Clog Test: Where to Look First
Run this quick test before you take anything apart. It tells you exactly which section of the vacuum is blocked.
- Unplug the vacuum. Always.
- Detach the hose from the tank. Leave the filter in place.
- Reach into the tank and feel the intake port. Is it clear?
- Plug the vacuum back in and turn it on for one or two seconds. Keep your hand near the intake port.
- If airflow feels strong, the clog is in the hose or the nozzle. If airflow is weak or barely noticeable, the problem is in the tank, the filter, or the float.
Don't run the vacuum without a filter even for a few seconds. You can pull debris straight into the motor. The same diagnosis works for other suction tools.
If you've ever dealt with a clogged pool vacuum head, you know the drill.
Branch 1: Clear the Vacuum Hose, the Most Common Fix
Nine times out of ten, the clog is in the hose. And the fix depends on what's stuck inside. Wet and dry debris need different approaches.
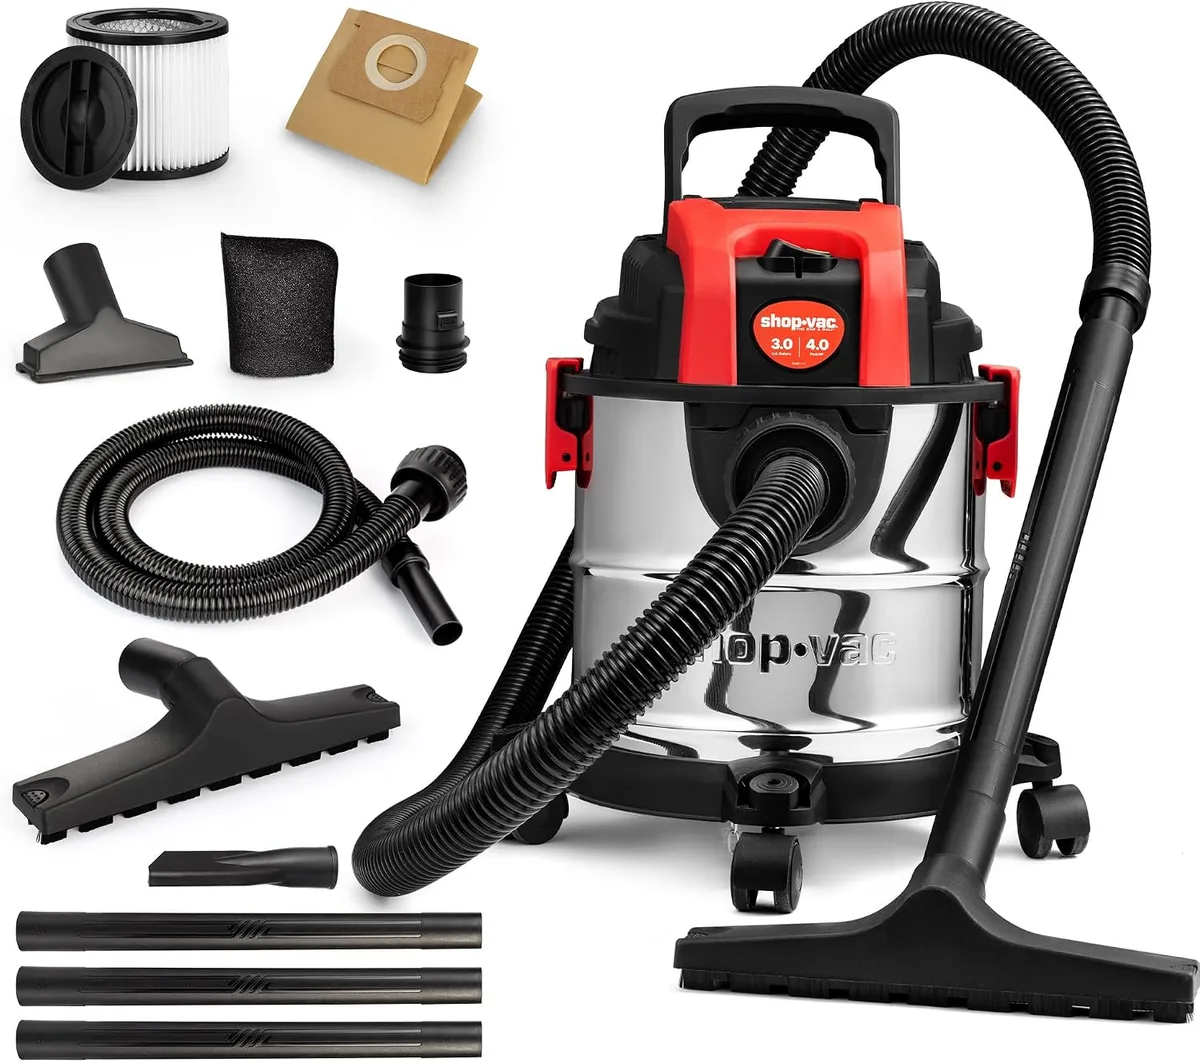
Image source: Bing (Web (fair-use with source credit))
For Dry Debris: Push It Out or Blow It Back
First, try the push method. Straighten the hose as much as you can. A broom handle, a plumbing snake, or a flexible rod works well.
Work it in from the end nearest the clog. You'll feel the plug give way.
If the clog is wedged tight, flip the vacuum to blow mode. Attach the hose to the exhaust port, usually a separate opening near the motor housing. Then turn the vacuum on.
The forced air travels down the hose and pushes the plug out the open end. Do this outside, because it makes a mess. Aim the open end away from your face.
This push method is similar to what you'd use for a collapsed hose. That's a common pool vacuum problem where the walls cave in and kill airflow.
For Wet Debris: Flush the Hose With Water
Wet clogs respond better to water than to brute force. Disconnect the hose and bring it outside. Attach a garden hose to one end.
Let the water run through until it comes out clear. If the clog is solid, use a plunger at the other end to create suction and pull it free.
Let the hose dry before you use it again. Wet debris left inside can smell and grow mold within a few days. If you need to poke a wet clog, do it gently.
There's usually a wet core that will spray when it breaks.
Branch 2: Unclog the Intake Port, Nozzle, and Hose Connection
If the hose is clear but suction is still bad, check the intake port. That's the curved plastic opening where the hose connects to the tank. Debris loves to jam right there, especially at the elbow.
Disconnect the hose and look inside. You may spot a wad of hair, string, or a small toy. Needle-nose pliers are great for pulling things out.
For a deeper plug, reach into the tank and push the blockage back out toward the nozzle.
Also check the nozzle attachments. A wide floor nozzle can trap debris at the narrow throat. Remove the attachment and poke through it from the bottom.
Check the hose connections at both ends, too. Sometimes the clog hides in the last inch of hose exactly where it slips over the port.
If your vacuum has a drain port at the bottom, open it and flush water through the intake while the hose is removed. That clears sludge the stick can't reach. A blocked inlet creates the same weak-suction symptom you'd see in any cleaner, including pool vacuums that keep losing suction.
Branch 3: Clean or Replace the Filter When the Hose Is Clear
The hose is clear and suction is still weak? The filter is the next suspect. A matted, dust-laden filter chokes airflow even when the motor sounds healthy.
Most manufacturers recommend cleaning the filter every few full tanks, but the interval varies by model.
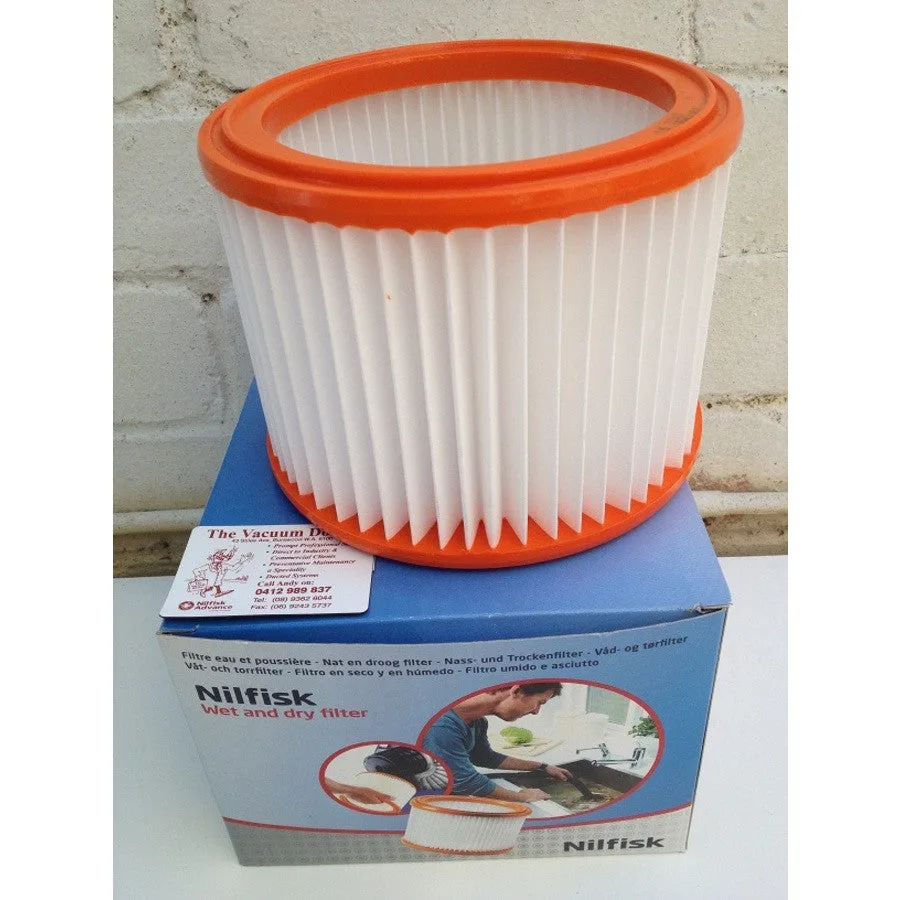
Image source: Web (Bing) / vacuumdoctor.com.au (Web image (fair-use with source credit))
For a dry filter, tap it against the inside of a trash can. A stiff brush removes embedded dust. Compressed air works better, but blow from the inside out so you push debris away from the motor.
For a wet filter, rinse it under lukewarm water until the water runs clear.
Squeeze it dry, then let it air dry fully before reinstalling. A paper filter that got wet is ruined. Replace it.
If the filter is torn, warped, or smells musty, replace it. Filters cost between $10 and $60 depending on the type. A shop vac isn't unique here.
A dirty filter kills suction in any tool, including robotic pool cleaners.
Branch 4: Reset a Stuck Float Valve or Empty a Full Tank
If the filter is clean but airflow is still poor, check the float valve. That's the plastic ball or foam disc inside the tank that shuts off suction when liquid gets too high. It's your vacuum's way of protecting the motor from water damage.
An overfilled tank is the most common cause. Empty the tank completely, and the float drops back into place. Wipe away any sludge around the float's guide so it moves freely.
If the float is stuck in the raised position, tap it lightly with a screwdriver handle. Test the vacuum for one second. If airflow returns, you're done.
When the Motor Still Sounds Blocked: Check the Impeller Fan
The hose, filter, and float all check out, but the motor still sounds strained? The impeller fan might be tangled. Hair, string, or wire can wrap around the blades inside the motor housing.
First, unplug the vacuum. Locate the screws securing the top motor assembly. On most models, three to six screws around the top cover expose the fan.
Look for debris wrapped around the blades.
Remove what you can with needle-nose pliers. If the fan is packed with compacted dust, use a damp cloth to wipe it gently. Never run the vacuum without reassembling it fully.
If you can't free the impeller without prying on the blades, stop. A bent fan blade creates vibration and noise. Take the vacuum to a repair shop.
Damaging the motor is the most expensive clog you can create.
Mistakes That Ruin Wet/Dry Vacuums: Don't Do These
A few common errors cause most shop-vac failures. Our research into service discussions and dealer reports shows the same mistakes coming up every month.
- Running a paper filter wet. Drywall dust becomes paste. Water ruins the filter permanently.
- Poking a clog while the vacuum is plugged in. A stick can slip and hit the motor fan.
- Skipping the filter entirely. "Just for a second" pulls debris straight into the motor.
- Ignoring a burning smell. That's motor strain, not a normal odor.
- Leaving wet waste in the tank. Mold and corrosion follow within days.
Each of these is avoidable with basic upkeep routines that take minutes. A new motor costs far more than any filter, so skipping this step is a bad trade.
Safety First: Unplug, Watch for Overheating, and Don't Mix Dust and Water Carelessly
Safety matters more than speed. Always unplug the vacuum before inspecting or clearing any part. That single step prevents the worst injuries.
Watch for overheating during use. If the tank or motor housing feels hot, stop immediately. Let it cool, then check for blockages.
Per UL safety standards, wet/dry vacuums use grounded plugs and float shutoffs, but these protections only work if the machine is intact.
Don't use a vacuum with a damaged cord near water. When you clear dry debris like drywall dust or sawdust, wear a dust mask. Fine particles kick up fast and irritate your lungs.
The EPA recommends HEPA filtration for renovation dust, so use the highest-rated filter you can for fine powders. Wet pickup and dry pickup are different jobs. Treat them that way.
Prevent Future Clogs: Right Filters, Debris Bags, and a Simple Maintenance Routine
The best fix is stopping clogs before they happen. That starts with the right filter. A cartridge filter handles dry jobs like sawdust and drywall.
A foam sleeve works better for wet pickup. Using the wrong one turns fine dust into a solid plug.
A debris bag adds another layer of protection for dry waste. It catches the bulk of the material before it reaches the filter. That alone noticeably reduces how often you need to clean the filter.
Aggregate reviews from heavy workshop users confirm bags also make emptying the tank mess-free.
Build a simple routine. Empty the tank after every session. Tap the filter weekly if you use the vacuum often.
Check the hose for trapped debris once a month. This kind of regular plumbing check keeps airflow strong and the motor happy.
Real-World Examples: Three Clog Scenarios and Exactly How They Got Fixed
Scenario 1: Drywall dust plug in the hose. A homeowner vacuumed a fresh sanding job with a cartridge filter that was overdue for cleaning. The 1.25-inch hose clogged halfway through. The fix took ten minutes.
Straightening the hose and pushing a plumbing snake through broke the plug loose. Tapping the filter cleaned it enough to restore full suction.
Scenario 2: Wet sawdust packed at the intake port. A contractor picked up damp sawdust with a dry filter still in place. The wet dust turned to paste at the elbow. Poking made it worse.
Flushing the hose with a garden hose cleared it, but the filter was ruined. Replacement cost $18. The lesson is that wet pickup needs the foam filter installed.
Scenario 3: String wrapped around the impeller fan. A workshop user vacuumed packing material and heard the motor strain. The hose was clear, the filter was clean, and the float moved freely. Inside the motor housing, string had wrapped around the blades.
It took 30 minutes to remove the top cover and cut it free. No parts needed replacing.
These follow the same troubleshooting order you worked through above. Check the hose first, then filter, then the motor. A similar approach works for other suction tools that suddenly underperform.
Pick Your Path: A Quick Decision Guide by Symptom
Use this quick reference when you're not sure where to start. Match your symptom to the fix.
| Symptom | First Check | Likely Fix | | No suction at all | Hose and nozzle | Push or blow out the clog | | Weak suction, clean hose | Filter | Tap, rinse, or replace it | | Gurgling or sputtering | Tank level | Empty the tank and clear the float | | Motor loud, no airflow | Float valve | Reset it by hand | | Burning smell | Motor housing | Stop and inspect the impeller |
If the hose is clear and the filter is clean, move to the float and the tank. If neither helps, shut the vacuum off. Let it cool, then open the motor housing carefully.
You can apply the same logic to other cleaners. A stuck robotic pool cleaner usually has a blocked intake or a tangled impeller. The diagnosis order stays the same: power, filter, then the moving parts.
Frequently Asked Questions
Why is my wet/dry vacuum losing suction?
A loss of suction usually means a blocked hose, a dirty filter, or a full tank. Check the hose first by removing it and inspecting both ends. Clean or replace the filter next.
Empty the tank and test the float valve if airflow still feels weak.
Can I clear a clog using the blower port?
Yes. Attach the hose to the exhaust port and run the vacuum. The forced air pushes dry debris out the open end.
Do this outside and aim the hose away from people. Wet clogs respond better to flushing with water.
How often should I clean the wet/dry vacuum filter?
It depends on use. For light home projects, tap the filter clean every few sessions. For heavy workshop work, clean it after each full tank.
A visibly matted filter chokes airflow fast, so clean it whenever you notice weaker suction.
Can water ruin a wet/dry vacuum?
Water will not ruin a vacuum built for wet pickup, but it can ruin a paper filter. Always swap to a foam filter before wet jobs. Empty the tank after use and let the inside air out.
Standing water leads to mold, corrosion, and a lasting musty smell.
Is it safe to run a wet/dry vacuum without a filter?
No. Running it without a filter pulls dust and debris straight into the motor. That can damage the impeller fan and burn out the motor.
Even a few seconds of run time without a filter is risky. Always use the right filter for the job.

