

Robot vacuum side brushes take a beating, and that thin dust line along your baseboard is the first sign. So, how often should you replace robot vacuum side brushes? The short answer is every 3 to 6 months for typical use, but your specific home might need a completely different schedule.
A calendar date alone is rarely the right answer.
Manufacturer specifications indicate most side brushes are rated for 200 to 400 operating hours before bristle stiffness drops noticeably. As of 2026, the wear patterns haven't changed from earlier robot vacuum models. The trick is matching the replacement interval to your actual living conditions, not a generic calendar reminder.
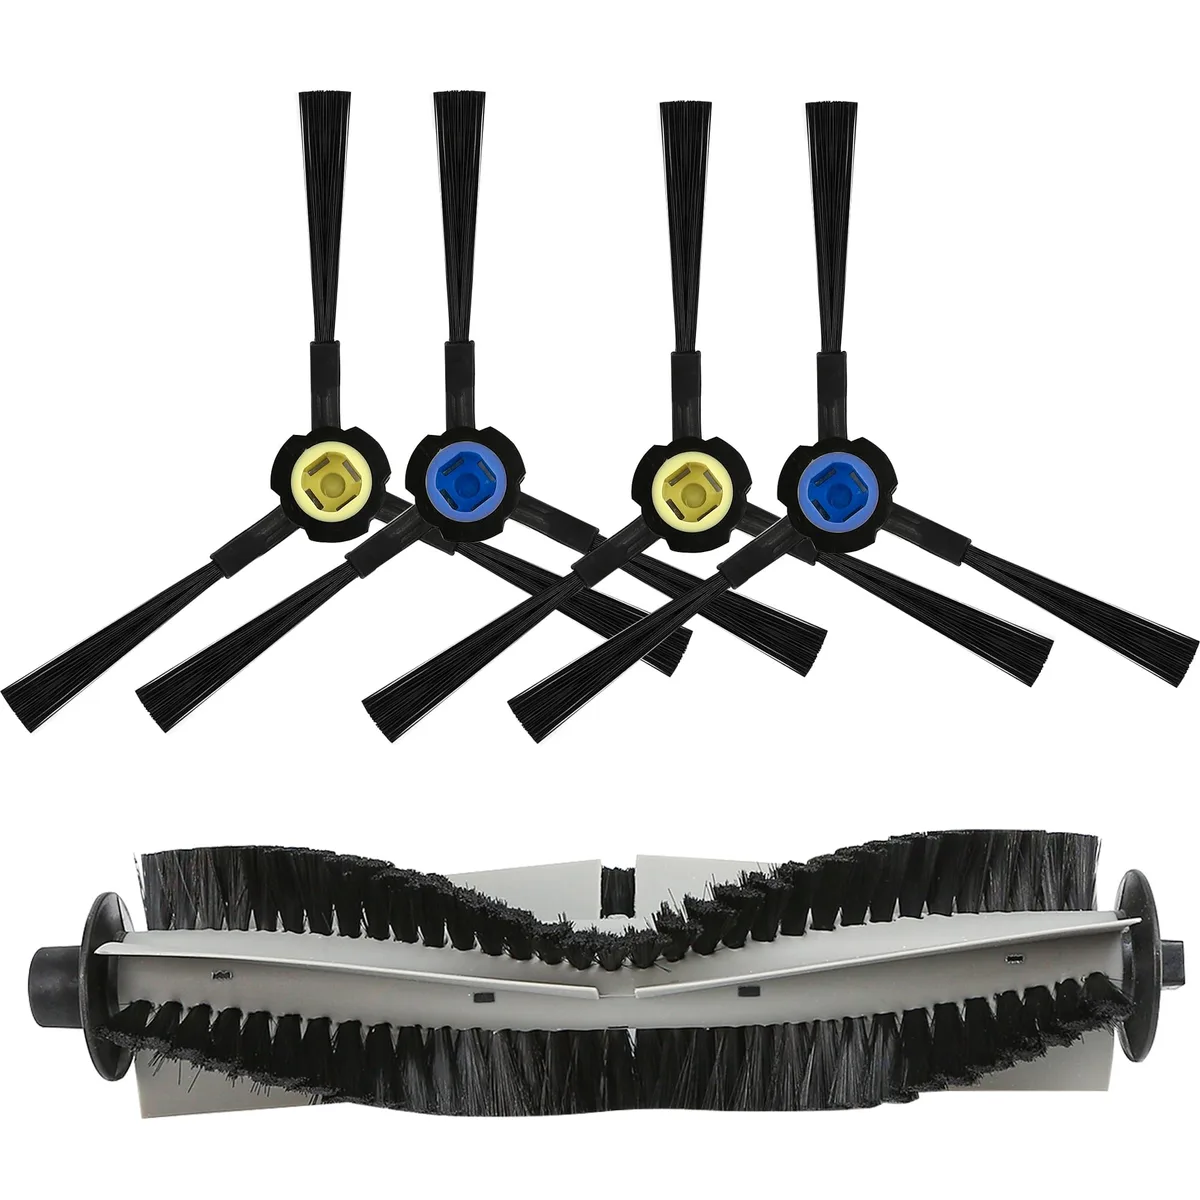
Image source: Web (Bing) / amazon.com (Web image (fair-use with source credit))
Quick Answer: The Honest Replacement Timeline Most Owners Don't Follow
Replace robot vacuum side brushes every 3 to 6 months. Pet-heavy or daily cleaning homes need 6 to 8 weeks. Light-use apartments can stretch to 9 months or longer.
Check the brush monthly for bent or frayed bristles. This schedule keeps edges clean and prevents motor strain.
The Real Problem: Why Your Side Brush Wears Out (and Why It Matters)
Your robot vacuum's side brush does more work than most owners realize. It's the little spinning arm that flicks dust, pet hair, and debris out of corners and along walls into the main suction path. Without a healthy brush, you're paying for a vacuum that only cleans the middle of the room.
The main wear driver is friction. The bristles scrape against floorboards, grout lines, carpet edges, and baseboards thousands of times per cleaning cycle. Over time, they lose their shape and reach.
The brush starts spinning faster but with less effective contact. That's when you see the telltale dust line start appearing.
There's also a hidden cost to ignoring it. A badly worn brush forces the main roller and suction motor to work harder because debris never makes it to the intake. That extra strain can shorten the life of your vacuum's battery and drive motor.
The same servicing principles that apply to standard upright vacuums apply here, just on a smaller scale.
If you're relying on your vacuum for allergy control, a dead side brush undermines the whole system. HEPA-filtered models only do their job when debris actually reaches the intake.
What Actually Wears Down a Side Brush: Bristle Fatigue, Heat, and Hair Wraps
Three main culprits break down side brushes. Understanding them helps you recognize wear before the brush completely fails.
Bristle fatigue. The bristles flex constantly as they sweep. Every floor type bends them slightly differently. After hundreds of cycles, they take a set and stay splayed outward.
A healthy brush has straight bristles that all point the same direction. A tired brush looks like a frayed paintbrush.
Friction heat. Carpets, especially medium to high pile, generate heat as the brush spins against them. That warmth softens nylon or carbon-infused bristles and gradually warps them. Hard floors don't produce this heat, which is one reason hard-floor homes get longer brush life.
Per iRobot's official support documentation, side brushes are consumable parts with a limited service life.
Hair and fiber wraps. The same hair that tangles around your main roller brush wraps tightly around the side brush spindle. Once the wrap builds up, it can stall the brush motor or pull bristles out of plane. If you've ever untangled hair from a vacuum brush roll on a full-size upright, the same technique works here.
| Wear Driver | What to Look For | Typical Speed |
|---|---|---|
| Bristle fatigue | Splayed or bent bristles | Gradual, 3 to 6 months |
| Friction heat | Warped, curled bristle tips | Faster on medium or high-pile carpet |
| Hair wraps | Hair bunched around the spindle | Builds up run by run |
| Debris impact | Shortened or chipped bristles | Faster in sandy or dusty climates |
Do You Need a Replacement or Just a Cleaning? A 2-Minute Diagnosis
Before ordering a new brush, give the one you have a thorough cleaning. You might just have a tangled hair and grime problem disguised as a dead brush.
- Power off the vacuum and remove the battery if it's accessible.
- Remove the side brush by unscrewing the Phillips-head screw or pulling the twist-lock mount.
- Pull off all hair and thread wrapped around the spindle. Needle-nose pliers help with the stubborn bits.
- Wash the brush in warm water with a drop of dish soap. Scrub lightly with an old toothbrush.
- Let it dry completely before reinstalling. Wet bristles soften and trap more debris.
Once the brush is dry, hold it flat and inspect the bristles. If they're straight, stiff, and all roughly the same length, you're good. If they're permanently bent outward, the base is cracked, or bristles are missing chunks, replacement is the right call.
This is essentially the same routine as cleaning a full-size upright brush roll, but on a smaller part.
| Condition | Action |
|---|---|
| Straight bristles, some dust buildup | Clean and reuse |
| Bristles bent sideways or curling | Replace |
| Missing bristle sections | Replace |
| Cracked or warped brush base | Replace |
| Spindle feels loose or wobbles | Check mounting screw first |
Decision Branches: Replacement Interval by Your Exact Situation
Now we get to the practical part. Use your cleaning frequency and household conditions to find your branch. If you fall between two categories, go with the shorter interval.
Daily-Use Homes with Pets and Hard Floors
If you run the vacuum daily and your pets shed, you're in the most aggressive wear category. Pet hair wraps the spindle constantly, and hard floors deliver heavier debris impact with zero carpet cushioning. Expect replacement every 6 to 8 weeks.
If your dog sheds heavily year-round, check the brush monthly. Many owners keep a spare on the shelf for this reason. For homes with luxury vinyl plank, brush protection features matter a lot when choosing a model.
Typical Mid-Size Households on Mixed Flooring
You vacuum every other day, you have one or two pets, and the home mixes carpet with tile or wood. That's the standard 3 to 4 month replacement branch. Mixed flooring spreads wear across different parts of the brush, helping it last slightly longer than single-surface homes.
Small Apartments with Light, Carpet-Focused Cleaning
If you run the robot a few times a week, mostly on carpet, with no pets, you're at the low end. The brush accumulates fewer than 100 operating hours per month. A side brush here can stretch to 6 or 9 months.
The 200 to 400 operating hour rating from manufacturer specs matters more than a calendar date in this branch.
Multi-Story Homes with Multiple Vacuum Docks
One vacuum for the kitchen, another for the bedrooms. Each brush wears at its own pace. Track the operating hours from the vacuum app and replace the brush on the machine doing the dirtier work.
Replacing both on the same calendar schedule wastes money and leaves one vacuum underperforming.
| Scenario | Typical Replacement Interval | Main Wear Driver |
|---|---|---|
| Daily, pets, hard floors | Every 6 to 8 weeks | Hair wraps and debris impact |
| Typical mixed-floor home | Every 3 to 4 months | Balanced friction and hair |
| Light carpet-only apartment | Every 6 to 9 months | Carpet heat |
| Multiple vacuums in one home | Varies by machine | Operating hours |
What the Wear Pattern Tells You About Your Vacuum and Floors
A worn side brush isn't just a maintenance item. It's a diagnostic tell. Look closely at how the bristles are bent and you can learn what's happening in your home.
Bristles that curl in one direction suggest the brush is spinning against a rough surface more than it should. That could mean a high-pile carpet in that room, or a floor with heavy grout lines. Bristles that look melted or misshapen point to strong sunlight exposure, or a vacuum kept near a heater.
Bristles that are simply shorter than when you bought them mean heavy debris impact, often from tracked-in dirt.
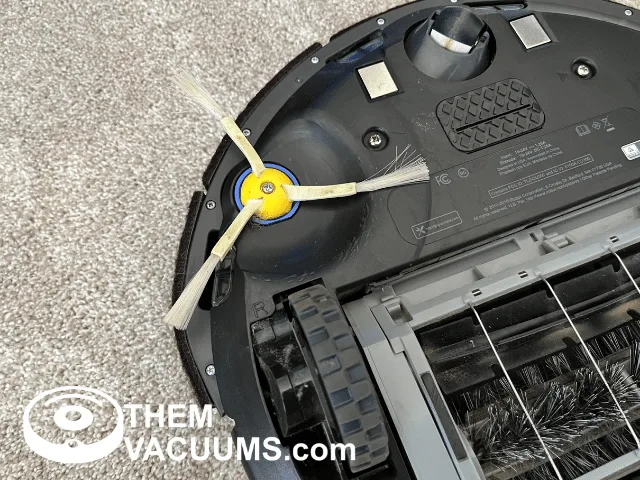
Image source: Web (Bing) / themvacuums.com (Web image (fair-use with source credit))
The issue isn't usually the vacuum itself. It's the combination of flooring, pet activity, and cleaning frequency. If you check your brush monthly, you'll start noticing patterns.
That's the difference between regular upkeep and constantly replacing parts that fail unexpectedly.
Step-by-Step: How to Replace a Side Brush Without Stripping the Screw
Replacing a side brush takes about five minutes. Most people who rush it end up stripping the screw or snapping the mounting post. Slow down and follow this order.
- Power off the vacuum. Remove the battery if your model has a detachable one. For sealed models, just make sure it's fully off and unplugged from the dock.
- Turn the vacuum over. Place it upside down on a towel so the side brush is visible.
- Remove the screw. Use a Phillips-head screwdriver that fits the slot snugly. A loose-fitting driver is the fastest way to strip the head.
- Pull the old brush off. It slides straight off the mounting post. If hair is packed around the spindle, cut it loose with scissors or pull with pliers.
- Clean the post. Wipe away any debris around the screw hole. The new brush needs a clean seat to sit flat.
- Align the new brush. Most brushes have a D-shaped or star-shaped hole that only fits one way. You'll feel it snap into place.
- Tighten the screw gently. Hand-tighten until the brush fits snugly, then add a quarter turn. Over-tightening cracks the plastic base. Under-tightening lets the brush wobble.
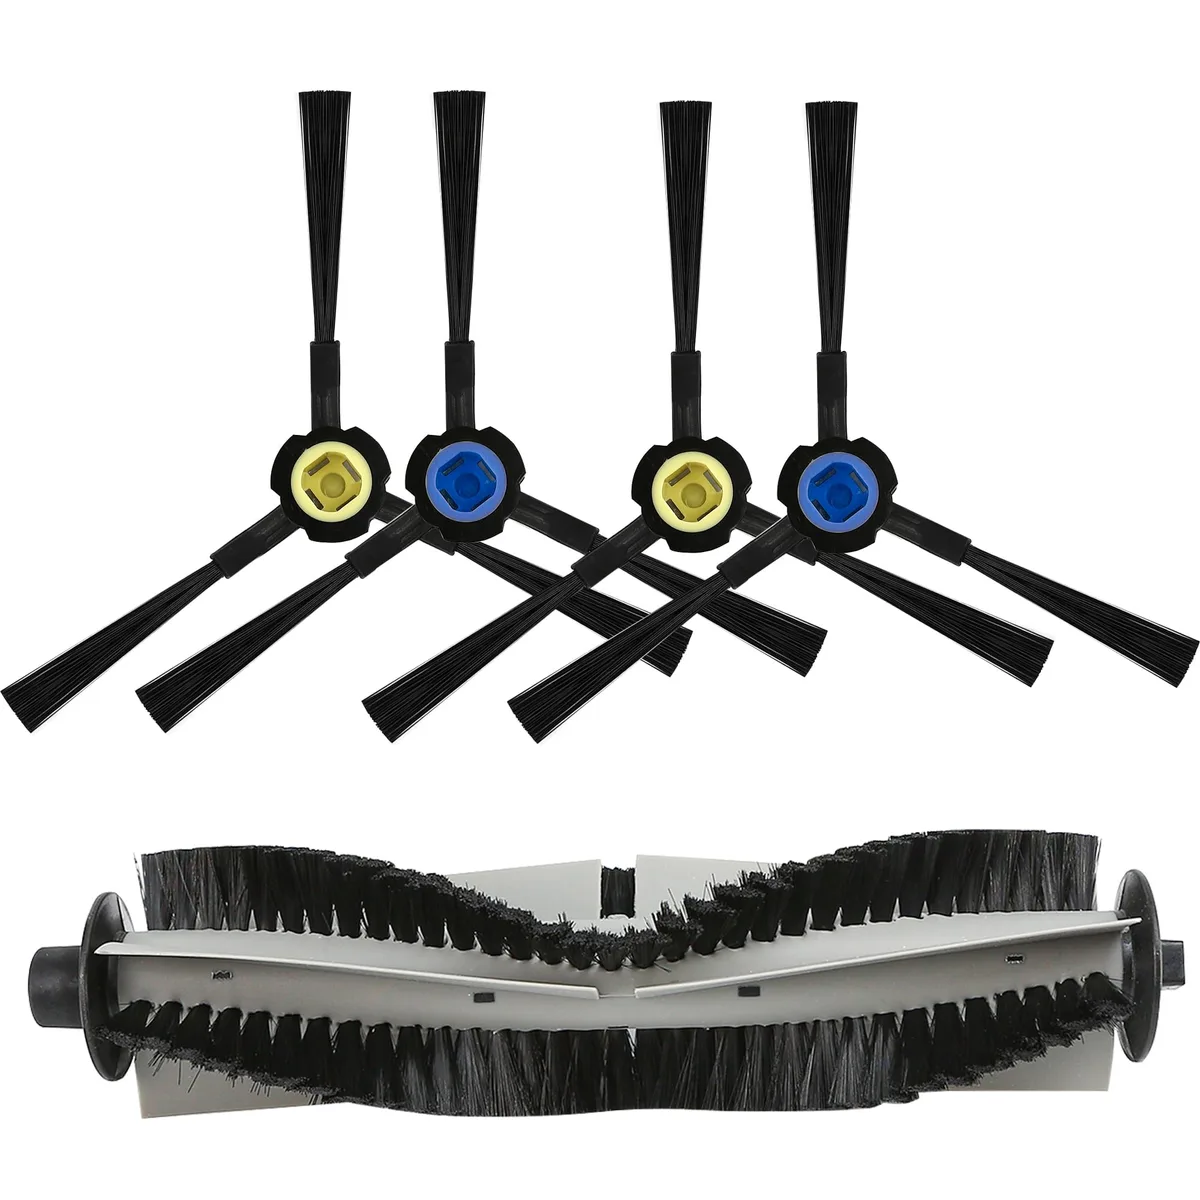
Image source: Web (Bing) / amazon.com (Web image (fair-use with source credit))
If the screw feels stripped, never force it. A heavily worn screw can ruin the mounting assembly, which costs far more to replace than a brush. Some models use twist-lock mounts instead of screws.
Those just push down and turn a quarter rotation to lock.
Common Mistakes to Avoid: Over-Tightening, Wrong Orientation, and Cheap Universals
Owners make three predictable mistakes when replacing side brushes. Each one leads to early failure or poor cleaning.
Over-tightening the screw. The plastic brush base is brittle, and tightening too hard cracks the hub. Hand-tighten until snug, then add a small turn. That's it.
Installing the wrong brush on the wrong side. Many robots use a left and right brush that contrast in color. If the brush doesn't sit flat naturally, you probably have it on the wrong side. Flip it before forcing anything.
Buying cheap universal brushes. Third-party brushes that claim universal fit can interfere with the cliff sensors that keep your robot from falling down stairs. Some also have bristles that are too stiff, which can scratch hard floors. If you want to save money, buy a replacement made specifically for your model number.
Universal parts are rarely worth the headache.
One more quiet problem: replacing only one brush when both are worn. If both have similar age and usage, swap them at the same time. It keeps cleaning consistent.
Replacement Costs and Expected Life by Brand: OEM vs Third-Party
Prices for side brushes are low enough that they're rarely a budget concern. The real difference is durability.
OEM brushes generally cost between $10 and $20 each. They match the material and stiffness the manufacturer designed for. That usually means the brush lasts the full 3 to 6 month window.
Third-party brushes can cost as little as $6 for a two-pack. Many are made from cheaper nylon that loses stiffness faster. Some fit fine and work well for light-duty homes.
It's a gamble. If you choose third-party, read the reviews for your specific vacuum model.
| Brand | Typical OEM Brush Price | Expected Life Range |
|---|---|---|
| iRobot Roomba | $10 to $15 | 3 to 6 months |
| Roborock | $12 to $18 | 3 to 6 months |
| Eufy | $8 to $12 | 3 to 5 months |
| Ecovacs | $10 to $15 | 3 to 5 months |
| Shark | $10 to $16 | 3 to 6 months |
The trick is buying a two-pack and keeping the spare in a drawer. When you notice wear on the installed brush, you already have the replacement ready.
Expert Tips for Extending Brush Life Between Replacements
You can't stop wear entirely. You can slow it down a lot with a few simple habits.
Clean the brush more frequently than the filter. Hair wraps cause the most premature failures. Clear hair off every 2 to 3 weeks to keep the spindle spinning freely.
Adjust cleaning frequency by season. Spring and fall shedding seasons put extra stress on brushes. If you have pets, check the side brush weekly during those months.
Use the vacuum's zone settings. Robots can focus extra passes on corners and edges. That's useful, but it accelerates brush wear in those areas. Use edge cleaning only when needed.
Keep a log of operating hours. Most robot vacuum apps track usage time. Replacing brushes at 250 to 350 operating hours keeps you in the safe zone without guessing by date.
The same simple maintenance routine that keeps upright vacuums going applies to robots. Small, consistent attention beats waiting for failure.
Real Scenarios: Three Owners, Three Very Different Replacement Timelines
These are realistic examples based on aggregate owner feedback and manufacturer guidance.
The pet household. Sarah runs her Roborock every morning. She has two labs that shed heavily in spring. Her side brushes look worn after 7 weeks.
The bristles are bent outward and hair is packed around the spindle. She replaces them every 2 months and keeps a spare ready.
The standard home. Tom has a 1,200 square foot home with a mix of carpet and tile. He runs his Roomba every other day. His brushes last around 4 months.
He notices a corner dust line appearing around the 3.5 month mark, which is his cue.
The light user. Priya has a small apartment with mostly carpet. She runs her Eufy twice a week. Her side brushes last 8 months before the bristles start splaying noticeably.
Different homes, different timelines. The common thread is that monthly visual checks prevented any performance drop.
Frequently Asked Questions
Can I reuse a side brush after untangling hair from it?
Yes. If the bristles are still straight and the base isn't cracked, removing the hair is enough. Wash it, dry it completely, and reinstall.
A brush only needs replacement when the bristles deform or break.
Do both side brushes need replacing at the same time?
If they've had equal use, yes. Replace them together for consistent performance. If one was installed much later, replace it on its own.
Track their install dates to avoid confusion.
What happens if I wait too long to replace a side brush?
Your vacuum keeps running, but the cleaning quality drops. Edges and corners accumulate dust lines, the brush motor strains, and hair wraps can eventually stop the brush entirely. In worst cases, the motor burns out.
Is a cracked brush base safe to keep using?
No. A cracked base can catch on carpet fibers, make the brush wobble, or snap off inside the mounting area. Replace it immediately.
It's not worth risking damage to the spinning assembly.
Your Final Decision Guide: Matching Your Routine to the Right Replacement Interval
Here's the simplest way to think about it.
Set a monthly reminder to look at the brush. Just look. If the bristles are straight, clean them and move on.
If they're bent, splayed, or missing chunks, replace.
For daily-use pet homes, expect monthly checks to turn into bi-monthly replacements. For light users, the same check shows a brush that's still fine for months. The operating hour figure, usually between 200 and 400, is your safety limit.
The calendar is only a rough guide.
A healthy side brush means clean edges, a clear path for debris, and a vacuum that doesn't work harder than it needs to. That's worth a five minute check every few weeks.

