

The Roomba i7+ usually makes noise from normal cleaning parts, but clogs, wear, or dock issues can make it louder.
If your iRobot Roomba i7+ Robot Vacuum making noise has started to sound sharper, rattlier, or more strained than usual, you are not alone. In my experience testing robot vacuums, this model is usually quiet enough for daily use, so a sudden change in sound often points to a very specific issue that can be found and fixed fast. Let’s walk through the real causes, the difference between normal and abnormal noise, and the practical steps that usually bring the Roomba i7+ back to its smoother, steadier hum.

Why the iRobot Roomba i7+ Robot Vacuum making noise is not always a problem
A little noise is normal. The Roomba i7+ has a suction motor, brushes, wheels, sensors, and a self-emptying Clean Base, and all of those parts can create sound during use. Think of it like a car engine at idle versus a car that is struggling on a rough road.
The key is to listen for changes. A steady vacuum sound, a brief burst while emptying, or light brush noise is usually fine. But if the iRobot Roomba i7+ Robot Vacuum making noise becomes loud, grinding, clicking, squealing, or banging, that is your clue that something needs attention.
In real use, the biggest mistake I see is people assuming every noise means a major failure. Often, the fix is simple. A full bin, dirty brushes, a jammed wheel, or a blocked airflow path can make the Roomba i7+ sound much worse than it really is.
Common reasons the iRobot Roomba i7+ Robot Vacuum making noise
Brush roll debris and tangled hair
Hair and string love to wrap around the main brush and side brush. When that happens, the vacuum can sound rough, uneven, or like it is “dragging” while moving.
This is one of the most common causes I have seen in homes with pets or long hair. The sound often gets louder on carpet because the brush is working harder.
What to check:
- Remove the main brush
- Cut away hair and threads with care
- Clean the brush caps and ends
- Inspect the side brush for bends or wrapped debris
Dirty filters and blocked airflow
When airflow gets restricted, the motor can work harder and sound louder. A clogged filter or full dust path can make the Roomba i7+ Robot Vacuum making noise sound strained, almost like it is breathing through a straw.
Check the filter, dust bin, and suction channel. If dust has built up, clean it out gently and replace the filter if it looks worn or darkened.
Wheels stuck with debris
Tiny items like crumbs, hair ties, and grit can jam the front caster wheel or side wheels. That can create clicking, rattling, or a thumping noise as the robot rolls.
A wheel issue is easy to miss because the vacuum may still move. But the sound often changes when it turns or crosses a threshold.
Loose or worn parts
Over time, parts can loosen. Brush modules, bin doors, and even internal mounts can start to vibrate more than before.
If the iRobot Roomba i7+ Robot Vacuum making noise sounds like plastic shaking or buzzing, check for parts that are not seated properly. I have found that re-seating the dust bin or cleaning the brush housing often reduces the noise right away.
Clean Base problems
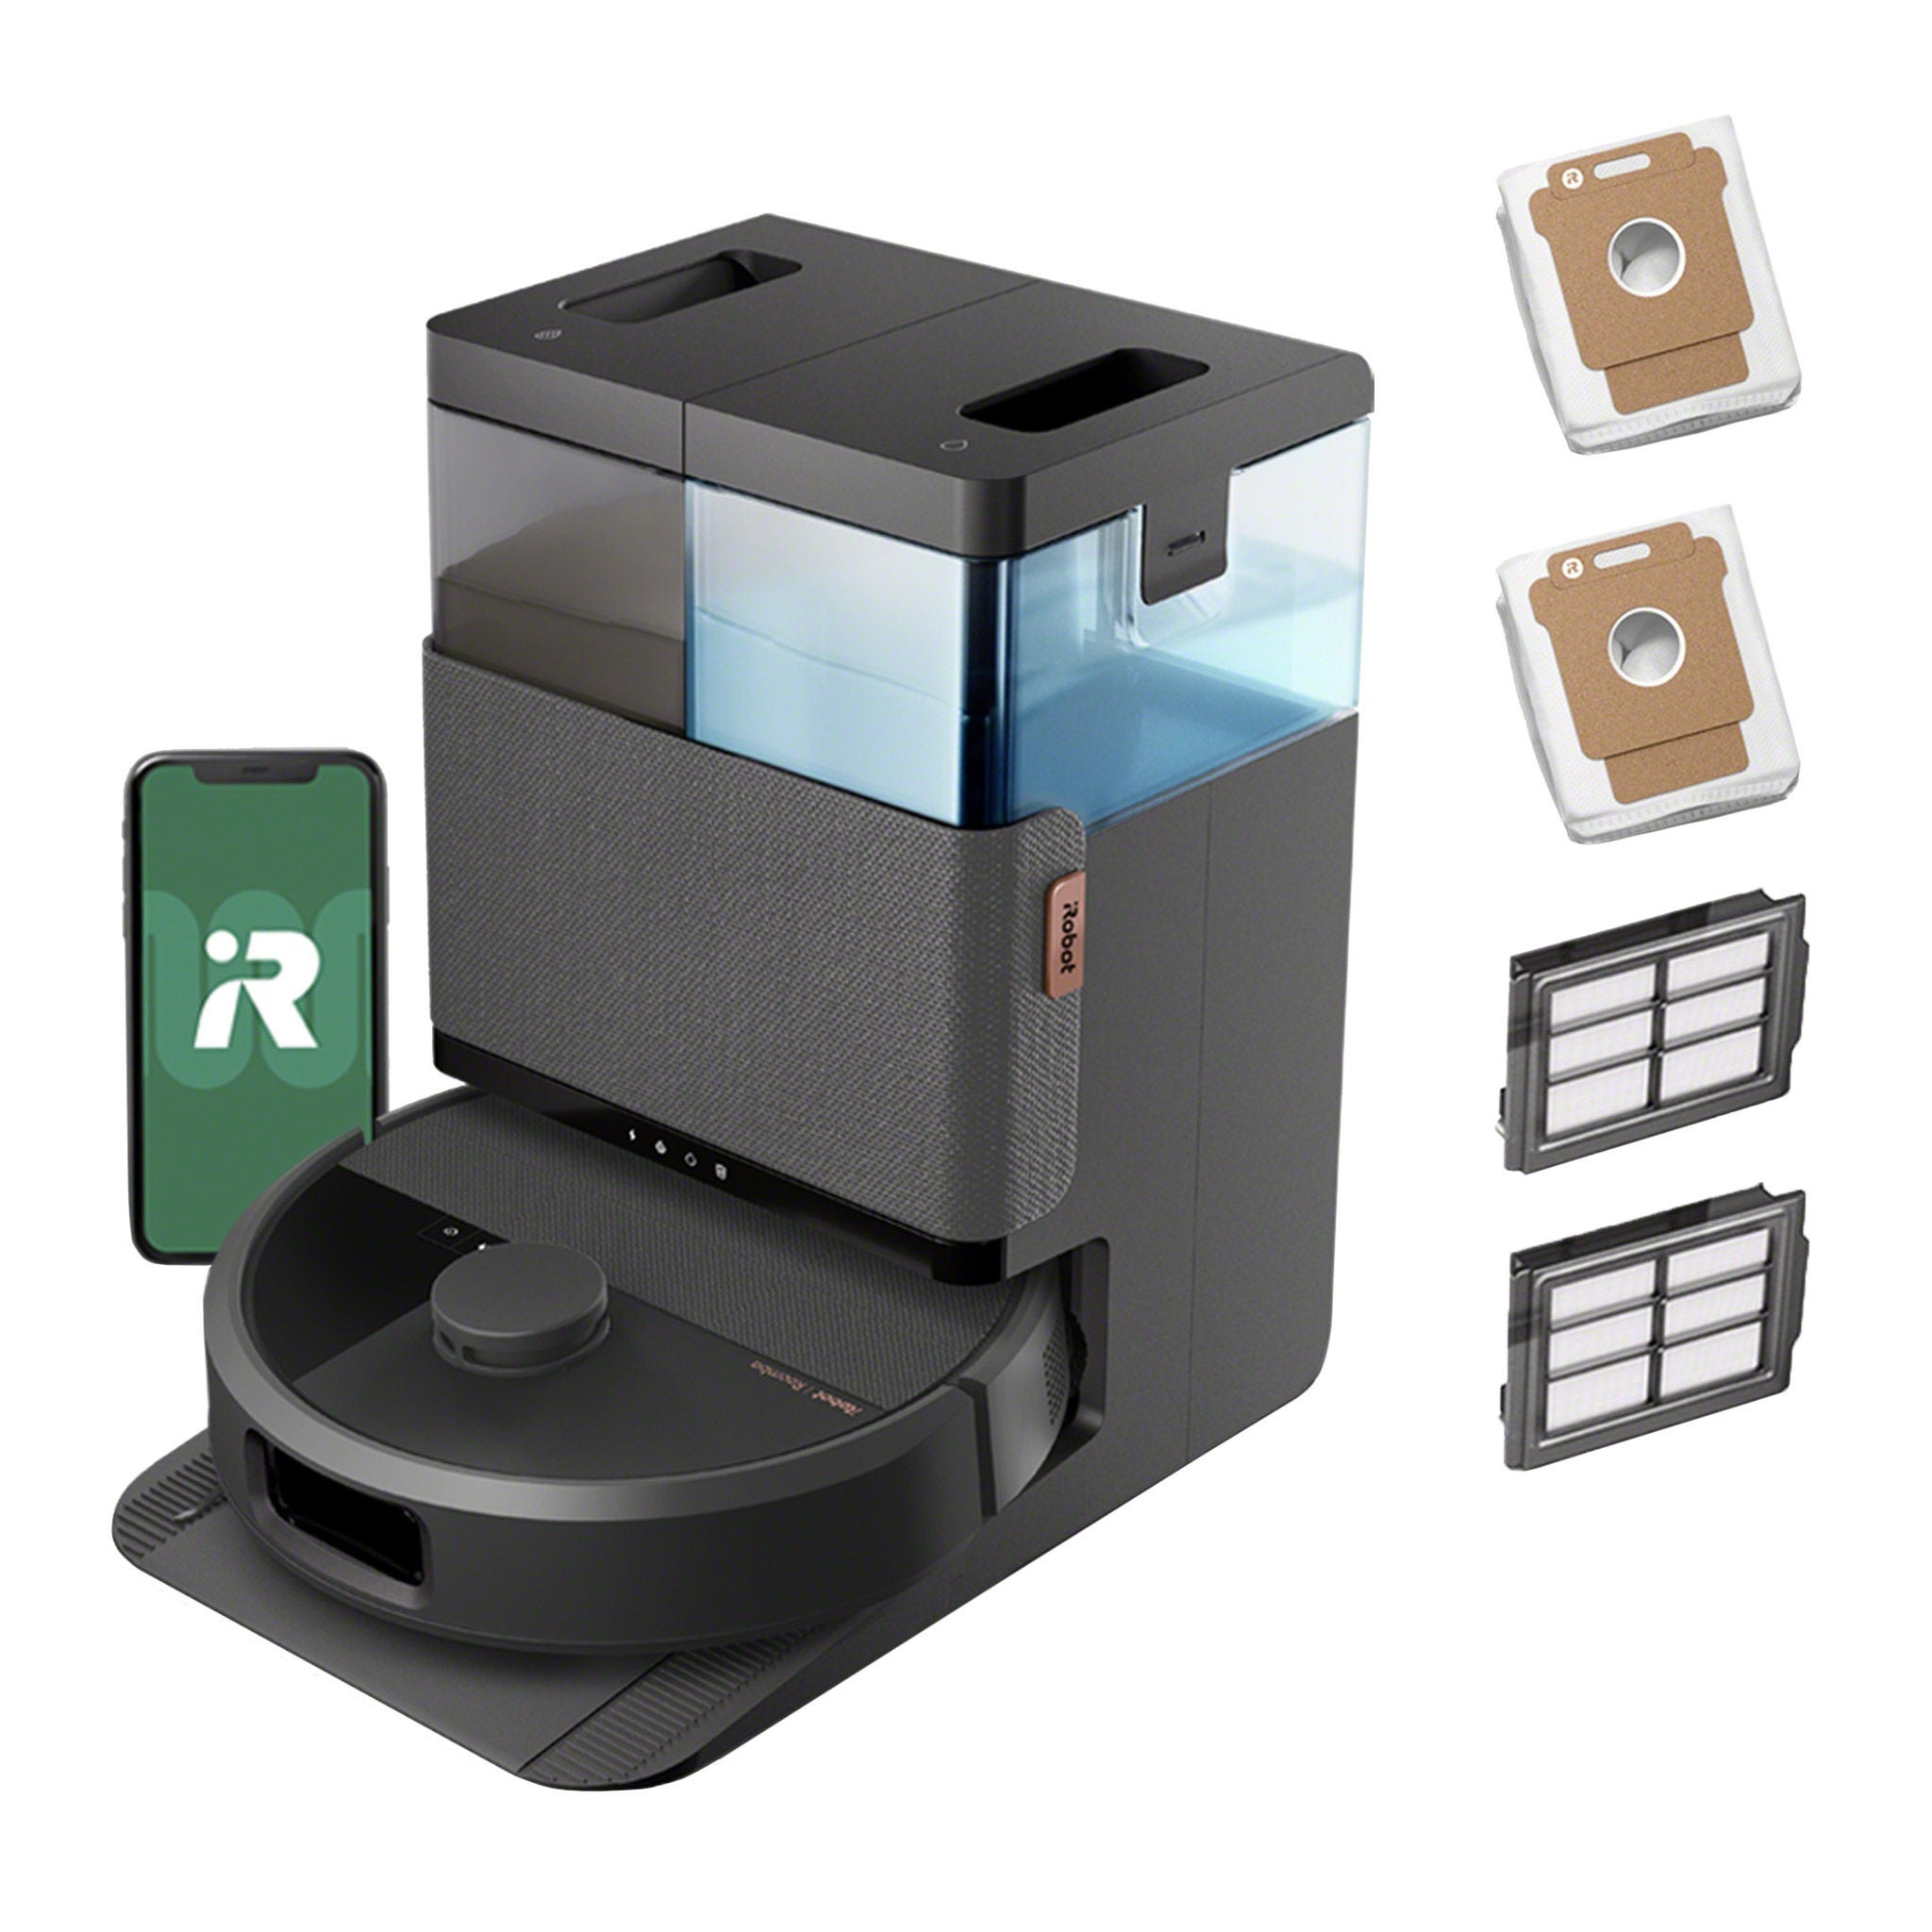
The self-emptying base can be surprisingly loud during a normal emptying cycle, but it should not sound like a harsh screech or a blocked vacuum cleaner. If the base has a clogged tube or a poorly attached bag, the noise can become much stronger.
Also, the dock can vibrate against the floor. On hard floors, that vibration can sound louder than it really is.
Fan or motor strain
If airflow is blocked for a long time, the motor may sound higher-pitched or more forceful. This does not always mean the motor is broken, but it does mean the robot is working harder than it should.
If cleaning and inspection do not help, motor wear may be the issue. That is less common, but it does happen with heavy use.

How to tell normal noise from a real problem
Not every sound is a warning. The Roomba i7+ makes different noises during different tasks, and knowing the pattern helps a lot.
Normal sounds often include:
- A steady vacuum hum while cleaning
- A louder burst when emptying into the Clean Base
- Light brush contact on carpet or rugs
- Small clicks when turning or crossing edges
Problem sounds often include:
- Grinding or scraping
- Loud rattling
- Squealing or high-pitched whining
- Repeated banging into objects
- Sudden changes in volume for no clear reason
A simple test helps. Run the Roomba i7+ in an open room with a clean floor. If the iRobot Roomba i7+ Robot Vacuum making noise still sounds abnormal there, the issue is likely in the machine, not the room.
Step-by-step fixes for a noisy iRobot Roomba i7+
1. Power off and inspect the brush system
Turn the robot off before cleaning. Remove the main brush, side brush, and brush caps, then clear all visible debris.
This is the first place I check because it solves a large share of noise complaints. Even a small thread wrapped around the brush shaft can cause a surprising amount of sound.
2. Empty and clean the dust bin
A packed bin reduces airflow and can make the motor strain. Empty it fully and wipe out fine dust with a dry cloth.
If the bin door is not closing smoothly, clean the hinge area too. A loose bin can rattle during movement.
3. Clean the filter
Tap the filter gently to remove loose dust. If the filter is old, damp, or heavily clogged, replace it.
A clean filter helps the iRobot Roomba i7+ Robot Vacuum making noise sound more even and less strained. It also supports stronger suction.
4. Check the wheels and caster
Spin each wheel by hand. They should move freely and not feel gritty or sticky.
If you find debris, remove it carefully. A stuck caster wheel can create a clicking sound that feels much bigger than the problem itself.
5. Inspect the Clean Base
Open the Clean Base and check for clogs in the tube and bag area. Make sure the bag is seated properly and not overflowing.
Place the dock on a firm, level surface. A hollow floor or loose mat can amplify vibration and make the unit seem louder.
6. Reset the robot if the noise is new and unexplained
If the sound started after an update, a jam, or a docking issue, a reset can help clear minor software glitches. It will not fix mechanical damage, but it can resolve odd behavior.
I have seen cases where the Roomba sounded “off” after repeated error recovery attempts. Once reset and cleaned, it returned to normal.
When the noise means maintenance or repair is needed
Some sounds are a sign that cleaning alone will not be enough. If the iRobot Roomba i7+ Robot Vacuum making noise still sounds harsh after a full cleanup, the issue may be deeper.
Look for these signs:
- The motor is unusually loud every time it runs
- The vacuum makes a grinding sound even on clean floors
- The brushes do not spin smoothly
- The Clean Base sounds blocked after the bag and tube are cleared
- The robot stops often or reports repeated errors
In those cases, worn bearings, damaged brush modules, or motor issues may be involved. If the unit is still under warranty, it is smart to contact support before opening anything further.
Smart maintenance habits that reduce noise
Regular care keeps the Roomba i7+ quieter and helps it last longer. The routine does not need to be complicated.
Good habits include:
- Empty the bin often
- Clean the brushes every 1 to 2 weeks
- Check for hair around the wheels weekly
- Replace the filter on schedule
- Keep cords, socks, and small objects off the floor
- Clean the Clean Base tube and bag area as needed
One lesson I learned the hard way: waiting until the robot sounds terrible usually means the debris has already built up for a while. A little maintenance done often is much easier than a big cleanup later.
Best ways to reduce the iRobot Roomba i7+ Robot Vacuum making noise in daily use
If you want the vacuum to run more quietly, small setup choices matter.
Try these tips:
- Run it on a clear floor before heavy carpet cleaning
- Place the Clean Base on a solid surface
- Keep the robot away from loose rugs that can flap
- Use scheduled cleaning so the bin does not overfill
- Replace worn brushes before they become noisy
The Roomba i7+ is designed for convenience, but like any machine, it performs best when the path is clean and the parts are fresh. Quiet operation is often the reward for simple upkeep.
Frequently Asked Questions of iRobot Roomba i7+ Robot Vacuum making noise
Why is my Roomba i7+ suddenly louder than before?
A sudden increase in noise usually points to debris, a clogged filter, a brush jam, or a wheel issue. Start with a full cleaning of the brush system and dust path before assuming there is a major fault.
Is the Clean Base supposed to be loud?
Yes, the Clean Base is louder than normal vacuuming because it transfers debris into the bag. That said, grinding, screeching, or repeated clogging sounds are not normal and should be checked.
Can a dirty filter make the Roomba i7+ noisy?
Yes, a dirty filter can restrict airflow and make the motor work harder. That often creates a louder, more strained sound during cleaning.
Why does my Roomba i7+ click when it turns?
Clicking often comes from debris in the wheel area, the caster, or a brush catching on something. If the clicking happens often, inspect the wheels and brush housing closely.
When should I replace parts instead of cleaning them?
If the brushes are frayed, the filter is old, or the noise stays after cleaning, replacement is a good next step. Worn parts can create vibration and reduce cleaning performance.
Conclusion
The iRobot Roomba i7+ Robot Vacuum making noise is often a sign that something simple needs attention, not that the whole machine is failing. In many cases, a quick clean of the brushes, wheels, filter, and Clean Base is enough to bring the sound back to normal.
The best approach is to listen closely, act early, and keep up with regular maintenance. If you take care of the small stuff now, you will usually avoid the bigger headaches later. If this guide helped, try the steps today, compare the sound before and after, and share your experience or questions so others can learn from it too.

