

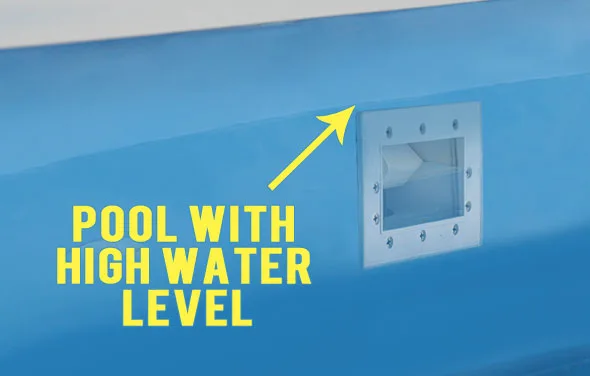
Image source: Bing (Web (fair-use with source credit))
When your above-ground pool level drops noticeably, it’s natural to worry. You’re probably asking yourself, "Why is my above ground pool losing water?" The most common culprits are leaks, but sometimes what looks like a leak is just normal water loss from evaporation or splashing.
Research indicates that for many pools, understanding the difference between these factors is the first crucial step. For instance, manufacturer specifications often note that average evaporation rates can be 1/4 inch per day in warm, dry climates, which can add up quickly over a week. Let’s dive into how to pinpoint the real problem.
Quick Answer
Your above ground pool is likely losing water due to a leak in the liner, plumbing, or fittings. Sometimes, it's simply increased evaporation. You can differentiate by performing a bucket test and then systematically inspecting the pool's structure, pump, filter, skimmer, and return lines for any signs of damage or wet spots.
Step 1: The Bucket Test – Separating Leaks from Evaporation
This is your starting point, and it's surprisingly simple yet effective. It helps you figure out if the water loss is from a leak or just the usual suspects: evaporation and splashing. You'll need a bucket, some water, and a bit of patience.
Here’s how you do it:
- Get the bucket ready. Fill a clean, empty bucket about halfway with pool water. Place it on a pool step or inside the pool so the water level inside the bucket is the same as the water level outside the bucket.
- Mark the levels. Use a piece of tape or a marker to mark the water level on both the inside and outside of the bucket. Make sure they’re level with each other.
- Wait 24 hours. Let the pool sit for a full 24-hour period, ideally with the pump off to minimize any artificial water movement. Don't use the pool during this time if you can help it.
- Compare the marks. After 24 hours, check your marks. Measure the difference between the water level on the outside of the bucket (your pool) and the water level on the inside of the bucket.
What does the difference tell you?
- If the pool water level dropped significantly more than the water level inside the bucket, you almost certainly have a leak. The water inside the bucket dropped due to evaporation, but the much larger drop outside is a leak.
- If both water levels dropped about the same amount, your water loss is likely due to evaporation and possibly some minor splashing. You might need to accept a certain amount of daily loss in hot weather.
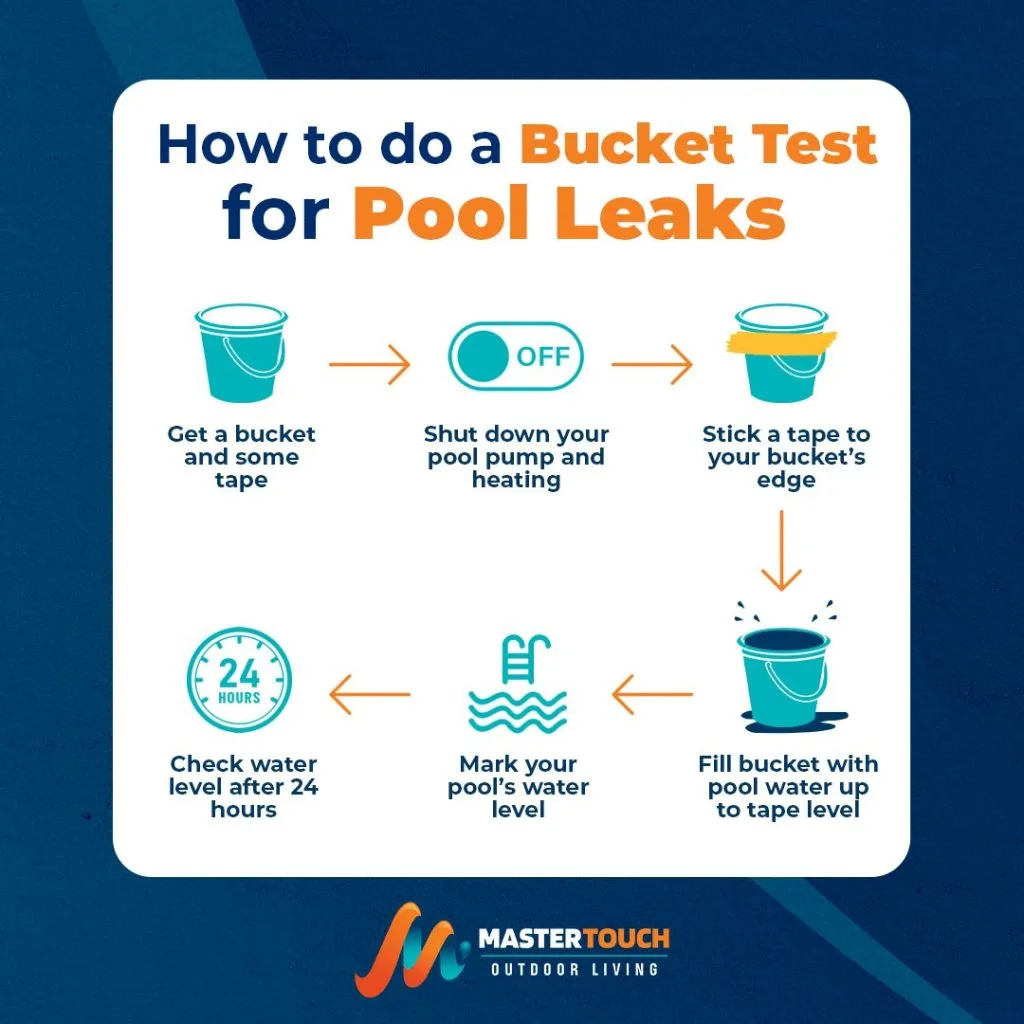
Image source: Bing (Web (fair-use with source credit))
If the bucket test points to a leak, it’s time to get more detective-like and start searching for its origin.
Inspecting the Liner: Your Pool's First Defense
The pool liner is a big, flexible sheet that holds all your water. It’s usually made of vinyl, and while it’s tough, it can develop holes or tears. Finding a leak here means you're looking for physical damage.
Here’s how to meticulously check your liner:
- Visual Scan. Start by just looking. Walk around the entire perimeter of your pool. Do you see any obvious rips, punctures, or worn spots? Pay close attention to the seams where different parts of the liner are joined.
- Check the Floor. If your pool is empty or very low, the floor is easier to inspect. Look for any foreign objects that might have punctured the liner, like sharp rocks or debris.
- Skimmer and Return Areas. These are common weak points. Carefully examine the liner around the skimmer opening and the return fitting (where the filtered water shoots back into the pool). These areas often experience more stress.
- Dye Test (If Liner is Intact but Suspect). If you can't see an obvious hole but suspect a leak, you can use a dye test. With the pump off, let the water settle. Carefully inject a small amount of colored pool dye or ink into the suspected area using a syringe. If the dye gets sucked into a particular spot, that’s likely where your leak is.
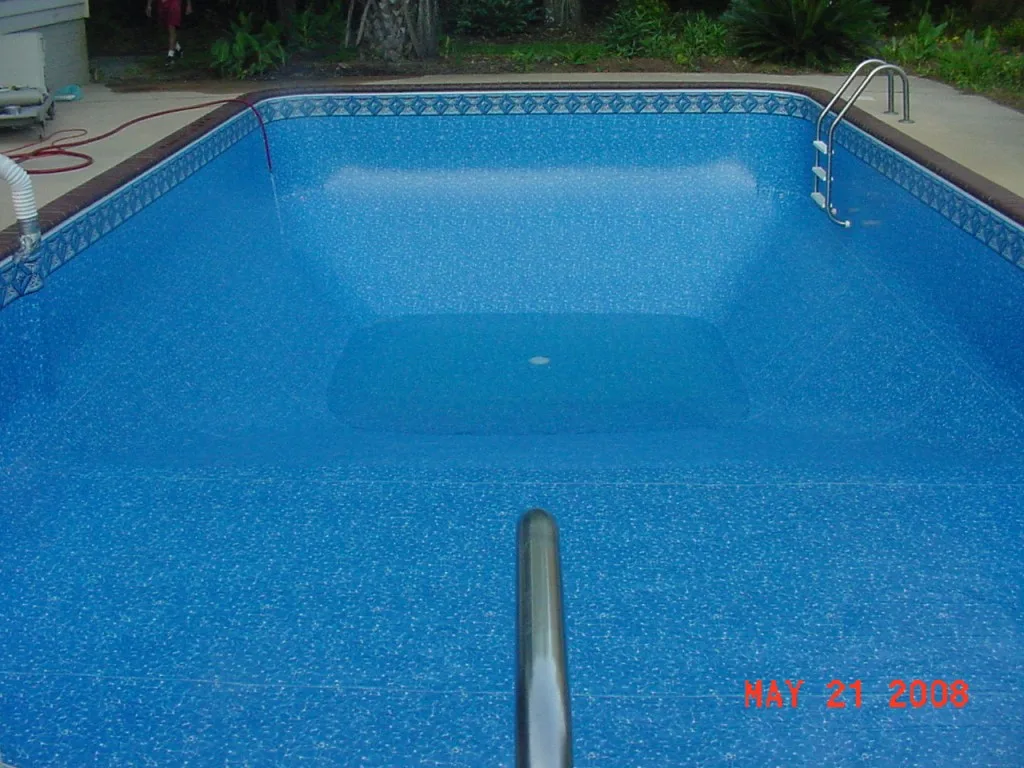
Image source: Bing (Web (fair-use with source credit))
Important Note: Some above-ground pools, especially older or less expensive models, might have a more rigid wall construction that looks like a liner but is actually a continuous wall. The inspection process for that is slightly different, focusing more on the wall seams and structure itself.
Checking the Plumbing: Pumps, Filters, and Fittings
The plumbing system is the network of pipes, hoses, and connections that circulate your pool water. Leaks can happen anywhere in this system, from the pump itself to the hoses connecting everything. These are often harder to spot because water can run down and soak into the ground before you see a puddle.
Let’s break down what to inspect:
- The Pump. Start with the pump. Are there any visible cracks on the pump housing? Check the intake and output connections for drips. Many pumps have a "prime" line and a main discharge line, both are potential leak spots.
- The Filter. Your filter, whether it's a cartridge, sand, or DE type, also has connections. Inspect where the plumbing attaches to the filter tank. Look for any signs of water seepage around the seals or housing. If you have a multi-port valve on a sand filter, check that it's sealing properly.
- Hoses and Connections. Above-ground pools often use flexible hoses to connect the pump and filter to the skimmer and return fittings. Look closely at these hoses for cracks, kinks, or worn spots. Check the clamps that secure these hoses to the fittings, are they tight? Are the fittings themselves (where the hose connects to the pump, filter, or pool wall) intact?
- Skimmer and Return Fittings. These are the plastic or metal components that go through the pool wall. Inspect the gaskets and seals around these fittings on both the inside and outside of the pool. A loose or cracked fitting here is a very common leak source. Sometimes, the gasket between the fitting and the pool wall can fail.
- The Ground. After checking the visible components, look at the ground around the pump and filter area. Is it unusually saturated or muddy? This is a strong indicator of a leak in the nearby plumbing.
When You Suspect a Liner Tear: What to Look For
If your bucket test indicated a leak and your initial visual scan didn't reveal an obvious hole, it’s time for a more thorough liner inspection. These smaller, harder-to-spot tears or punctures can still drain a significant amount of water over time.
Here’s a focused approach:
- Slowly Lower the Water Level (If Necessary). If the water is too high to see the lower parts of the liner, you might need to drain some water. This is where a submersible pump or your pool's own pump (if the leak is very high up) can be useful. Drain only enough to expose the area you suspect.
- Feel for Wet Spots. With the water settled, or after it’s been lowered, run your hands over the liner, especially in areas where you’ve seen unusual ground saturation or where fittings connect. A damp spot on the "dry" side of the liner, or the ground beneath it, is a sure sign of a leak.
- Tiny Punctures. Small punctures might not be visible at a glance. Sometimes, they are caused by sharp debris that worked its way under the liner. If you find a suspect area, you might need a bright light to help spot a tiny pinprick or a slightly discolored area.
- Seam Separations. Over time, the glue or welding holding liner seams together can weaken. Inspect all the seams very carefully, particularly around corners or where the liner connects to the top rail. A tiny separation can allow water to weep out.
- Check the Wall Base. For round pools, pay extra attention to the very bottom edge where the liner meets the pool wall. This area can be prone to wear or damage from the frame itself.
If you find a tear or puncture, even a small one, it needs to be addressed promptly. Ignoring it can lead to bigger problems, including damage to the pool structure or the ground beneath it.
Plumbing Problems: The Hidden Water Wasters
Leaks in the plumbing system are often sneaky because the water can travel a bit before showing itself, or it might only leak when the pump is running. Addressing these requires a systematic check of every connection and component in your water circulation system.
Here's a workflow to track down plumbing leaks:
- Run the Pump and Observe. Turn on your pool pump and run it for at least 30 minutes. Walk around the entire plumbing setup, pump, filter, hoses, and connections. Look and listen for any drips, spraying water, or unusual sounds.
- Check All Hose Clamps. Above-ground pools typically use hose clamps to secure flexible hoses to fittings. These clamps can loosen over time due to temperature changes or vibrations. Tighten any that feel loose. Ensure the hose is seated properly against the fitting before tightening.
- Inspect the Pump and Filter Seals. The points where the hoses connect to the pump and filter are sealed with gaskets or O-rings. These can degrade or crack with age. Look for water seeping from these connection points. If you see a leak here, you may need to replace the O-ring or gasket.
- Look for Wet Ground. As mentioned before, a consistently damp or muddy area around the equipment pad is a red flag for a hidden plumbing leak. This water has to be coming from somewhere.
- Pressure Testing (Advanced). For more persistent plumbing leaks, a professional might use pressure testing. This involves isolating sections of the plumbing and pressurizing them to check for leaks. For DIY, you can sometimes achieve a similar effect by temporarily capping off sections of hose and seeing if the leak stops, but this requires specific fittings and careful execution.
- Skimmer and Return Fitting Leaks. The fittings that go through the pool wall are critical. Check that the screws holding them in place are snug and that the gaskets on both the inside and outside are intact and properly seated. A leak here can mean water gets behind the liner or into the pool wall structure.
Frequently Asked Questions About Pool Water Loss
How much water loss is normal for an above-ground pool?
Normal water loss is primarily due to evaporation and splashing. In warm, dry climates, evaporation can account for up to 1/4 inch of water loss per day. Aggregated user feedback suggests that anything more than this, especially if the bucket test shows a significant difference, is likely a leak.
Can I use my pool if it has a small leak?
While you can technically use your pool, it's not recommended. Even small leaks can worsen over time, potentially causing structural damage to the pool or the surrounding area. Addressing leaks promptly is crucial for the longevity and safety of your pool.
How do I find a leak if I can't see it?
If a visual inspection doesn't reveal a leak, use the bucket test to confirm a leak is present. Then, systematically inspect all fittings, plumbing connections, and the liner itself. For elusive leaks, a dye test can help pinpoint the exact spot on the liner or around fittings.
What's the difference between evaporation and a leak?
Evaporation is the natural process of water turning into vapor and rising into the air, influenced by temperature, humidity, and wind. A leak is a physical breach in the pool's structure or plumbing that allows water to escape. The bucket test is the most reliable way to differentiate between the two.
How often should I check my pool for leaks?
It’s a good practice to conduct a quick visual inspection of your pool liner and plumbing regularly, perhaps weekly during the swimming season. Perform the bucket test at least once a month or any time you notice a significant drop in water level that seems more than just evaporation.

