

Cleaning a Bissell Pet Hair Eraser means emptying, washing filters, clearing brushes, and removing trapped debris regularly.
If you own a Bissell Pet Hair Eraser, you already know it can be a lifesaver for fur, dander, and the little messes pets leave behind. I’ve found that when this vacuum is cleaned on a regular schedule, it keeps its suction stronger, smells fresher, and lasts much longer. In this guide, I’ll walk you through exactly how to clean Bissell Pet Hair Eraser the right way, with simple steps, practical tips, and a few lessons I learned the hard way.
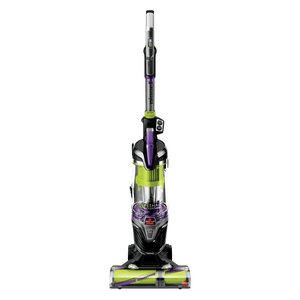
Why cleaning your Bissell Pet Hair Eraser matters
A pet vacuum works harder than a standard one. Hair, dust, litter, and fine debris can clog the brush roll, filter, and dirt tank faster than you might expect. When that happens, the vacuum may lose suction, push out dusty air, or leave behind more fur than it picks up.
From my experience, the biggest mistake people make is waiting until the vacuum looks dirty. By then, the airflow is already restricted. A little routine care goes a long way, and cleaning your Bissell Pet Hair Eraser is one of the easiest ways to protect performance.
Keeping it clean also helps with:
• Better suction on carpets, upholstery, and stairs
• Less odor from trapped pet hair and damp debris
• Longer filter life and fewer replacement costs
• Reduced wear on the motor and brush roll
What you need before you start
Before you clean Bissell Pet Hair Eraser, gather a few simple tools. You do not need anything fancy, and most of this is already in your home.
• A trash bag or small bin
• Scissors or a seam ripper for wrapped hair
• A soft cleaning brush or old toothbrush
• Mild dish soap
• Lukewarm water
• A dry towel or microfiber cloth
• Optional: compressed air for hard-to-reach dust
Always unplug the vacuum before you begin. If yours is cordless, switch it off and remove the battery if the model allows it. That small step matters more than people think.

How to clean Bissell Pet Hair Eraser step by step
1. Empty the dirt tank
Start with the dirt tank or dust cup. Press the release button and remove it carefully so dust does not puff back into the air. Empty all hair, dirt, and debris into a trash bag.
If you notice fur sticking inside the bin, tap it gently. I usually avoid using water right away unless the tank needs a full wash. Dry debris comes out more easily when you empty it before it gets compacted.
2. Wash the dirt tank if needed
Many Bissell Pet Hair Eraser models have a washable dirt tank. Check your model manual first, because some parts are washable and others are not. If the tank is washable, rinse it with warm water and a small amount of mild soap.
Use a soft cloth or brush to loosen sticky residue. Then rinse well and let it dry fully before putting it back. I once made the mistake of reinstalling a damp tank too soon, and the vacuum picked up a musty smell for days.
3. Remove and clean the filter
The filter is one of the most important parts to clean when you clean Bissell Pet Hair Eraser. A clogged filter can choke suction fast. Most models have a washable foam or pleated filter, but always check your exact version.
To clean it:
• Remove the filter from the vacuum
• Tap it gently over a trash can to remove loose dust
• Rinse it if the manual says it is washable
• Use only lukewarm water, not hot water
• Let it air-dry fully for 24 hours or as instructed
Never put a damp filter back in the vacuum. That can cause odor, weak suction, and damage over time.
4. Clean the brush roll
Pet hair loves to wrap around the brush roll like string on a spool. This is one of the biggest reasons a vacuum feels weak, even when the tank is empty. Turn the vacuum over and inspect the brush area.
Use scissors to cut away tangled hair carefully. Pull the clumps free with your fingers or a cleaning tool. If your model has a removable brush roll, take it out and wipe off dust from the ends and housing.
I’ve found that cleaning the brush roll every few uses makes a huge difference in how smooth the vacuum feels on carpet. If the brush is packed with hair, it can’t dig into fibers the way it should.
5. Check the hose and attachments
If your Bissell Pet Hair Eraser has a hose, wand, or pet tools, inspect them for clogs. Small bits of lint, treats, or compacted fur can build up in narrow spaces. Detach the accessory if possible and look through it toward a light.
You can gently clear blockages with a long, flexible tool. Avoid anything sharp that might puncture the hose. A soft brush works well for cleaning around creases and connector points.
6. Wipe down the exterior
Wipe the vacuum body with a damp cloth. Focus on the handle, buttons, cord area, and attachment ports. Do not soak the machine or let moisture enter the motor housing.
A clean exterior is not just about looks. Dust around the switches and vents can collect over time and make the vacuum feel older than it is. I like to give mine a quick wipe after every deep clean so it stays ready to use.
7. Let every washable part dry completely
This part sounds simple, but it matters a lot. Put all washable parts on a towel in a well-ventilated spot. Give them enough time to dry fully before reassembly.
If you rush this step, moisture can create odor or even mold. Drying time is one of the hidden keys to keeping a pet vacuum in good shape.
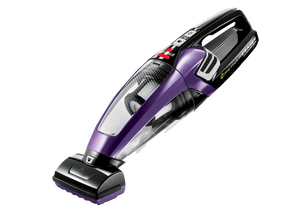
How often should you clean Bissell Pet Hair Eraser?
The best cleaning schedule depends on how much pet hair your home has. If you have one short-haired pet and vacuum lightly, you may only need a weekly check. If you have multiple pets or heavy shedding, you may need to clean it more often.
A simple schedule looks like this:
• After each use: empty the dirt tank
• Every 1 to 2 weeks: check the brush roll and hose
• Every 2 to 4 weeks: wash or inspect the filter
• Monthly: deep clean the tank, attachments, and exterior
This routine keeps the vacuum from getting overloaded. It also helps you catch small clogs before they turn into bigger problems.
Common mistakes to avoid
I’ve seen a lot of people treat vacuum maintenance like an afterthought. The problem is that small mistakes can shorten the life of the machine.
Avoid these issues:
• Reinstalling wet filters or tanks
• Using harsh cleaners or bleach
• Ignoring hair wrapped around the brush roll
• Forgetting to check the hose for clogs
• Overfilling the dirt tank
• Washing parts that are not meant to get wet
Another mistake is assuming all Bissell Pet Hair Eraser models clean the same way. Some versions have different filters, brush systems, or removable parts. Always check your manual if you are unsure.
Why your vacuum may still smell after cleaning
Sometimes people clean the vacuum and still notice an odor. That usually means one of three things: moisture, trapped hair, or a filter that needs replacing. Pet dander can also cling to hidden areas inside the machine.
If the smell continues, try this:
• Recheck the filter and make sure it is fully dry
• Inspect the brush roll housing for trapped fur
• Clean the dirt tank more thoroughly
• Look inside the hose for hidden debris
• Replace worn filters if washing no longer helps
In my experience, odor almost always comes from a part that was not fully cleaned or dried. A few extra minutes of inspection usually solves it.
Extra tips to keep your Bissell Pet Hair Eraser working well
Small habits make a big difference. Think of maintenance like brushing your teeth; doing a little often is much easier than fixing a big mess later.
Here are a few tips I recommend:
• Empty the tank before it reaches the fill line
• Clean the brush roll more often during shedding season
• Store the vacuum in a dry place
• Use only Bissell-approved replacement parts when possible
• Replace filters when they no longer look or smell clean
• Keep pet beds and high-shed areas vacuumed regularly so the machine does not work too hard
If you have long-haired pets, expect more tangles and faster buildup. That does not mean the vacuum is failing. It just means it is doing an honest day’s work.
Benefits of regular cleaning
When you clean Bissell Pet Hair Eraser on a regular schedule, you get more than just a neat-looking vacuum. You get better day-to-day performance and less frustration during cleanup.
The biggest benefits include:
• Stronger suction
• Better pickup on pet hair
• Less clogging
• Lower chance of odor
• Longer life for filters and brush parts
• A cleaner home environment overall
I have noticed that a well-maintained pet vacuum simply feels lighter to use. It glides better, sounds more balanced, and does not fight you the whole time.
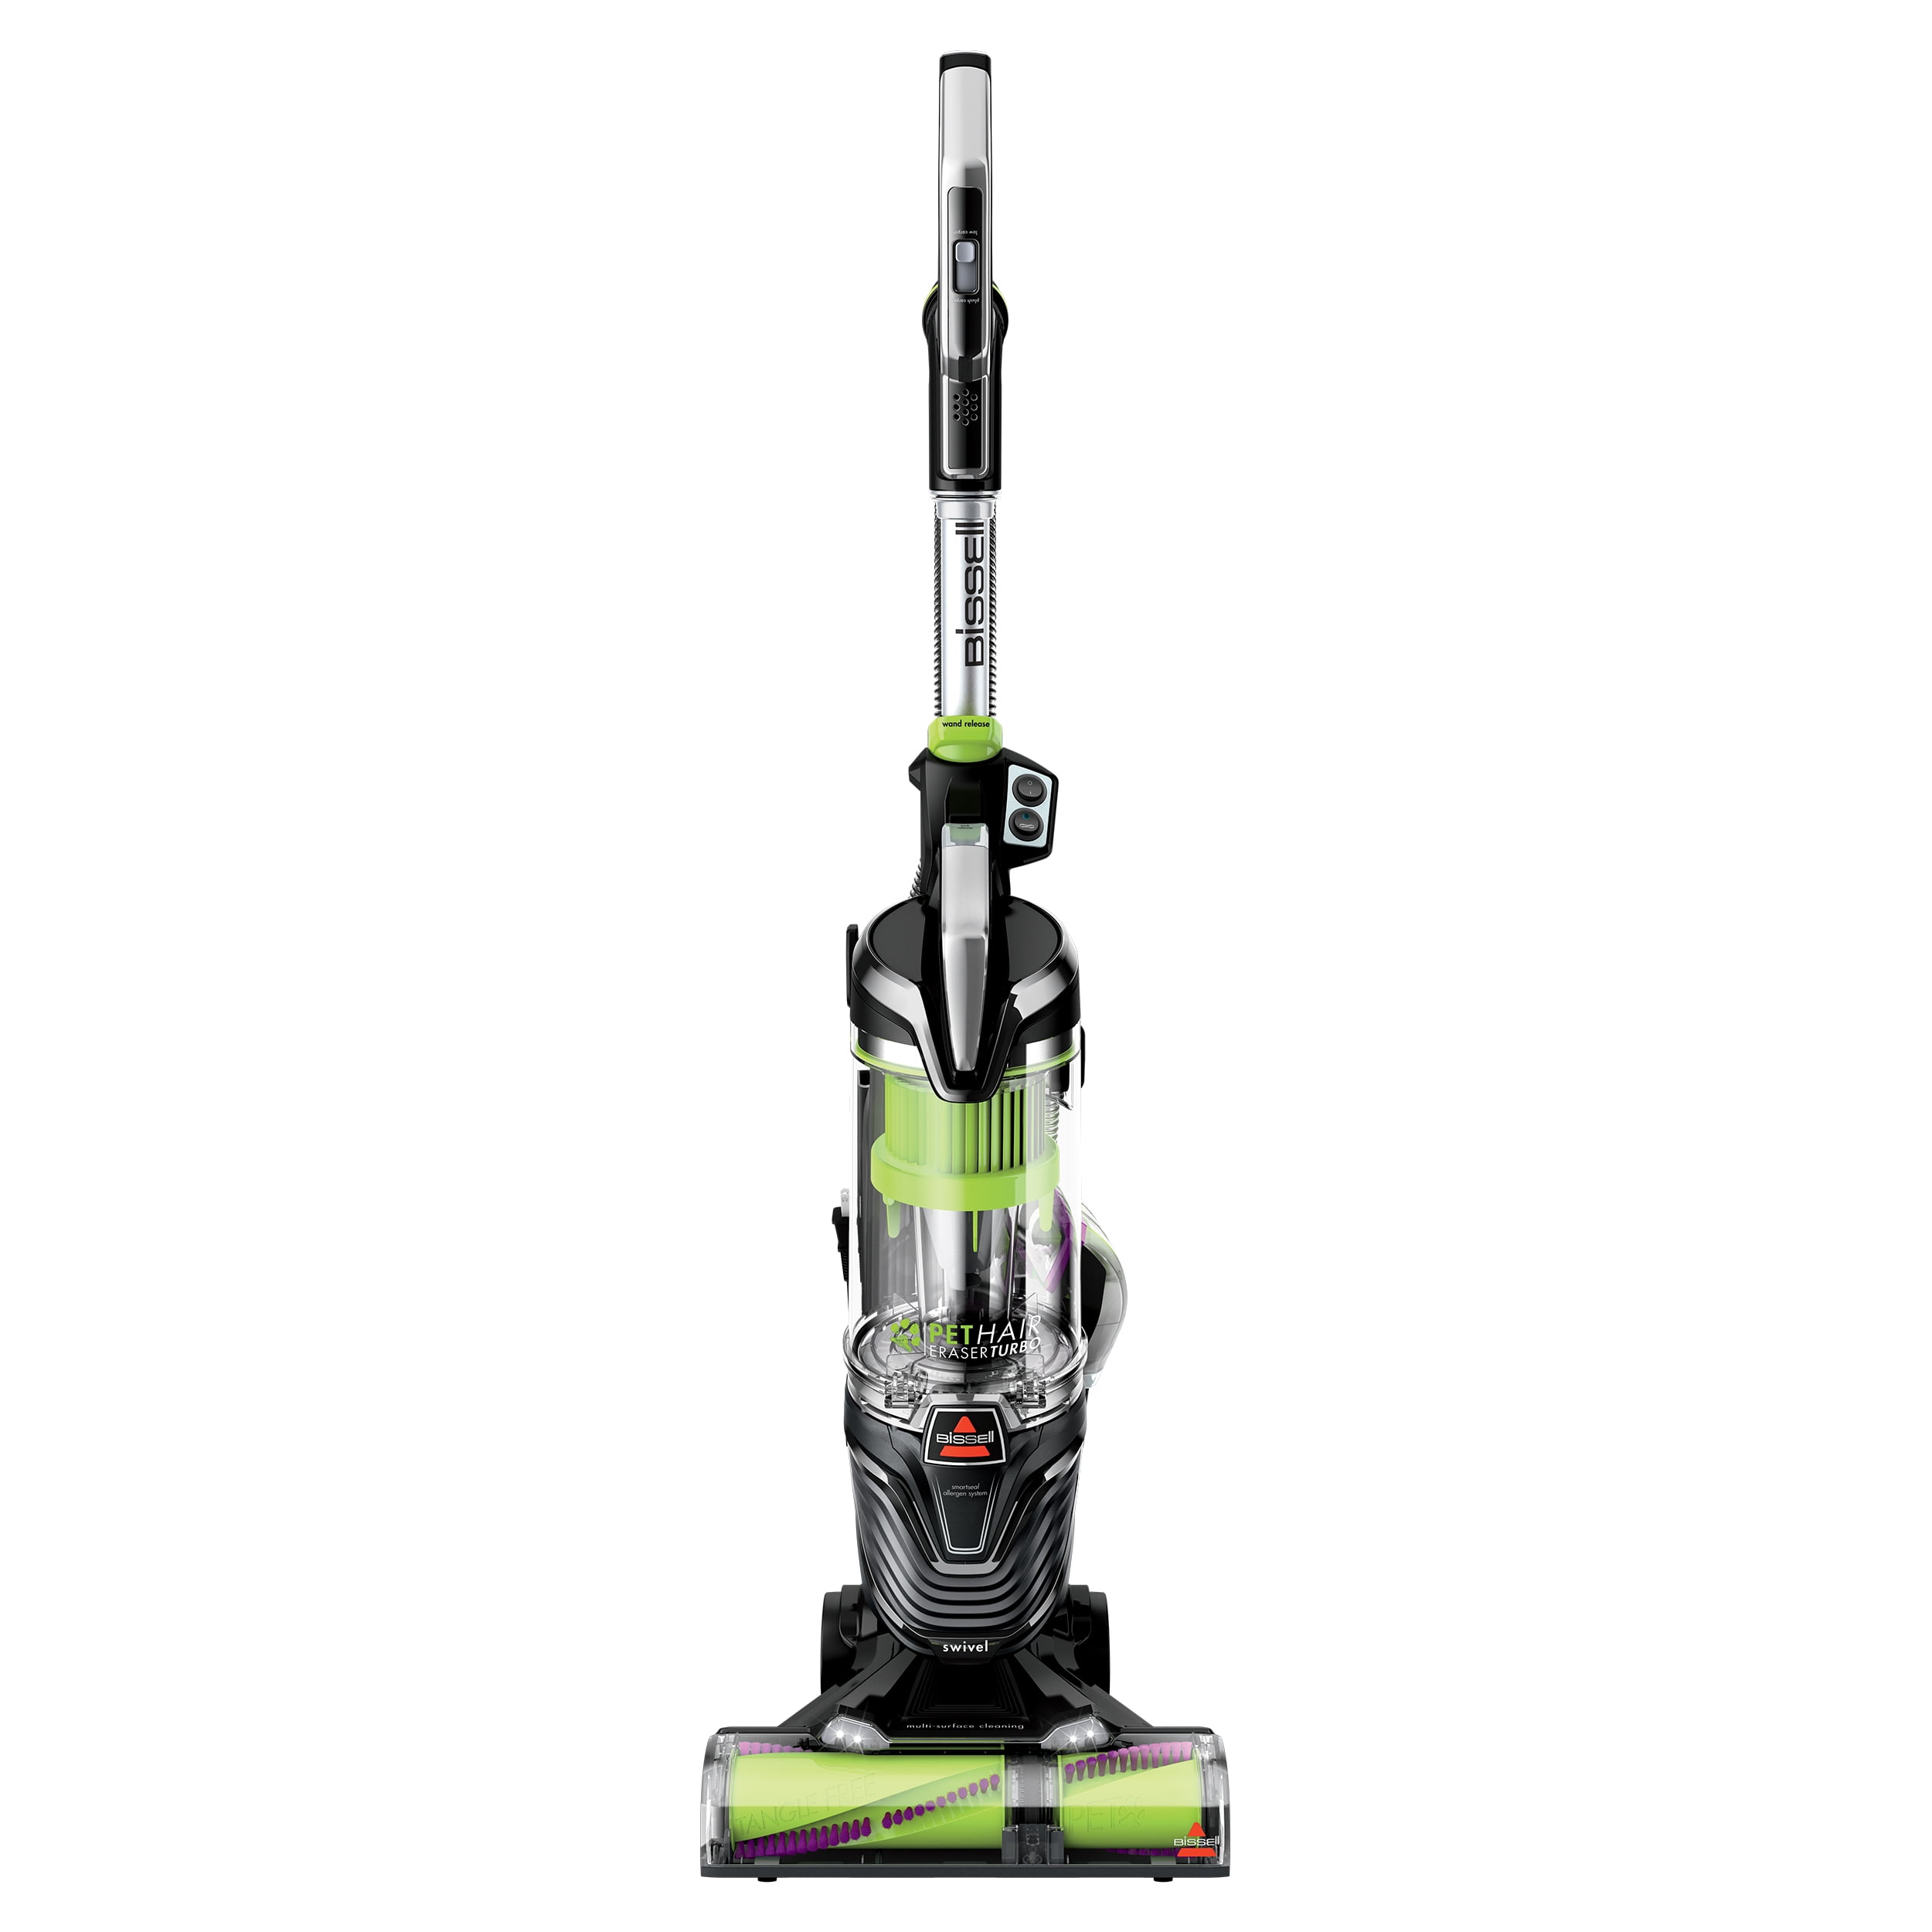
Frequently Asked Questions of How to Clean Bissell Pet Hair Eraser
How do I clean the filter on a Bissell Pet Hair Eraser?
Remove the filter and tap out loose dust first. If your model has a washable filter, rinse it with lukewarm water and let it air-dry completely before putting it back.
Can I wash the dirt tank with soap and water?
Yes, most washable dirt tanks can be cleaned with mild soap and water. Just make sure the tank is fully dry before reassembly to avoid odor or mold.
Why is my Bissell Pet Hair Eraser losing suction?
The most common causes are a dirty filter, a full dirt tank, or a brush roll wrapped with hair. A clog in the hose or wand can also reduce suction quickly.
How often should I clean the brush roll?
If you have pets that shed a lot, check the brush roll after a few uses. For lighter use, a weekly check is usually enough.
Can I use a regular cleaner to disinfect the vacuum?
It is better to avoid harsh cleaners, bleach, or strong sprays. A mild soap solution and a damp cloth are safer for most parts and help protect the vacuum materials.
Conclusion
Keeping your vacuum in good shape does not have to be complicated. When you clean Bissell Pet Hair Eraser regularly, you protect suction, reduce odors, and make every cleaning session easier. The key is simple: empty the tank often, wash only the parts that are safe to wash, clear the brush roll, and let everything dry fully.
If you start building these habits now, your vacuum will reward you with better performance and fewer surprises. Try the cleaning routine after your next use, and you will probably notice the difference right away. If this guide helped you, explore more home care tips or leave a comment with your own maintenance tricks.

