

Keeping your above-ground pool water sparkling clear and safe for swimming takes a bit of effort, but it’s totally achievable with the right approach. Knowing exactly how to clean an above ground pool can make the difference between a weekend of enjoyment and a frustrating battle with murky water. We've broken down the entire process, from testing your water to keeping your filter running smoothly.
Getting into a regular cleaning routine is key to preventing bigger issues down the line. For instance, most manufacturers recommend maintaining a free chlorine level between 1 and 3 parts per million (ppm) to effectively sanitize your water. Let's dive into how you can get your pool looking its best.
Quick Answer
To clean an above ground pool, first skim surface debris and brush walls/floor. Then, vacuum the pool bottom and empty baskets. Test and balance your water chemistry, focusing on pH, alkalinity, and chlorine.
Finally, clean your pool's filter regularly. This consistent routine prevents algae and keeps water clear.
Is Your Pool Water Cloudy or Green? Let's Figure Out Why
That cloudy or green water isn't just unsightly; it's a sign your pool needs attention. Understanding what's causing it is the first step to fixing it and keeping it from coming back.
Common Pool Problems and What They Mean
- Cloudy Water: This usually points to a few potential issues. It could be an imbalance in your water chemistry, like low sanitizer levels or incorrect pH. Sometimes, it's simply an overwhelmed filter struggling to keep up with debris. Fine particles, too small for the filter to catch, can also cause a hazy appearance.
- Green Water: This is almost always algae. Algae thrives in water with insufficient chlorine, imbalanced pH, or high phosphate levels (which act as food for algae). If left untreated, it can quickly make your pool unusable and can even start to stain surfaces.
- Stains: Discoloration on your pool liner or walls can come from metals dissolved in the water (like iron or copper) or from organic matter that hasn't been removed. Identifying the type of stain can help determine the best treatment.
Quick Scan: What's Probably Wrong?
If your water looks hazy, check your chemical levels and filter status. If it's distinctly green, algae is your prime suspect.
Image source: Bing (Web (fair-use with source credit))
The Essential Tools for a Sparkling Pool
You don't need a professional setup to keep your above-ground pool clean. A few key tools and a reliable way to test your water will get you most of the way there.
Must-Have Cleaning Gadgets
- Skimmer Net: This is your first line of defense against floating debris like leaves, bugs, and pollen. Look for one with a sturdy handle and a fine mesh net.
- Pool Brush: A good brush, suitable for your pool's liner material (usually nylon for vinyl liners), helps scrub away dirt and algae from the walls and floor.
- Pool Vacuum: Whether manual or automatic, a vacuum is essential for picking up anything that settles on the pool floor. Manual vacuums connect to your skimmer and require you to move them around.
- Telescopic Pole: This adjustable pole is crucial for attaching your skimmer, brush, and vacuum head, allowing you to reach all areas of your pool.
Chemical Testing Essentials
Accurate water testing is non-negotiable. You need a reliable way to know what's going on with your water chemistry before adding any chemicals.
- Test Strips: These are the most common and convenient option for home use. You simply dip a strip into the water, wait a few seconds, and compare the color changes on the strip to the color chart provided. They typically test for pH, total alkalinity, free chlorine, and sometimes cyanuric acid (stabilizer).
- Liquid Test Kits: While a bit more involved, liquid kits can be more accurate than strips. They involve adding a few drops of reagent to a water sample and observing the color change.
Getting Started: The Pre-Cleaning Checklist
Before you grab your skimmer or start dumping in chemicals, a little preparation goes a long way. Taking a few minutes to set things up right makes the actual cleaning process much smoother and more effective.
Before You Dive In: Safety First
Handling pool chemicals requires caution. Always read and follow the instructions on the product labels. Manufacturer specifications for common sanitizers like chlorine recommend wearing gloves and eye protection when handling them.
Store chemicals in a cool, dry, well-ventilated area away from children and pets. Never mix different pool chemicals together, as this can create dangerous reactions.
Preparing Your Pool Area
- Clear the Surroundings: Remove any toys, furniture, or debris from around the pool deck that might get in your way or accidentally fall into the water.
- Check Equipment: Ensure your pool pump and filter are in good working order and that all connections are secure before you start. Manufacturer documentation for most pool pumps will detail recommended pre-operation checks.
- Gather Your Tools: Have your skimmer, brush, vacuum, telescopic pole, and water testing supplies ready and within easy reach.
Your Pool Cleaning Workflow: From Surface to Floor
This is the core routine that keeps your above-ground pool looking its best. Doing these steps regularly will make a huge difference.
Step 1: Skim the Surface
This is your first line of defense against floating gunk. Leaves, bugs, pollen, anything on top of the water needs to go.
- Attach your skimmer net to the telescopic pole.
- Gently sweep the surface of the water, pulling the net towards you. Try to scoop debris rather than just pushing it around.
- Empty the net frequently into a trash can. Don't let it get too full, or it'll be harder to manage and might dump debris back into the pool.
- Do this at least once a day, or more if you have lots of trees nearby.
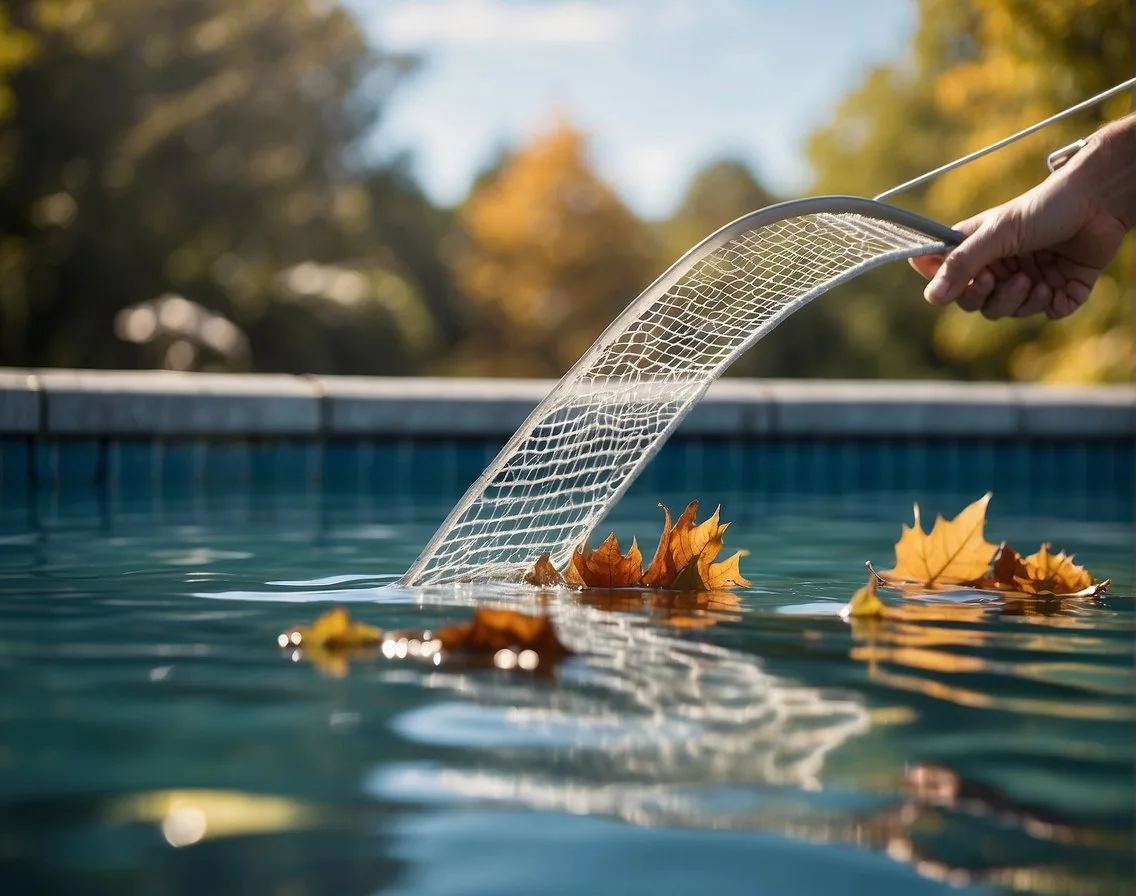
Image source: Bing (Web (fair-use with source credit))
Step 2: Brush the Walls and Floor
Even if your pool looks clean, microscopic dirt and algae can cling to surfaces. Brushing helps dislodge this so your filter can capture it.
- Attach your pool brush to the telescopic pole.
- Start at the shallowest part of your pool and work your way down.
- Brush the walls in a downward motion, pushing any loosened debris towards the main drain or vacuuming area.
- Scrub the floor thoroughly, paying extra attention to corners and steps where dirt can accumulate.
- If you have a vinyl liner, use a brush specifically designed for vinyl to avoid scratching.
Step 3: Vacuum the Pool Bottom
This is where you remove all the settled debris that brushing has loosened.
- Manual Vacuuming: Attach your vacuum head to the telescopic pole and connect the vacuum hose to your skimmer. You might need to prime the hose by filling it with water to remove air. Submerge the vacuum head and hose, then turn on your pool pump. Slowly move the vacuum across the pool floor in overlapping passes, just like you would vacuum your carpet.
- Automatic Cleaners: If you have an automatic pool cleaner, follow its specific operating instructions.
Step 4: Clean Skimmer and Pump Baskets
These baskets are designed to catch larger debris before it reaches your pump or filter. Keeping them clean is crucial for good water circulation.
- Turn off your pool pump.
- Locate the skimmer basket(s) in or near your pool's edge and unscrew or lift the lid. Remove the basket, empty out all the collected debris into a trash can, and rinse the basket thoroughly before replacing it.
- Find your pump's strainer basket. It's usually located in a clear housing at the front of the pool pump. Turn the pump off, unscrew or unclip the lid (you might need a special wrench for some models), remove the basket, empty, clean, and replace it. Ensure the lid is securely fastened afterward.
Understanding Your Pool's Water Chemistry
This might sound technical, but it's the absolute cornerstone of having a clean, safe pool. If your water chemistry is off, no amount of brushing or skimming will keep it clear for long.
Why pH, Chlorine, and Alkalinity Matter
- pH: This measures how acidic or basic your water is on a scale of 0 to 14. The ideal range for a pool is 7.2 to 7.6. If your pH is too high or too low, it affects how well your sanitizer works and can cause skin and eye irritation.
- Chlorine: This is your primary sanitizer, killing bacteria, viruses, and algae. There are different forms (free chlorine, combined chlorine, total chlorine), but you'll want to keep your free chlorine level within the recommended range, typically between 1 and 3 parts per million (ppm). Manufacturer specifications for most sanitizers confirm this range.
- Total Alkalinity (TA): This acts as a buffer for your pH, helping to keep it stable. If your TA is too low, your pH can swing wildly. The ideal range for TA is usually 80 to 120 ppm.
How to Test Your Water Accurately
Getting reliable readings is key. Our research indicates that the most user-friendly method for consistent testing involves using test strips or a liquid test kit.
- Using Test Strips: Dip a strip into the water about elbow-deep, away from the skimmer or return jets. Swish it gently for the recommended time (usually a few seconds). Remove the strip and hold it level, comparing the colored pads to the chart on the bottle within the time frame specified by the manufacturer (often 15-30 seconds). Record your readings.
- Using Liquid Test Kits: Fill the small vials with pool water to the indicated line. Add the specified number of drops of each reagent (e.g., phenol red for pH, OTO or DPD for chlorine). Cap the vials and shake gently. Compare the resulting color to the chart.
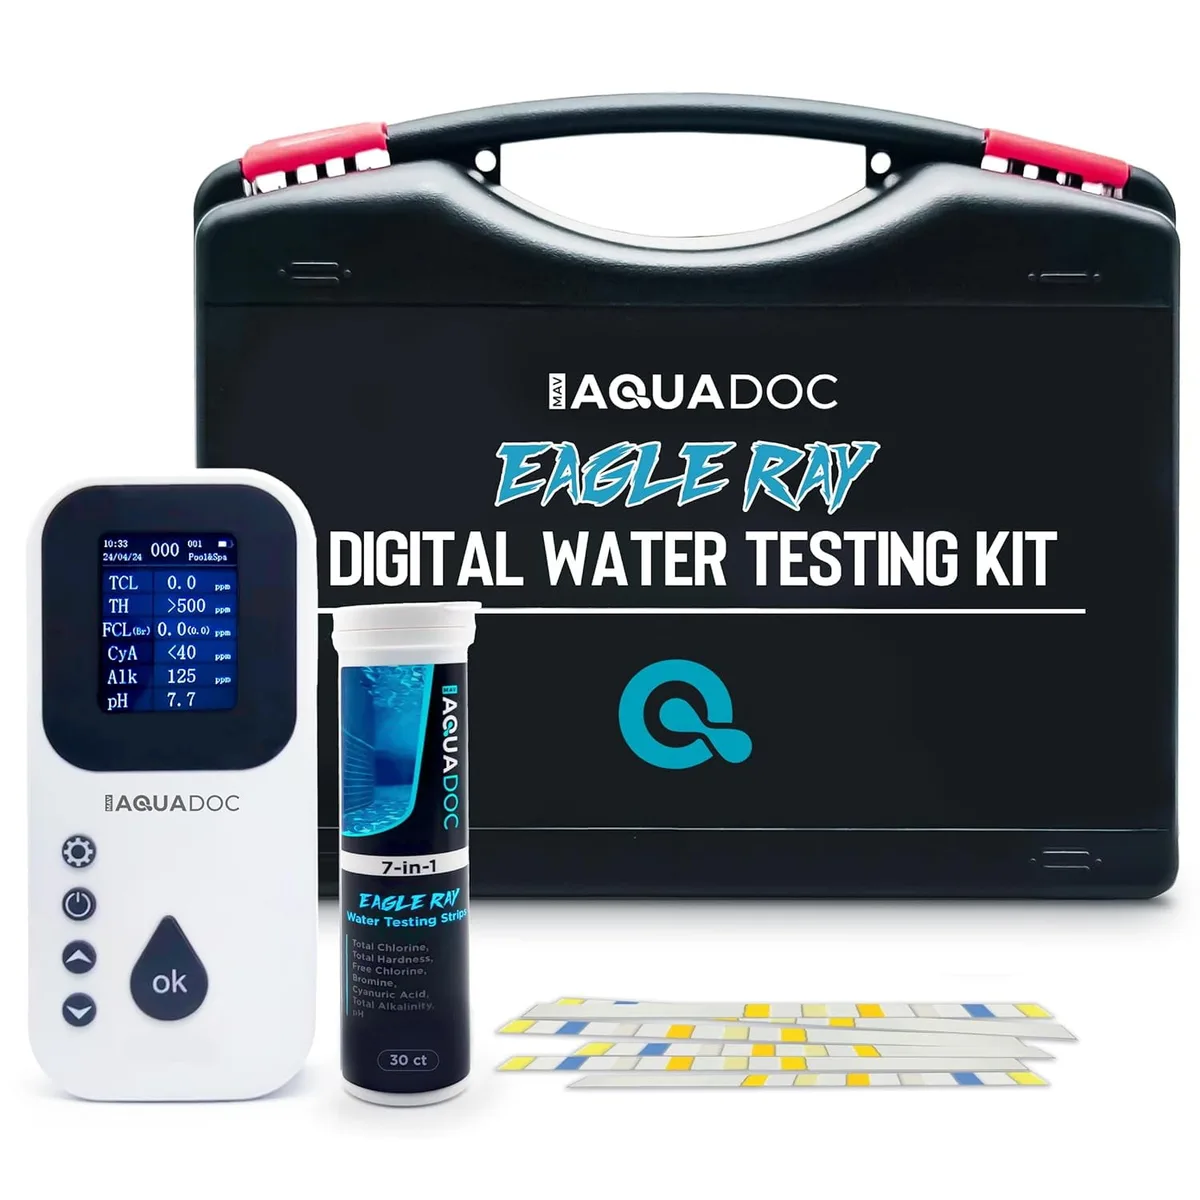
Image source: Bing (Web (fair-use with source credit))
Balancing Your Pool's Water: Chemical Solutions
Once you have your water test results, you can start making adjustments to get everything into the ideal range. It's a bit like tuning an instrument, small adjustments can make a big difference.
Adjusting pH and Alkalinity
- To Raise pH/Alkalinity: If your pH or alkalinity is too low, you'll typically use a pH increaser (sodium carbonate) or an alkalinity increaser (sodium bicarbonate). Add the chemical slowly around the perimeter of the pool with the pump running.
- To Lower pH/Alkalinity: If they're too high, you'll use a pH decreaser, usually muriatic acid or sodium bisulfate. Always add acids to water, never water to acid, and do so very carefully, following product directions precisely.
Maintaining Proper Chlorine Levels
- To Raise Chlorine: Add your preferred chlorine product (e.g., granular shock, tablets, liquid chlorine). Always follow the dosage instructions on the product label, as amounts vary significantly.
- To Lower Chlorine: This is less common but can happen if you accidentally add too much. The best way to lower high chlorine is often to let it dissipate naturally by running your pump and filter and avoiding adding more chlorine until it drops. Sunlight also helps break down chlorine faster.
Tackling Algae and Cloudiness (Shocking & Clarifiers)
- Shock Treatment: This is a super-chlorination process used to kill algae and break down organic contaminants. It's often done when you first open the pool, after heavy use, or if you have green water. Follow the product's instructions for dosage and application, and ensure you run your filter for at least 24 hours afterward.
- Clarifiers: These products help microscopic particles clump together so your filter can trap them more effectively, clearing up hazy water. They don't kill algae but can help remove dead algae after shocking.
Filter Care: The Heart of Your Pool's Cleanliness
Your pool filter is arguably the most critical piece of equipment for maintaining water clarity. It traps debris and contaminants that you can't skim or vacuum out. Neglecting it means your water will quickly become cloudy, no matter how diligently you clean otherwise.
How often should you clean your filter? This depends on the type of filter and how much your pool is used, but generally, you'll want to backwash sand or DE filters when your pressure gauge reads 8-10 PSI above the clean starting pressure, or clean cartridge filters when the pressure also rises by 8-10 PSI. As of 2026, manufacturer specifications for most filter systems emphasize this pressure-based indicator.
Backwashing Sand or DE Filters
Backwashing reverses the flow of water through your filter to flush out trapped dirt and debris.
- Turn off the pump. Never change the multiport valve setting while the pump is running.
- Set the multiport valve to "Backwash."
- Turn on the pump.
- Watch the sight glass (if equipped) or the outflow. You'll see dirty water coming out.
- Backwash until the water runs clear, which usually takes 2-5 minutes.
- Turn off the pump.
- Set the multiport valve to "Rinse."
- Turn on the pump and run for about 30 seconds to settle the filter media.
- Turn off the pump.
- Set the multiport valve back to "Filter."
- Turn on the pump. Note the new starting pressure on your gauge.
Cleaning Cartridge Filters
Cartridge filters trap debris in a pleated material. They don't get backwashed; instead, the cartridges are removed and cleaned.
- Turn off the pump.
- Open the filter's air relief valve to release any pressure.
- Unscrew or unclip the filter housing lid.
- Carefully remove the cartridge(s).
- Rinse the cartridges thoroughly with a garden hose. Use a brush if needed to remove stubborn debris. Avoid using a high-pressure washer, as it can damage the filter material.
- Inspect the cartridges for any tears or damage. Replace them if they look worn out.
- Reinsert the clean cartridges into the filter housing.
- Securely reattach the lid.
- Open the air relief valve again.
- Turn on the pump. Once water streams from the air relief valve, close it.
Common Mistakes and How to Avoid Them
Even with the best intentions, a few common slip-ups can turn your pool cleaning efforts into a frustrating cycle of problems. Understanding these pitfalls can save you time, money, and headaches.
Over- or Under-Chemicalizing
- The Problem: Adding too much or too little chlorine, pH adjusters, or other chemicals is rampant. Too much can irritate swimmers and damage equipment, while too little leaves your water vulnerable to bacteria and algae.
- How to Avoid: Always test your water before adding chemicals. Follow dosage instructions on the product packaging precisely. For chemicals like muriatic acid, add small amounts, wait for them to circulate, and re-test before adding more. Aggregate user reviews consistently highlight that patience here is key.
Neglecting Regular Maintenance
- The Problem: Skipping weekly tasks like skimming, brushing, or vacuuming seems like a time-saver but leads to bigger problems. Debris accumulates, algae takes hold, and your filter works overtime trying to compensate.
- How to Avoid: Schedule your pool cleaning. Even 15-20 minutes a few times a week for skimming and checking baskets can prevent major issues. Make filter cleaning a monthly or bi-monthly habit, depending on your system and usage.
Ignoring Filter Issues
- The Problem: A dirty or malfunctioning filter will recirculate contaminants, making your water perpetually cloudy or green. Many people forget their filter is the workhorse of pool sanitation.
- How to Avoid: Pay attention to your filter's pressure gauge. If it's consistently high, it's time to clean the filter. Periodically inspect cartridges for damage and consider replacing sand or DE filter media every 3-5 years, as recommended by most manufacturers.
Maintaining Your Clean Pool: Long-Term Tips
Keeping your above-ground pool consistently clean isn't just about the big cleaning sessions; it's about a consistent, manageable routine that prevents problems before they start. Think of it like regular car maintenance, a little effort now saves you from costly repairs later.
Weekly Routine
Making these tasks a regular habit will ensure your pool stays inviting all season long.
- Skim the surface: Do this daily if possible, or at least 3-4 times a week. It’s the quickest way to remove visible debris.
- Brush walls and floor: Aim for once a week. This prevents algae from getting a foothold.
- Vacuum: Depending on how quickly debris settles, vacuum once a week. If you have an automatic cleaner, ensure it's running its cycle regularly.
- Test water chemistry: Test free chlorine and pH at least twice a week, especially during hot weather or heavy use. Test total alkalinity and cyanuric acid weekly or bi-weekly.
- Clean skimmer and pump baskets: Check these every few days, or as needed. Overflowing baskets mean less efficient filtration.
- Check filter pressure: Monitor your filter's pressure gauge weekly.
Seasonal Considerations
As the swimming season begins and ends, your pool needs special attention.
- Opening the Pool: This is when you tackle the build-up from winter. It involves a thorough cleaning, testing, and balancing of water chemistry, and often a shock treatment to kill any lingering contaminants. Refer to your pool manufacturer's specific opening guidelines.
- Closing the Pool: Proper winterization prevents damage from freezing temperatures. This typically involves cleaning the pool thoroughly, balancing the water, lowering the water level, treating the water for winter, and covering it securely. Incorrect closing can lead to costly repairs when spring rolls around.
Frequently Asked Questions About Pool Cleaning
How often should I test my pool water?
You should test your free chlorine and pH levels at least twice a week, especially during peak swimming season or periods of high usage. Total alkalinity and cyanuric acid should be tested weekly or bi-weekly.
What is shocking my pool, and why do I need to do it?
Shocking your pool, or super-chlorination, involves adding a large dose of chlorine to kill bacteria, viruses, algae, and break down organic contaminants. You typically shock your pool when opening it for the season, after heavy use, or when you notice algae growth or cloudy water.
Can I use my pool right after adding chemicals?
It's best to wait until your pool's circulation system has had time to distribute the chemicals evenly. For most chemicals, especially chlorine and shock treatments, wait at least 24 hours and ensure your free chlorine levels have returned to the safe swimming range (1-3 ppm) before entering the water.
My pool water is still cloudy after vacuuming. What should I do?
If your water is cloudy after vacuuming, first ensure your filter is clean and running properly. Check your filter's pressure gauge. If it’s high, it's time to backwash or clean the cartridge.
If the filter is clean, you might have very fine particles that the filter can't catch; in this case, a pool clarifier can help, followed by running the filter continuously.
Final Recommendation / Verdict / Decision Guide
Keeping your above-ground pool clean and inviting is a straightforward process when you break it down into regular tasks. The key is consistency: skimming, brushing, vacuuming, and diligent water testing form the foundation of a clear, safe swimming experience.
Start by gathering your essential tools: a skimmer net, pool brush, telescopic pole, and a reliable water testing method like test strips. Regular water chemistry balancing, paying close attention to pH, alkalinity, and chlorine levels, is crucial. Don't forget to maintain your filter system, as a clean filter is vital for circulating purified water.
By integrating these steps into a weekly routine and understanding common mistakes to avoid, you'll ensure your pool is always ready for a refreshing dip.

