

Image source: Web (Bing) / garden.eco (Web image (fair-use with source credit))
When the swimming season winds down, the question of "How do I winterize an above ground pool?" often pops up. Properly closing your pool isn't just about tidiness; it's a critical preventative measure to protect your investment from harsh winter conditions. Ignoring this essential task can lead to costly repairs down the line.
Our research confirms that neglecting winterization is a leading cause of equipment failure when temperatures drop. For instance, manufacturer specifications for most pool pumps indicate that residual water left in the system can freeze, expand, and crack the pump housing, a repair that can run hundreds of dollars. This guide will walk you through the process, helping you make the right decisions at each step.
Quick Answer
Winterize your above-ground pool by cleaning it thoroughly, balancing the water chemistry, adding winterizing chemicals, lowering the water level below the skimmer, draining all equipment, and securely covering the pool. This process prevents freeze damage to your pump, filter, and plumbing. Proper winterization, typically done in late fall before the first hard freeze, ensures a smoother spring opening.
Why Winterizing Your Pool Isn't Optional
Think of winterizing your above-ground pool like putting your car into storage for the winter. You wouldn't just leave it out in the elements without any preparation, right? Your pool is no different.
When temperatures dip below freezing, water expands, and this expansion can wreak havoc on your pool's components if they aren't properly prepared.
We’re talking about everything from your skimmer and pump to the plumbing lines themselves. If water is left inside these parts and freezes, it can cause cracks, breaks, and significant damage. For example, according to aggregate user feedback and manufacturer notes, leaving water in a pool pump during a hard freeze is one of the most common ways owners damage their equipment, often leading to replacement costs upwards of $200 to $500.
Beyond equipment, untreated water can become a breeding ground for algae and debris over the cold months, making your spring opening a much bigger, more costly chore.
Before You Start: What You'll Need
Getting ready to winterize means gathering your supplies. Having everything on hand before you begin makes the process go much smoother and helps prevent you from having to make extra trips to the store. It's about being prepared so you can tackle each step efficiently.
Essential Tools and Supplies
You'll need a few key items to get the job done right. This list covers the core necessities for the winterization process.
- Winter pool cover: A sturdy, high-quality cover designed for winter use is essential.
- Pool cover clips: These secure the cover to the pool's top rail, preventing it from blowing off.
- Air pillow: Placed under the winter cover, this absorbs ice expansion pressure.
- Pool pump and filter: These are the main components that need specific winterizing steps.
- Pool skimmer: You’ll need to protect the skimmer from freezing.
- Pool return fittings: These small parts also need attention.
- Pool antifreeze: A non-toxic, RV/marine type is crucial for protecting plumbing.
- Winterizing chemicals: This usually includes an algaecide and a water shock treatment.
- Water test kit: To accurately balance your water chemistry.
- Basic tools: Screwdriver, wrenches, possibly a shop vac or air compressor for blowing out lines.
- Hoses and buckets: For draining water and chemicals.
Pool Chemicals Checklist
The right chemical balance is key to preventing algae and ensuring your water doesn't become a mess by spring. Using a dedicated winterizing chemical kit can simplify this.
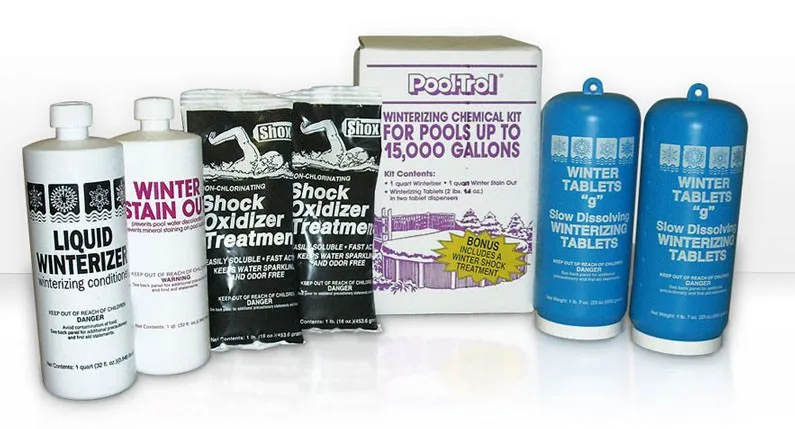
Image source: Web (Bing) / yourpoolhq.com (Web image (fair-use with source credit))
- Winter algaecide: This inhibits growth in colder water temperatures.
- Water clarifier: Helps keep water clear.
- pH increaser/decreaser: Essential for maintaining the correct pH range (7.2-7.6).
- Alkalinity increaser: Helps stabilize pH.
- Shock treatment (non-chlorine or chlorine): Used to kill off remaining contaminants.
The Core Winterization Workflow: Your Decision Tree
Winterizing your pool isn't a single action; it's a sequence of steps, and each one depends on your pool's condition and your local climate. This workflow guides you through the decisions you'll need to make.
Step 1: Clean Up – Getting Rid of Debris
This is your first line of defense. Any organic material left in the pool will decompose over winter, feeding algae and creating sludge. A clean pool is a much easier pool to winterize and reopen.
- Is the pool debris-free?
- If YES: Great! You can move directly to Step 2.
- If NO: You’ll need to clean it. This involves thoroughly skimming the surface and vacuuming the pool floor. Aim to remove as much as possible before proceeding.
Step 2: Balance the Water – The Foundation for Protection
Before you add any winterizing chemicals, you must get your water chemistry right. Chemicals added to unbalanced water won't work effectively. Maintaining a pH between 7.2 and 7.6 is crucial for chemical efficacy.
- What are your water's pH and alkalinity levels?
- If HIGH: Use a pH decreaser (like muriatic acid) to bring it down. Follow product instructions.
- If LOW: Use a pH increaser (like soda ash) to raise it into the ideal range.
- If IDEAL (7.2-7.6): Fantastic! Proceed to the next step. Proper alkalinity also helps buffer pH, so ensure that’s in the recommended range (typically 80-120 ppm).
Step 3: Add Winterizing Chemicals – Fighting the Freeze and Algae
Now that your water is clean and balanced, add chemicals to keep it that way through the cold months. These prevent algae growth and keep water clear.
- What type of winterizing chemicals are you using?
- If a Winterizing Kit: These kits contain a measured dose of algaecide, clarifier, and stain preventatives. Follow the kit's instructions precisely for your pool size.
- If Individual Chemicals: Add a winter-strength algaecide, followed by a shock treatment. The algaecide is your primary defense against algae. The shock treatment sanitizes the water. Always add chemicals separately, waiting about 15-30 minutes between them, and ensure they dissolve.
Step 4: Lower the Water Level – Preventing Freeze Damage
Climate is a major factor here. How much you lower the water depends on how cold your winters get. The goal is to prevent water from freezing inside your skimmer and damaging its housing.
- What is the severity of your climate's winter freezes?
- If MILD FREEZE (temperatures occasionally drop below 32°F): Lower the water level about 4-6 inches below the skimmer opening.
- If HARD FREEZE (temperatures consistently drop below 32°F): Lower the water level significantly, usually 4-6 inches below the skimmer opening. In extreme climates, consider lowering it even further, to bypass the skimmer and protect the main return jets.
Step 5: Drain and Protect Equipment – The Critical Step
This is the most crucial step for preventing costly damage. Any water left in your pump, filter, and plumbing lines will freeze and expand, potentially cracking components.
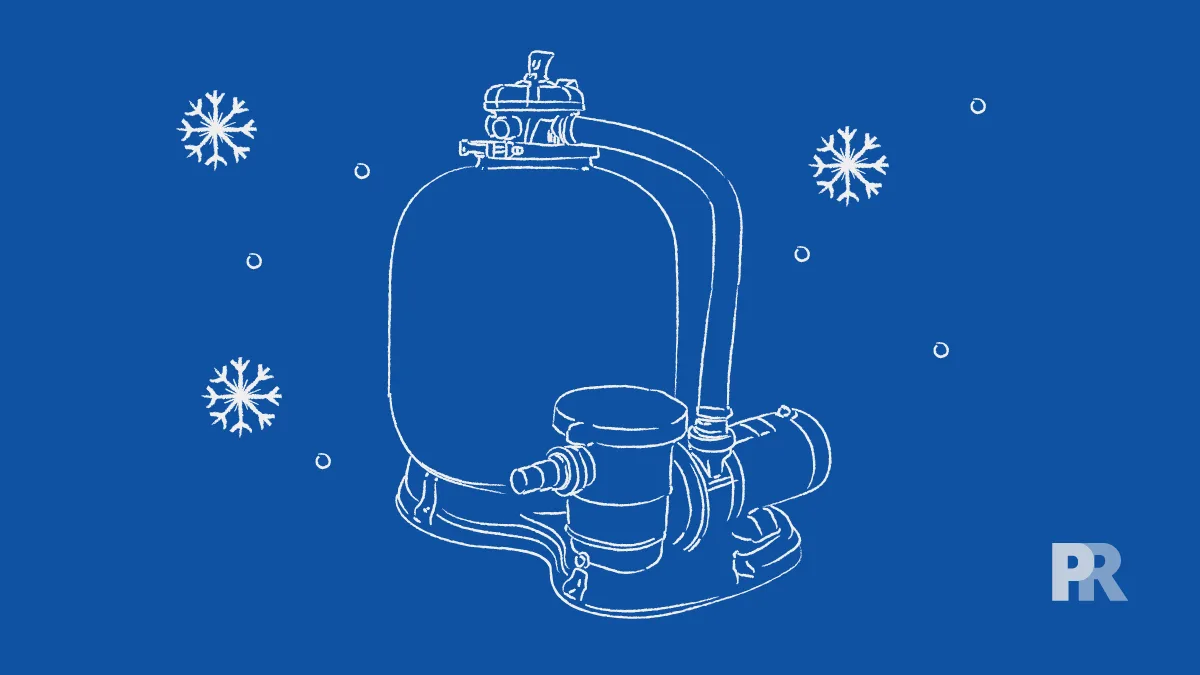
Image source: Web (Bing) / poolresearch.com (Web image (fair-use with source credit))
- What equipment do you have, and how will you protect it?
- Pool Pump: Remove drain plugs from the pump housing to allow all water to escape. Store plugs in the pump basket.
- Pool Filter: For sand filters, set the multiport valve to "Winterize" or "Drain" and remove the drain plug. For cartridge filters, remove and clean the cartridge; store it dry. Drain the filter housing completely.
- Plumbing Lines: Use an air compressor or shop vac to blow out any remaining water from the lines. Connect it to your skimmer or return lines and run it until no more water sprays out. Plug lines with winterizing plugs or use pool antifreeze in low points. For freeze-proof systems in hard-freeze areas, use a non-toxic RV/marine pool antifreeze to fill the lines and skimmer.
Common Winterizing Mistakes and How to Avoid Them
A few common slip-ups can turn a successful winterization into a spring headache. Knowing these pitfalls helps you sidestep them.
Skimping on Chemical Treatments
Some folks try to save money by using less chemicals. This is a false economy. Undoing algae blooms and sludge in the spring takes far more time, effort, and money than proper chemical treatment in the fall.
Always follow dosage recommendations for your pool's volume.
Not Draining Equipment Properly
Leaving water in pumps, filters, and hoses is a recipe for disaster when the temperature drops. Ensure all water is drained from every component. Manufacturer specifications warn that water left in a pump housing or filter tank will expand when frozen and can cause irreversible damage.
Insecure Winter Cover
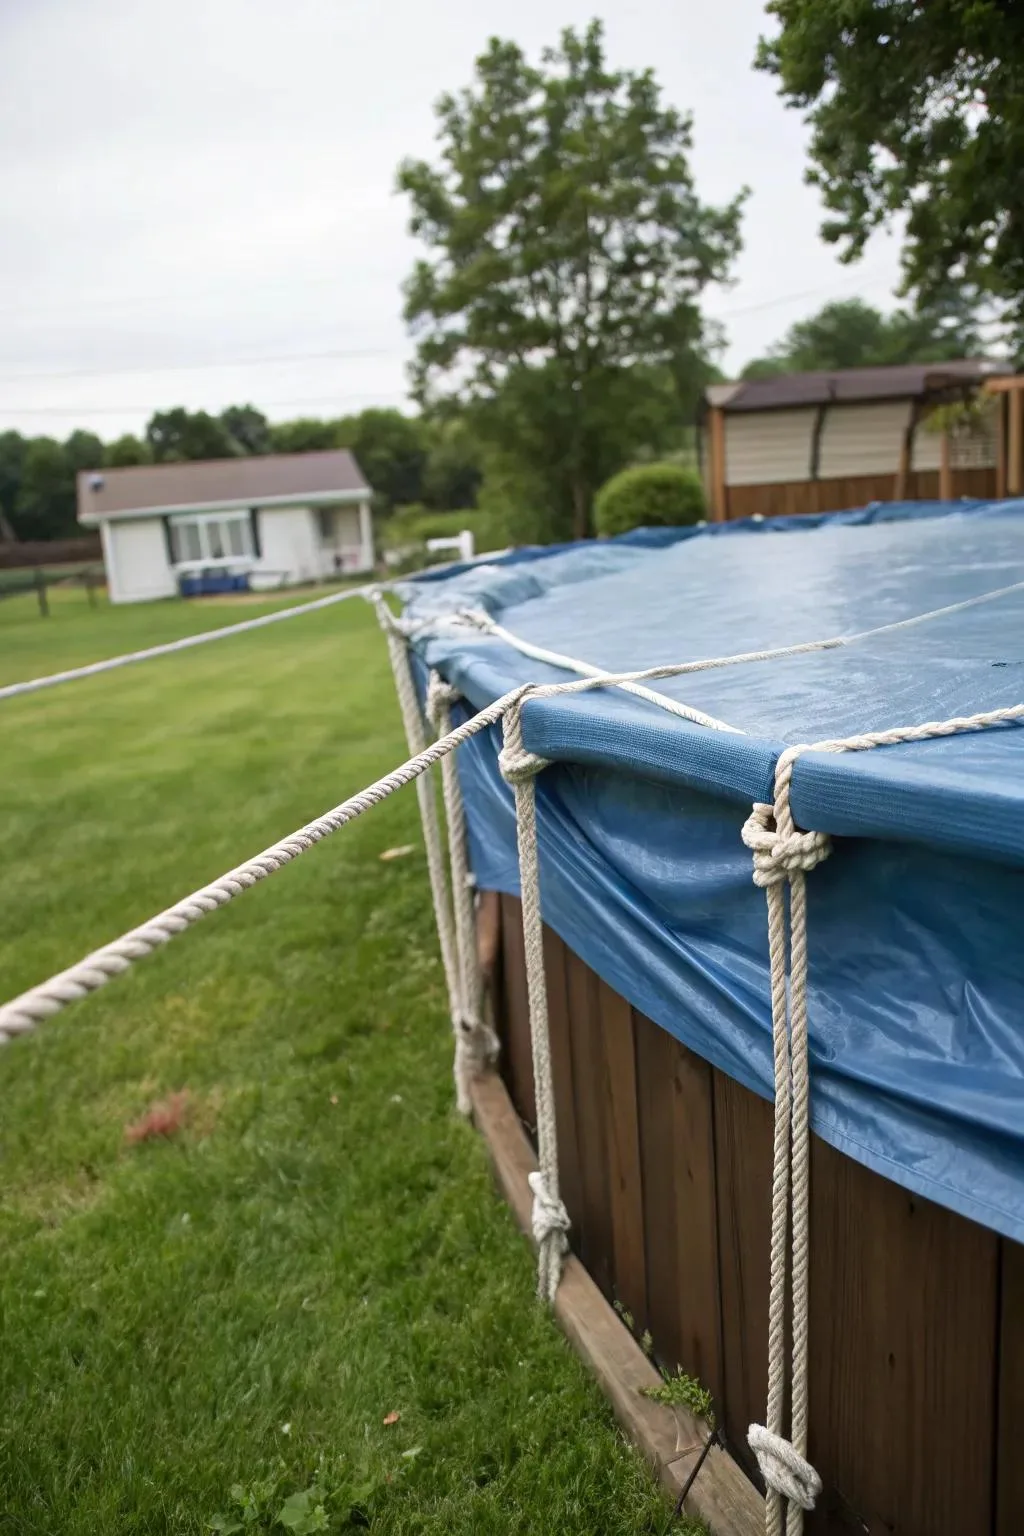
Your winter cover is your last defense against debris and the elements. If it's not secured, wind can lift it, allowing leaves, snow, and ice to enter the pool. This creates a messy spring opening and stresses the cover.
Use plenty of cover clips. For heavy snow, an air pillow underneath the cover is essential; it helps shed snow and ice, preventing weight from crushing the cover or damaging the pool.
When to Call a Pro vs. DIY Winterizing
Deciding whether to tackle pool winterization yourself or hire a professional often comes down to a few key factors: your comfort level, the complexity of your pool setup, and your available time. While DIY saves money, a professional service offers peace of mind.
Assessing Your Comfort Level
If you're new to pool ownership or live in an area with severe winters, you might lean towards professional help. Winterizing can seem daunting. Professionals have experience with tricky situations, like stubborn plumbing or unusual equipment.
They typically guarantee their work, offering recourse if something goes wrong.
For those comfortable with basic maintenance, DIY is achievable. You just need to follow steps carefully and have the right tools. The main benefit here is cost savings.
Professional winterizing services can range from $200 to $600 or more, depending on your location and pool size, whereas DIY costs are limited to supplies.
Understanding the Risks of DIY
The biggest risk with DIY winterization is improper execution, leading to costly damage. Leaving water in the lines, not balancing chemicals correctly, or failing to secure the cover can result in cracked equipment, algae blooms, or a difficult spring opening. A pump housing replacement alone can cost $300-$500.
If your pool has a heater or saltwater system, these add complexity and may require specialized knowledge that a DIYer might not have. For such systems, professional winterization is often recommended, especially as of 2026, given the increasing sophistication of pool technology.
Frequently Asked Questions About Pool Winterization
How long does it take to winterize an above-ground pool?
The time it takes can vary, but most homeowners complete the process in 2 to 4 hours. This includes cleaning, chemical treatment, draining equipment, and covering the pool. A very large pool or complex equipment might take longer.
When should I winterize my pool?
Winterize your pool in late fall, before the first hard freeze. Watch weather forecasts; aim for when temperatures consistently hover around 40-50°F (4-10°C) and before the water temperature drops much below 65°F (18°C). This timing ensures chemicals are effective and prevents freezing damage.
Can I leave my pool pump running all winter?
No, you generally cannot leave your pool pump running all winter in climates that experience freezing temperatures. While running the pump can prevent freezing in milder conditions, it's not foolproof. Once temperatures consistently drop below freezing, the risk of damage to the pump and plumbing increases significantly if the system isn't properly winterized and drained.
What happens if I don't winterize my pool?
If you don't winterize your pool, you risk severe damage to your equipment from freezing and expansion. You'll likely contend with algae blooms and debris, making your spring opening more challenging and expensive. This can lead to hundreds or thousands of dollars in repairs.
Do I need to remove my pool cover in the winter?
You should not remove your winter pool cover until you are ready to open the pool for spring. The cover protects the pool from debris, sunlight, and prevents accidental entry. It stays on throughout the entire winter.
Can I use automotive antifreeze in my pool lines?
Absolutely not. You must use only non-toxic, RV/marine-grade pool antifreeze. Automotive antifreeze is toxic and can contaminate your pool water and environment, posing a health risk.
Always check the product label for swimming pool safety.

