

Does an above ground pool need to be perfectly level? The short answer is no, not perfectly, but it absolutely needs to be close to level to function correctly and safely. While you don't need a spirit level accurate to a fraction of an inch across the entire circumference, significant slopes can cause major problems.
Our research indicates that even a small deviation can lead to uneven stress on the pool's structure and liner.
This guide breaks down exactly how level your site needs to be, what happens if it isn't, and how to achieve the right foundation for your above-ground pool. We'll cover everything from site selection to the nitty-gritty of leveling techniques, drawing on manufacturer specifications and common installation practices. As of 2026, these principles remain the cornerstone of a stable pool setup.
Quick Answer
An above ground pool does not need to be perfectly level, but it must be very close to it. Manufacturer specifications typically allow for a deviation of no more than 1 inch over a 10-foot span. Being significantly unlevel can damage the pool's structure and liner.
Proper leveling ensures even water distribution and prolongs the pool's lifespan.
Is My Pool Site Level Enough? A Quick Check
Before you even think about assembling your above-ground pool, the very first step involves checking the ground you plan to build on. You're looking for major dips, hills, or slopes that could compromise the pool's stability. Don't get caught up in trying to achieve absolute perfection at this stage; we're talking about significant issues that could cause immediate problems.
The key is to get a general sense of the site's flatness. You can do this with simple tools. A long, straight piece of lumber or a level bar can give you a good visual.
If one side of the pool is noticeably higher or lower than another, that's your red flag. Manufacturer installation manuals, like those from leading pool brands, often specify a maximum allowable slope, typically around 1 inch per 10 feet of diameter.
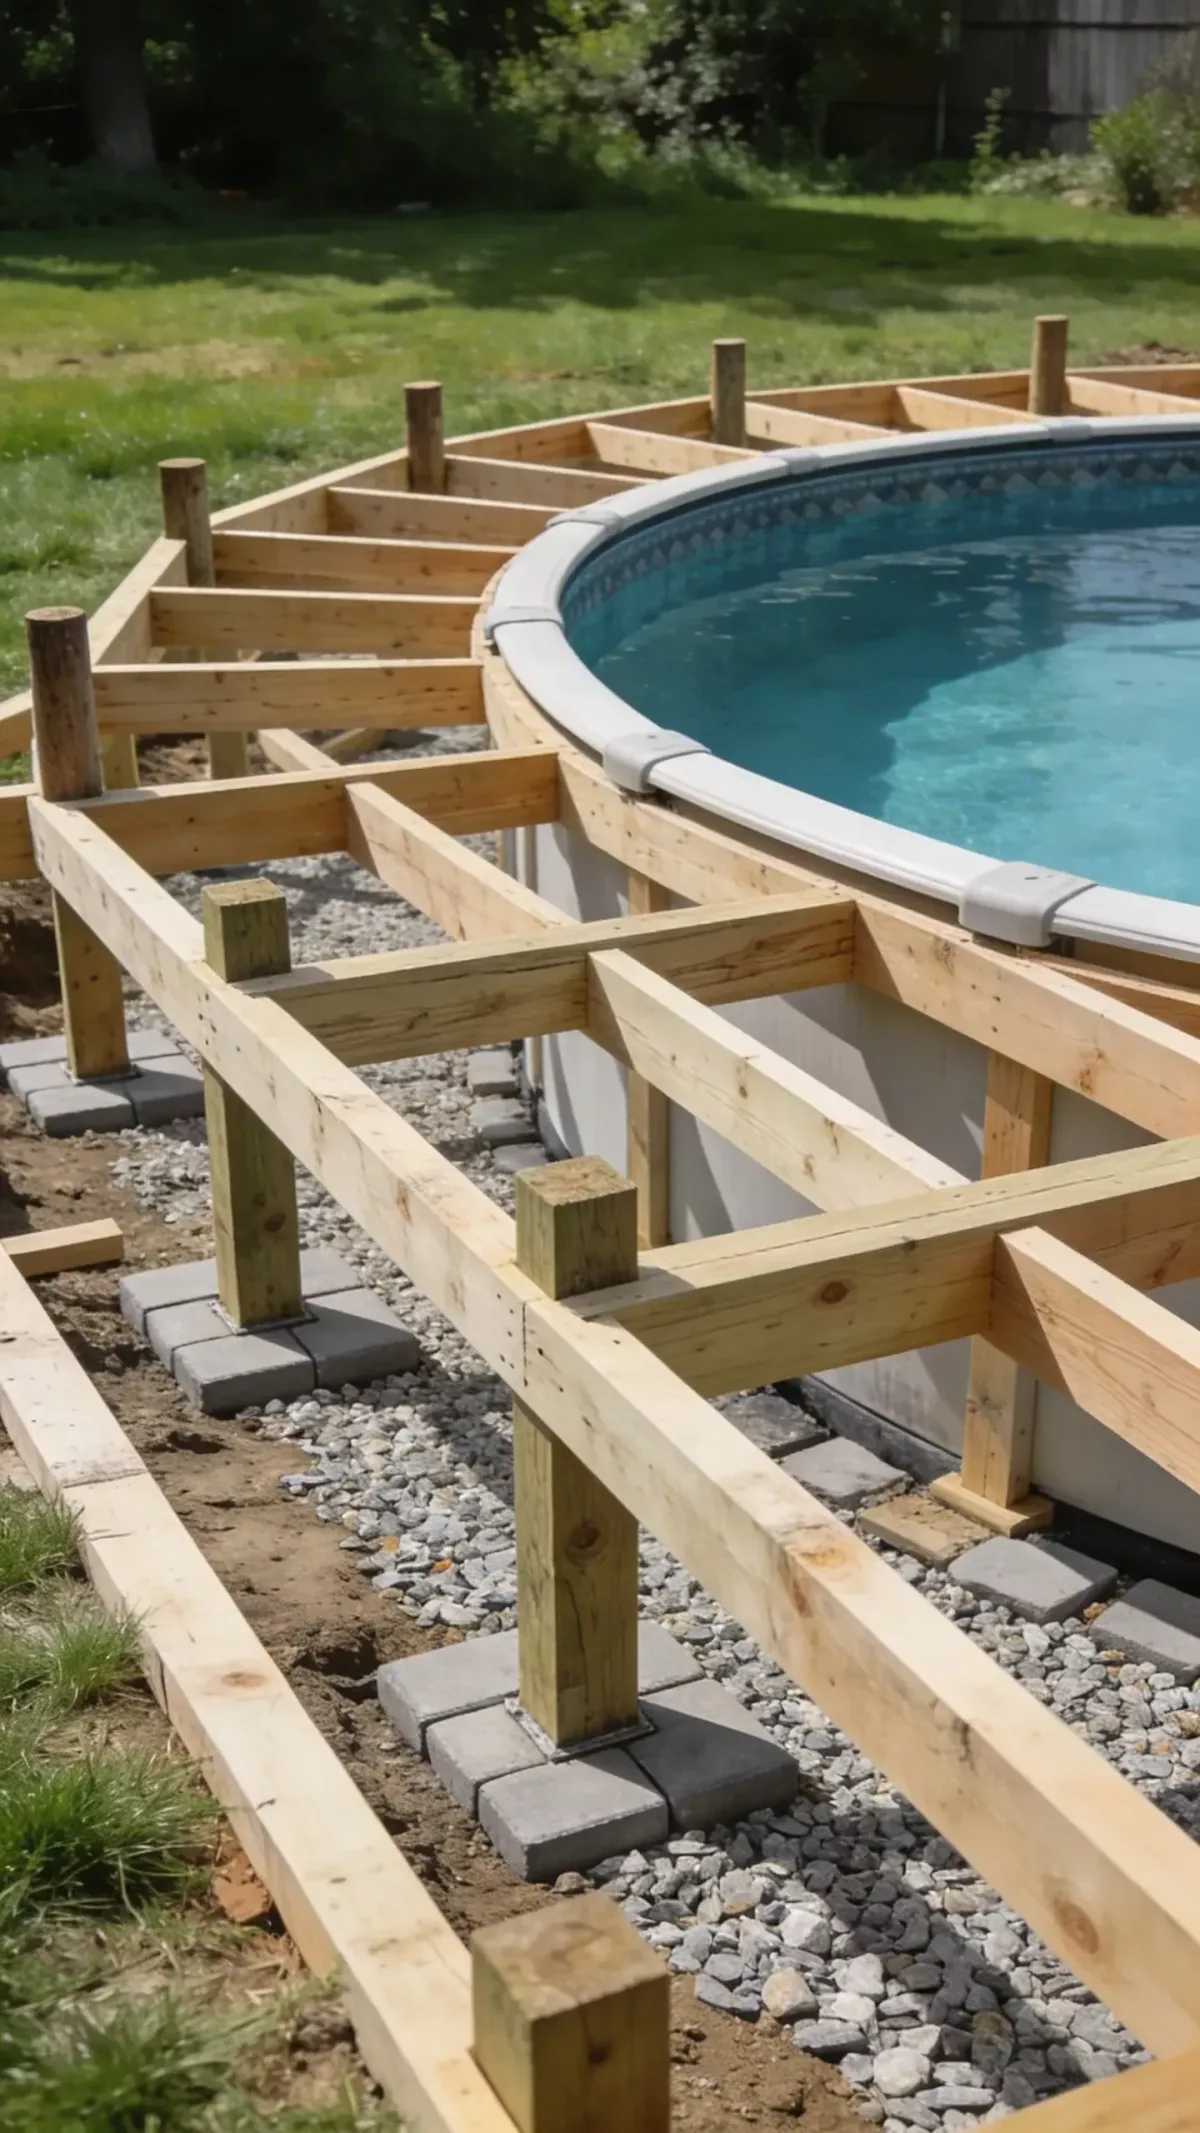
Image source: Bing (Web (fair-use with source credit))
The Real Deal: Why Pool Levelness Matters So Much
When we talk about an above-ground pool needing to be level, it's not just about aesthetics. There are some critical functional and structural reasons why getting this right from the start is non-negotiable. Skipping this crucial step is one of the most common mistakes DIY pool installers make, and it can lead to a cascade of expensive problems down the line.
Structural Integrity and Water Pressure
Imagine filling a large, circular tub with water. That water exerts pressure outwards, pushing against the walls. If the ground beneath the pool isn't level, one side will bear significantly more weight than the other.
This uneven distribution of water pressure can cause the pool walls to bow outwards, potentially leading to frame distortion or even collapse.
Manufacturer specifications consistently emphasize the importance of a level base to prevent excessive stress on the pool structure. For instance, the load capacity of the pool wall and frame is calculated assuming even hydrostatic pressure. When this assumption is violated, the components can warp or fail prematurely.
Aggregate reviews from pool installers frequently highlight structural damage as a direct consequence of unlevel setups.
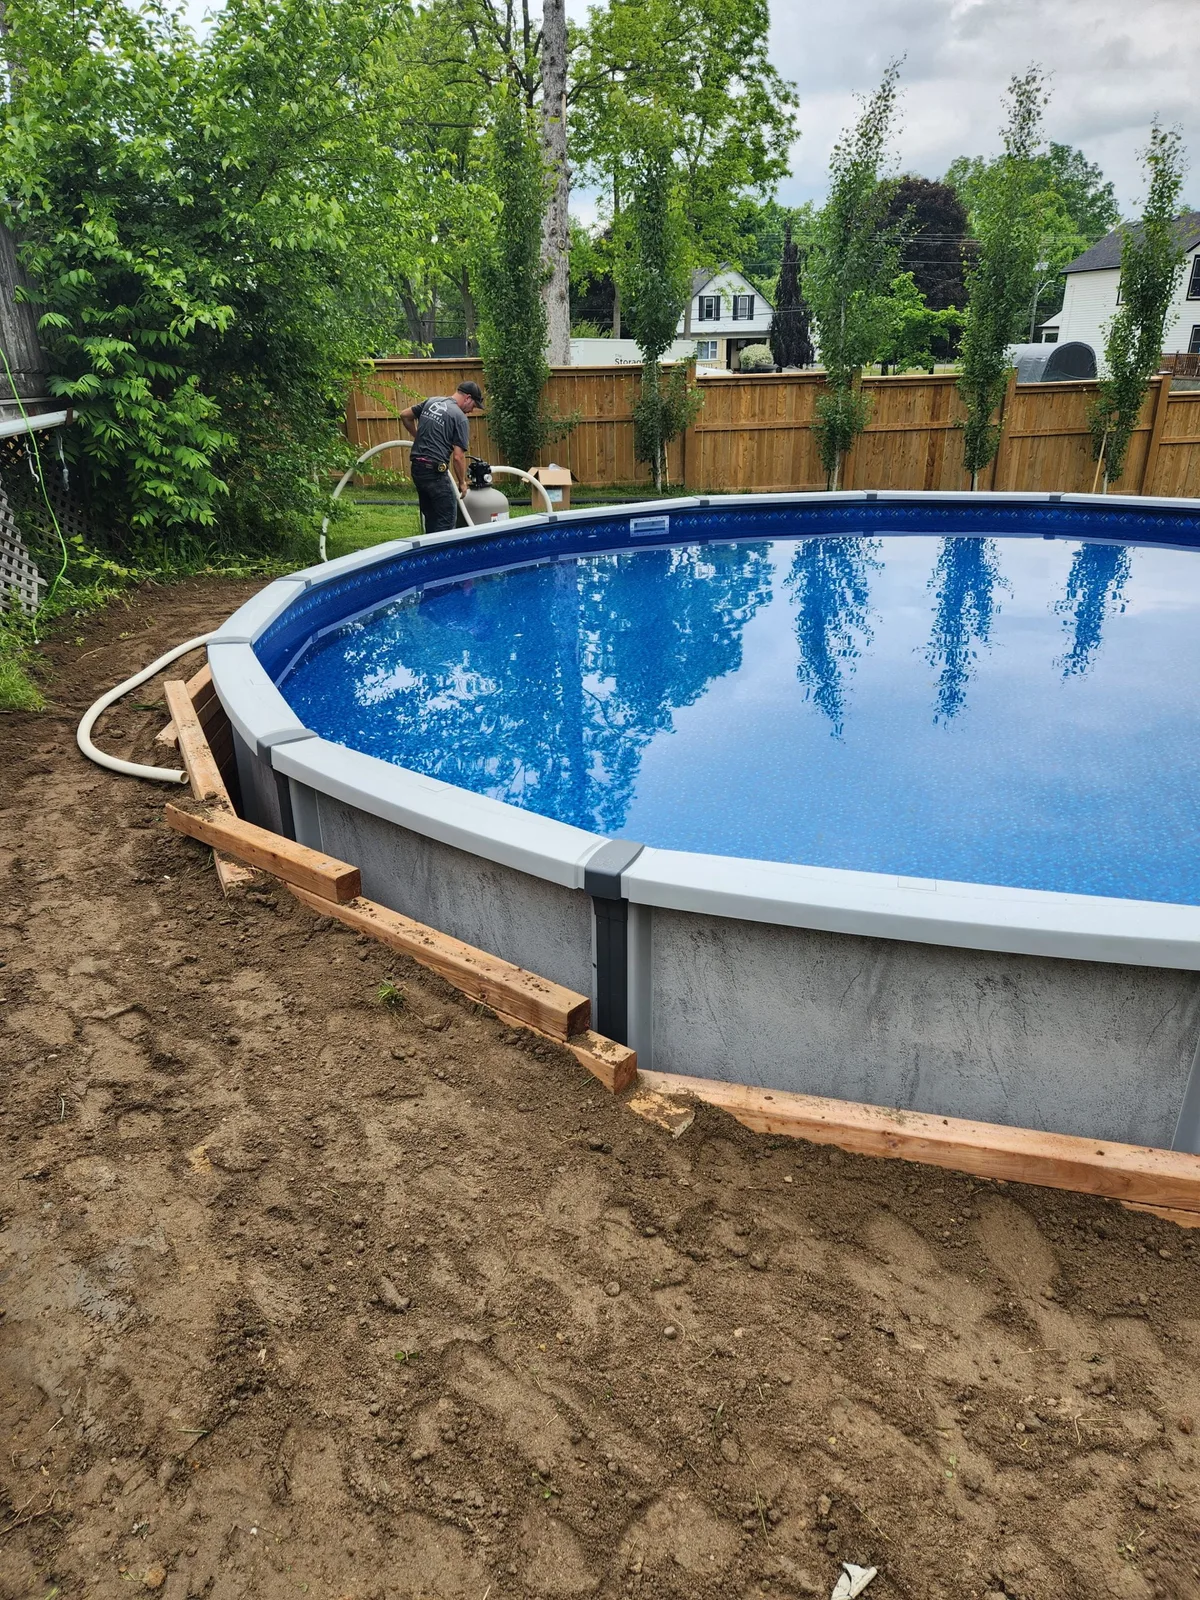
Image source: Bing (Web (fair-use with source credit))
Liner Longevity and Smoothness
The pool liner is the waterproof barrier that holds your water. When a pool is on an unlevel surface, the water level inside will naturally settle lower on one side. This creates wrinkles and slack in the liner on the higher side, while stretching it taut on the lower side.
Over time, these wrinkles can become permanent, and the constant stress on the stretched areas can lead to premature tearing or leaks.
A smooth, wrinkle-free liner is essential for both the pool's appearance and its durability. Our research shows that installers prefer a level base because it allows the liner to sit evenly, minimizing stress points. This promotes consistent wear and tear, extending the liner's useful life and reducing the likelihood of costly repairs or replacements.
Filtration and Circulation Efficiency
Your pool's filtration system is designed to work with water distributed evenly throughout the pool. When the water level is significantly lower on one side, it can affect how efficiently your skimmer and return jets function. The skimmer might suck air if the water level drops too low on one end, and the return jets might not distribute clean water effectively across the entire pool.
This uneven circulation can lead to dead spots where water doesn't move, potentially causing algae to form. It also means your filter system has to work harder, possibly shortening its lifespan. Editorial analysis of installation guides confirms that a level pool base ensures optimal water flow, which is critical for maintaining clean and healthy swimming conditions throughout the entire volume of the pool.
Your Pool Leveling Decision Guide
Navigating whether your pool site is ready involves a straightforward process of assessment and comparison. It's less about achieving absolute perfection and more about understanding the limits and making informed decisions based on your specific site conditions and pool type. We'll walk you through the key considerations to help you decide if your site is good to go or if it needs some adjustment.
Step 1: Assess Your Site's Slope
The first critical action is to determine the degree of slope on your intended pool location. You don't need professional surveying equipment, but you do need to be methodical. A simple way to start is by measuring the distance from the ground to the top edge of the pool frame at multiple points around its circumference after the frame is assembled but before filling.
You can also use a long, straight piece of lumber (e.g., a 2×4) and a carpenter's level. Place the lumber across the diameter of the pool area and place the level on top. Move the lumber around the entire perimeter, checking the level in several spots.
Note any differences. If you have a significant difference (more than an inch or two over 10 feet, for example), you've identified an issue that needs addressing.
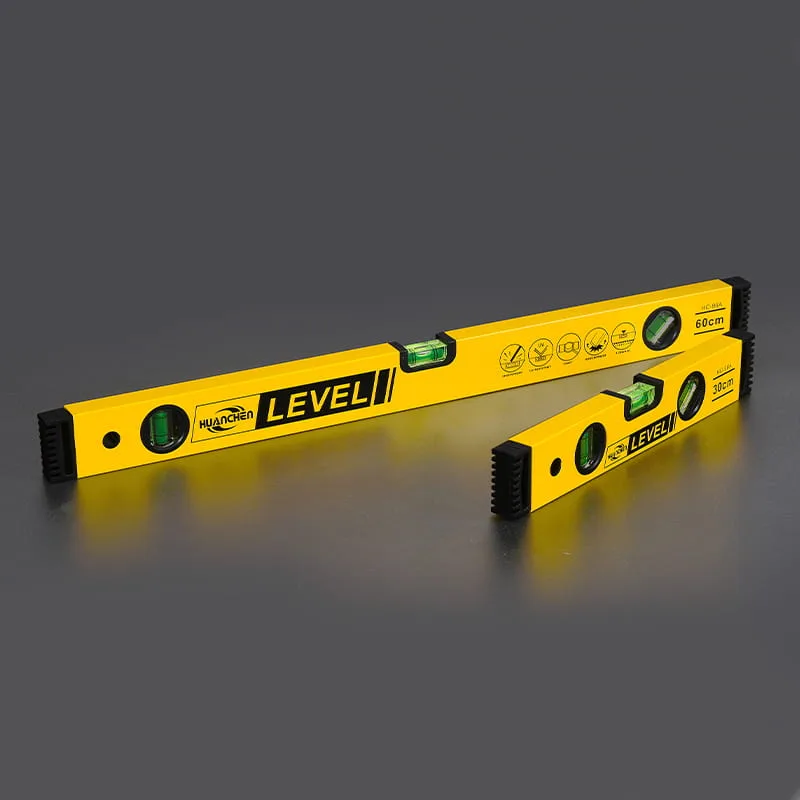
Image source: Web (Bing) / spiritlevel.net (Web image (fair-use with source credit))
Step 2: Understand Your Pool Type's Needs
Different types of above-ground pools have varying sensitivities to ground slope. A rigid steel-frame pool, for instance, relies heavily on its structural integrity and will be more susceptible to damage from an uneven base than a softer, inflatable kiddie pool. Manufacturers of more robust pool systems, such as those with metal frames and strong liners, provide very specific guidelines in their installation manuals.
These manuals often include diagrams and explicit measurements for acceptable grade deviation. For example, a steel-frame pool might have a strict tolerance of no more than 1 inch of unevenness over a 10-foot diameter. Inflatable pools, while more forgiving, will still perform better and last longer if the ground is relatively level, preventing water from pooling excessively on one side.
Step 3: What's "Level Enough" vs. "Not Okay"?
So, what exactly constitutes "level enough"? As a general rule, based on manufacturer specifications and common installation practices, your pool site should not have a slope exceeding one inch over any 10-foot span. This means if you measure across a 10-foot section of your pool's diameter, the difference in height between the two ends should be no more than one inch.
Anything exceeding this threshold is generally considered "not okay" and requires remediation. This isn't about having a perfectly flat surface that feels like a billiards table; it's about ensuring the structural load is distributed as evenly as possible. A slight, almost imperceptible slope might be manageable for some pool types, but significant dips or rises will almost certainly lead to problems.
Common Pool Leveling Pitfalls to Sidestep
When people run into trouble with their above-ground pools, it often comes back to a few fundamental mistakes made during the setup phase, particularly regarding the foundation. Learning about these common errors beforehand can save you a lot of headaches, time, and money. Most of these issues stem from trying to rush the process or not understanding the forces at play.
Ignoring Soil Issues
One of the biggest pitfalls is not accounting for the type of soil you're building on. Different soils behave differently. Clay soil, for example, can expand significantly when wet and contract when dry, leading to ground movement and settlement over time.
Sandy soil might not compact well, making it prone to shifting. If your site has poor soil stability or is prone to drainage issues, this can undermine even a perfectly leveled surface.
Our research indicates that many installation failures can be traced back to the ground itself. Before you start leveling, it's wise to understand your soil type and its potential for movement. Some manufacturers recommend specific soil preparation techniques or even advise against installing pools on certain types of ground without professional intervention.
Over-Reliance on Pool Water for Leveling
A common misconception is that you can just fill the pool and then somehow "adjust" it to level using the water. This is a dangerous approach. The pool's structure is designed to be supported by the ground, not by the water.
Trying to force a level surface by manipulating water volume is nearly impossible and puts immense, uneven stress on the pool walls and frame.
Aggregate installer feedback consistently warns against this. Once the water starts filling, the structure begins to bear weight. If the ground isn't level before you add significant water, you're essentially setting yourself up for structural failure.
The water's weight will exaggerate any existing unevenness.
Incorrect Shimming Techniques
Shimming, the process of using materials to fill low spots and create a level plane, is a common leveling method. However, it's easy to do this incorrectly. Using flimsy materials that can compress over time, like dry leaves or thin cardboard, is a recipe for disaster.
These materials will eventually give way under the immense weight of the water, causing the pool to shift and become unlevel again.
Manufacturer installation guides stress the importance of using stable, non-compressible materials for shimming, such as treated lumber or specialized leveling pads. If you're in doubt, it's often better to remove more soil and re-grade than to try and "shim up" a significant slope with inappropriate materials. The goal is a solid, stable foundation, not a temporary fix.
How to Fix an Unlevel Pool Site
If your initial assessment reveals that your chosen pool site isn't level enough, don't despair. Most sites can be corrected with proper preparation and a methodical approach. This is where you'll spend the most time and effort, but getting it right here is the foundation for a long-lasting pool.
The process involves careful excavation, compaction, and measurement.
Site Preparation: Clearing and Compacting
First things first, you need to clear the entire area where the pool will sit, plus an additional 2-3 feet around the perimeter. Remove all grass, rocks, roots, and any debris that could puncture the liner or create an uneven surface. Once cleared, the soil needs to be compacted.
This is crucial for preventing future settling.
You can rent a plate compactor for this job, or if you have a smaller area, a heavy tamper might suffice. Go over the entire area multiple times, working in perpendicular directions, to create a firm, stable base. This physical compaction removes air pockets and creates a denser soil structure that is less likely to shift under the weight of the pool.
Measuring and Marking
With the site cleared and compacted, it's time to get precise with your measurements. You'll need your long level (at least 6 feet is recommended) and stakes or spray paint to mark the high and low points. Place your level across the diameter of the pool area and identify the highest point.
This highest point will be your reference.
You can also use a 2×4 and a carpenter's level. Place the lumber across the diameter of the pool area and place the level on top. Move the lumber around the entire perimeter, checking the level in several spots.
Note any differences. If you have a significant difference (more than an inch or two over 10 feet, for example), you've identified an issue that needs addressing.
The Gradual Leveling Process
This is where the actual leveling happens, and it requires patience. Begin by excavating the areas you marked as high. Remove soil slowly and check your level frequently.
As you excavate, you may expose softer soil or create voids. Backfill these low spots with your chosen leveling material, usually a sand-gravel mix or compacted soil, and compact it thoroughly in layers.
It's vital to compact any material you add. Never just dump sand or soil and expect it to stay put. Layer by layer, compacting each addition, is the only way to ensure a stable base.
Continue this process of excavating, adding, compacting, and measuring until the entire area is as level as possible, ideally within that one-inch-per-10-feet tolerance.
Expert Tips for a Rock-Solid Pool Foundation
Drawing from the collective experience of manufacturers and seasoned installers, several best practices consistently emerge for ensuring your above-ground pool sits on a stable, level foundation. These aren't just suggestions; they're critical steps that prevent costly problems down the road. Thinking ahead and being meticulous now will pay dividends in years of enjoyable swimming.
Firstly, never underestimate the importance of site selection. If possible, choose a naturally level area. Avoid spots that are prone to water runoff from surrounding higher ground, as this can saturate the soil and cause settling.
Consider drainage patterns of your yard before you even dig.
Secondly, when compacting, use the right tools. For larger areas, renting a plate compactor is highly recommended. It provides consistent, deep compaction that hand tamping often can't achieve.
If you're using fill material, ensure it's a suitable mix, like a sand-gravel blend, that compacts well and drains effectively. Avoid using pure sand alone, as it can shift easily.
Thirdly, always over-excavate slightly rather than trying to build up too much. If you dig out too much in one spot, you can carefully add and compact fill material. But if you've only just scraped the surface of a high spot, you'll struggle to remove enough without disrupting the surrounding, already compacted earth.
Finally, take your time. Rushing the leveling process is the most common mistake leading to pool issues. A properly leveled and compacted base can take a full day or even two, depending on the site's condition.
View this preparation time as an investment in your pool's longevity and safety. Always refer to your specific pool manufacturer's installation manual for any unique requirements they may have.
FAQs on Above Ground Pool Levelness
Does a temporary above ground pool need to be level?
Yes, even temporary above-ground pools benefit from being on a level surface. While they may be more forgiving than rigid steel-frame models, an unlevel base can still cause uneven water distribution, stress on the frame or inflatable walls, and premature wear on the liner.
What happens if my above ground pool is not level?
If your above-ground pool is not level, you risk structural damage like warped walls or frames, premature liner tears due to uneven stretching, inefficient filtration and circulation, and potential ground subsidence issues. In severe cases, it can lead to partial or complete pool collapse.
How much slope is too much for an above ground pool?
Generally, a slope exceeding one inch over a 10-foot diameter is considered too much for most above-ground pools. Always consult your specific pool manufacturer's installation manual, as tolerances can vary.
Can I use sand to level an above ground pool?
While sand can be used as a topping layer after the main grading and compaction, it's not ideal as the primary leveling material on its own. Pure sand can shift and settle unevenly under the pool's weight. A compacted soil or sand-gravel mix is a more stable foundation.
Should I level the ground before assembling the pool?
Absolutely. The ground must be cleared, compacted, and leveled before you begin assembling the pool structure and filling it with water. This preparation is foundational to the pool's stability and lifespan.

