

A car vacuum is a powerful tool for keeping your vehicle’s interior clean. But can it also handle the delicate surfaces of your dashboard? Many car owners wonder if using a vacuum on their dashboard is safe and effective.
Yes, a car vacuum can clean dashboards, but it requires the right approach and attachments. Using the wrong method can scratch surfaces or damage electronics. This guide will explain how to use a car vacuum safely and effectively on your dashboard.
Why Cleaning Your Dashboard Matters
Your car’s dashboard is a high-traffic area. It collects dust, dirt, and grime from everyday use. Over time, this buildup can look unsightly and even affect the functionality of your car’s interior. Regular cleaning not only improves the appearance of your car but also helps maintain the longevity of dashboard materials.
Dust on the dashboard can become airborne when you drive, leading to poor air quality inside your car. It can also settle into vents and electronic components, potentially causing issues. Keeping it clean is an important part of car maintenance.
Choosing The Right Car Vacuum
Not all car vacuums are created equal. For dashboard cleaning, you need a vacuum that is lightweight, portable, and comes with specialized attachments. Many handheld car vacuums are designed for this purpose. Look for models with:
- Brush attachments: These are crucial for gently loosening dust and debris without scratching surfaces.
- Crevice tools: These help reach tight spots and corners.
- Variable suction power: The ability to adjust suction is helpful for different materials and levels of dirt.
Some vacuums offer HEPA filters, which are excellent for trapping fine dust particles and allergens, contributing to better car air quality. When selecting a vacuum, consider its power source (corded, cordless, or battery-powered) and suction power (measured in air watts or Pascals).
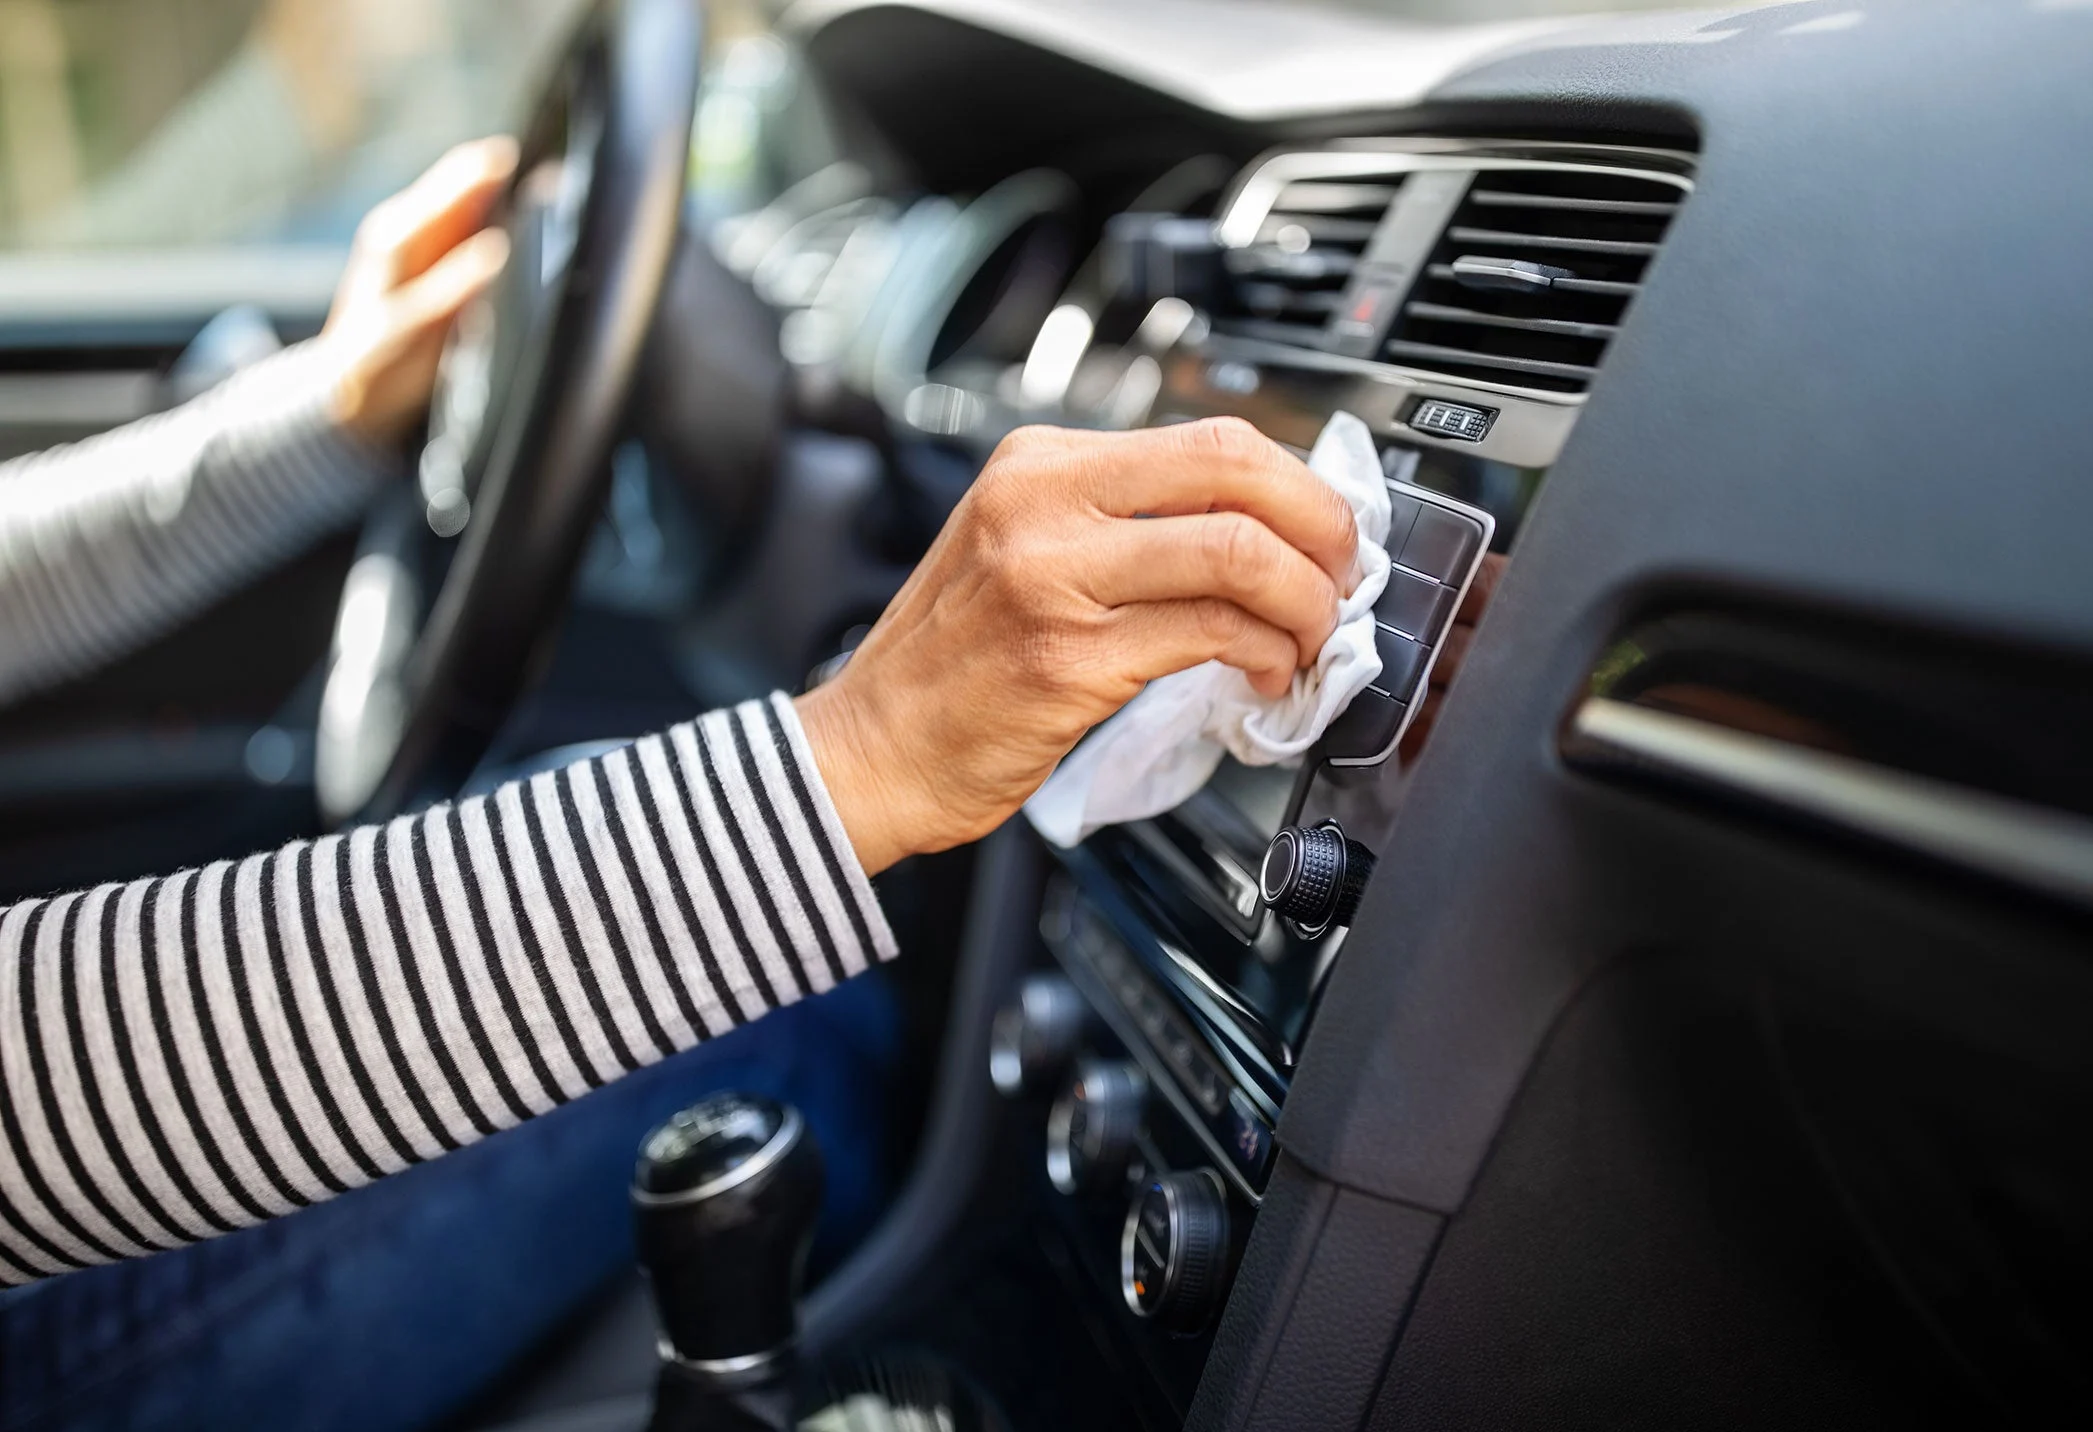
How To Vacuum Your Dashboard Safely
Vacuuming your dashboard requires a gentle touch and the correct technique. The goal is to remove dust and debris without causing any damage.
Step 1: Prepare Your Vacuum And Attachments
Before you start, ensure your car vacuum is clean and its filter is clear. This prevents blowing old dirt back onto your dashboard. Select a soft brush attachment. This is the most important tool for dashboard cleaning.
Step 2: Start With Low Suction
If your vacuum has adjustable suction, start with the lowest setting. This minimizes the risk of pulling on delicate dashboard components. You can gradually increase the power if needed, but always proceed with caution.
Step 3: Use Gentle Brush Strokes
Gently move the soft brush attachment across the dashboard surface. The brush will agitate the dust, and the vacuum will suck it up. Work in sections, moving from top to bottom.
Step 4: Target Vents And Crevices
Use a crevice tool or a small nozzle attachment to clean air vents, seams, and other hard-to-reach areas. Be careful not to force the attachment into tight spaces.
Step 5: Clean Around Electronics
Dashboard electronics, like infotainment screens and buttons, need extra care. Use a microfiber cloth or a very soft brush attachment for these areas. Avoid direct, strong suction on screens.
Step 6: Final Wipe-down
After vacuuming, a quick wipe with a damp microfiber cloth can remove any remaining dust and leave surfaces looking clean and shiny.
What To Avoid When Vacuuming Your Dashboard
To prevent damage, there are several things you should avoid doing:
- Using harsh or abrasive attachments: Metal or stiff bristles can easily scratch your dashboard.
- Applying excessive pressure: Let the vacuum do the work. Forcing it can damage plastic or vinyl.
- Vacuuming wet surfaces: This can damage the vacuum motor and potentially cause electrical issues.
- Using a powerful shop vac directly: These are often too strong for delicate car interiors and lack the necessary soft brush attachments.
- Ignoring delicate areas: Screens, buttons, and speaker grilles require special attention.

Alternative And Complementary Cleaning Methods
While a car vacuum is excellent for dust removal, other tools can complement its use for a thorough dashboard clean.
Microfiber Cloths
Microfiber cloths are essential for wiping down surfaces. Use a dry cloth for light dusting or a slightly damp one for more stubborn grime. They are non-abrasive and trap dirt effectively.
Interior Detailer Sprays
For a deeper clean and a protective finish, interior detailer sprays can be used after vacuuming and wiping. These products clean, condition, and protect dashboard materials from UV damage. Always spray the product onto your cloth, not directly onto the dashboard, to avoid overspray onto electronics.
Detail Brushes
Specialized detail brushes with very soft bristles can reach areas too small for vacuum attachments. They are perfect for cleaning around buttons, vents, and seams before or after vacuuming.
Here’s a quick comparison of tools for dashboard cleaning:
| Tool | Best For | Caution |
|---|---|---|
| **Car Vacuum** | Dust, loose debris, general cleaning | Use soft brush attachments, low suction |
| **Microfiber Cloth** | Wiping, dusting, applying sprays | Avoid abrasive side, use clean cloths |
| **Detail Brushes** | Tight spots, vents, around buttons | Ensure bristles are very soft |
| **Interior Sprays** | Cleaning, conditioning, UV protection | Spray onto cloth first, avoid electronics |
Understanding Dashboard Materials
Your car’s dashboard is likely made from a combination of materials, each requiring a slightly different care approach. Common materials include:
- Vinyl: Durable and common, vinyl can become sticky or faded over time. Gentle vacuuming and interior cleaners work well.
- Plastic: Similar to vinyl, various types of plastic are used. Hard plastics can be more prone to scratching.
- Leather: Found in luxury vehicles, leather needs specific conditioners. Vacuum carefully with a soft brush and use dedicated leather cleaners.
- Rubberized coatings: Some dashboards have a soft-touch, rubberized finish. These can be sensitive, so low suction and soft brushes are paramount.
Knowing your dashboard’s material helps you choose the right cleaning agents and techniques. Always test any new cleaner in an inconspicuous area first.

Common Mistakes And How To Avoid Them
Even with the best intentions, mistakes can happen. Here are some common errors and how to prevent them:
- Using the wrong attachment: Trying to use a large floor attachment or a stiff brush will almost certainly cause damage. Always opt for the smallest, softest brush or crevice tool.
- High suction power: Blasting the dashboard with maximum suction can pull at trim pieces or even dislodge small components. Start low and increase only if necessary.
- Dry dusting: Simply wiping a dry dashboard with a cloth can push dust around and create micro-scratches. Vacuuming first lifts the debris.
- Ignoring electronics: Spraying cleaners directly onto screens or control panels can lead to damage. Always apply cleaners to your cloth first.
- Over-cleaning: Excessive scrubbing or using harsh chemicals can degrade materials over time. Regular, gentle cleaning is better than infrequent, aggressive cleaning.
In my experience, taking a few extra minutes to select the right tool and use a gentle technique makes all the difference in preserving your car’s interior.
How Often Should You Vacuum Your Dashboard?
The frequency of dashboard vacuuming depends on your driving habits and environment. However, a good rule of thumb is:
- Weekly: A quick dusting or light vacuuming can prevent significant buildup.
- Bi-weekly or Monthly: A more thorough vacuuming, including vents and crevices, is recommended.
If you live in a dusty area, frequently drive with windows down, or have pets, you may need to clean your dashboard more often.

