Your robot vacuum is working hard to keep your floors spotless. But have you ever stopped to think about cleaning its brushes?
If you want your vacuum to perform at its best and last longer, knowing how to clean the brushes properly is key. In this guide, you’ll discover simple, step-by-step tips to keep your robot vacuum running smoothly. Keep reading, and your floors will thank you!
Tools Needed
Cleaning the brushes on a robot vacuum keeps it working well. Having the right tools makes the job faster and easier. Some tools are must-haves, while others can help but are not needed. Prepare these before you start to save time and effort.
Essential Cleaning Supplies
- Soft brush or an old toothbrush to remove dirt and hair
- Small pair of scissors or blade to cut tangled hair
- Microfiber cloth to wipe the brushes clean
- Compressed air can to blow out dust and debris
- Cleaning tool that comes with your robot vacuum, if available
Optional Accessories
- Vacuum cleaner with a small nozzle to suck out dust
- Lint roller for picking up fine hair strands
- Rubber gloves to protect your hands
- Small bowl of warm water with mild soap for deep cleaning
- Drying rack or towel to air dry brushes after washing
Safety Precautions
Cleaning the brushes on your robot vacuum helps keep it working well. Safety is very important during this task. Taking the right precautions protects you and the machine. Follow simple steps to avoid injury or damage.
Power Off And Unplug
Always turn off your robot vacuum before cleaning. Unplug it from the power source if possible. This stops the brushes from moving unexpectedly. It also prevents electric shocks. Never clean the brushes while the vacuum is running.
Handle Brushes Carefully
Brushes can have sharp or stiff bristles. Hold them gently to avoid cuts or scratches. Avoid pulling too hard to prevent breaking parts. Use tools like a brush or cloth for cleaning. Keep fingers away from small moving parts inside the brush area.
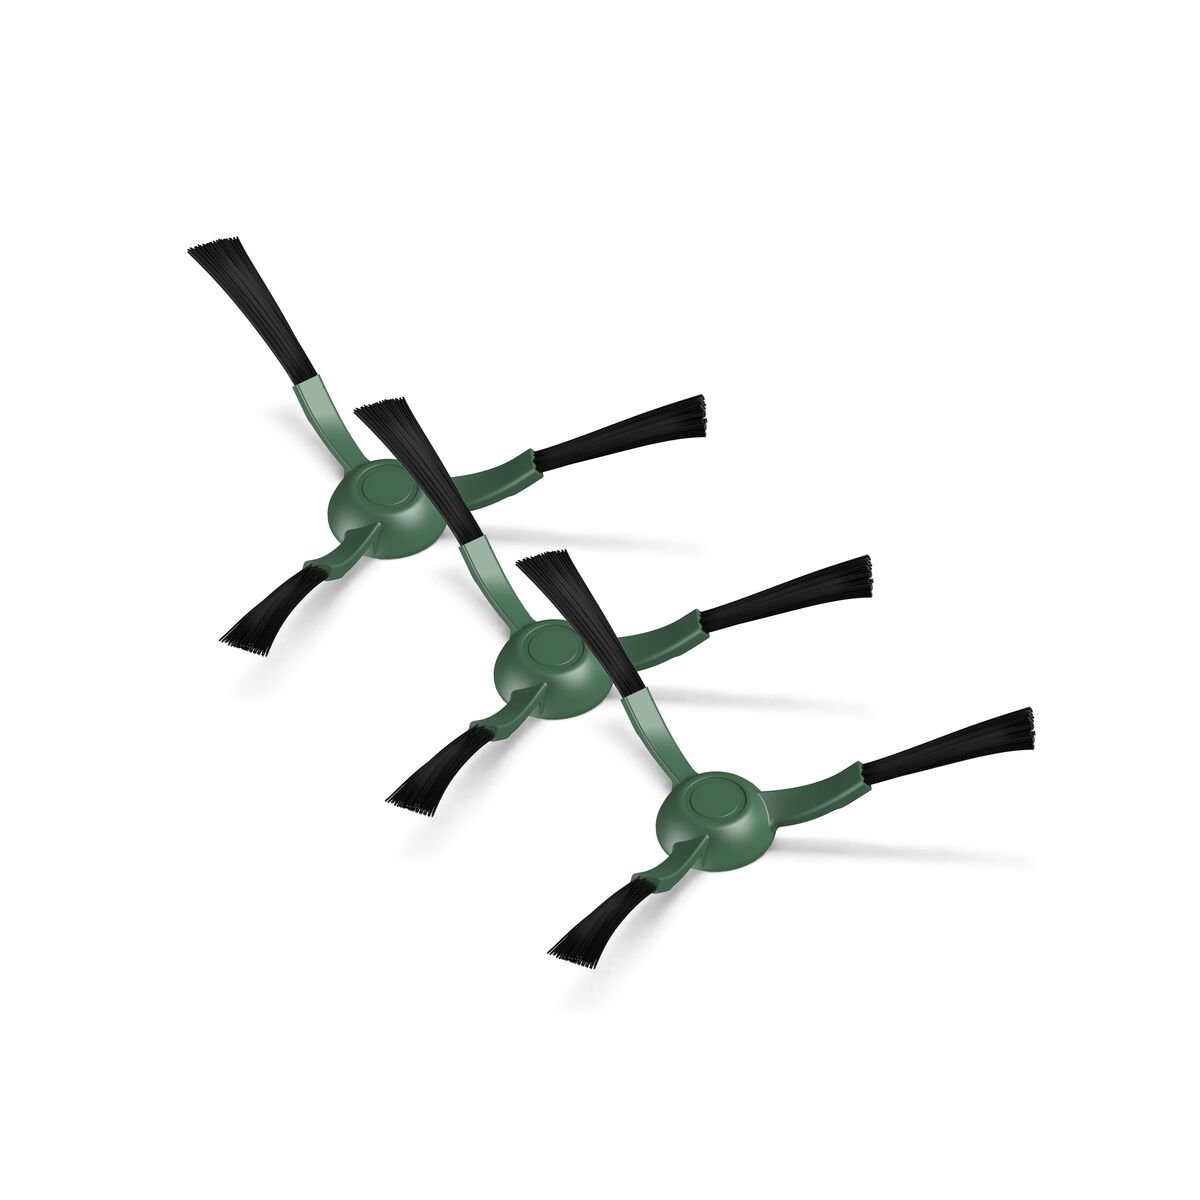
Removing The Brushes
Removing the brushes from your robot vacuum is the first step in cleaning them properly. This task helps keep your vacuum working well and extends its life. Brushes can collect hair, dust, and dirt, which affect cleaning performance. Follow simple steps to take out the brushes safely and easily.
Locating The Brushes
Turn the robot vacuum upside down. Look at the bottom side carefully. You will see the main brush in the middle. Side brushes are near the edges. Knowing their spots helps you remove them without damage.
Detaching Main Brush
Find the cover over the main brush. Press the release tabs or unscrew it. Gently lift the brush out. Be careful with the bristles. Set the brush aside for cleaning.
Removing Side Brushes
Side brushes usually attach with screws or clips. Use a small screwdriver if needed. Turn the screws left to loosen them. Pull the side brushes off gently. Keep screws safe for reassembly.

Cleaning The Brushes
Cleaning the brushes on your robot vacuum is important to keep it working well. Dirt and hair can get stuck and stop the brushes from spinning. Regular cleaning helps your vacuum pick up dirt better and lasts longer. Here is how to clean the brushes step by step.
Removing Hair And Debris
First, turn off and unplug your robot vacuum. Take out the brushes carefully. Use your fingers or a small tool to pull out hair and string wrapped around the brushes. Check both sides of the brushes for stuck dirt. Remove all visible debris to avoid damage or poor cleaning.
Washing With Water
After removing hair, rinse the brushes under warm water. Use a mild soap if the brushes are very dirty. Gently scrub with a soft brush or cloth to remove stuck dirt. Avoid soaking any parts with electrical components. Clean the brush holder area if it is dirty too.
Drying Properly
Shake off excess water from the brushes. Place them on a dry towel in a well-ventilated area. Let the brushes air dry completely before putting them back. Avoid using heat or direct sunlight to dry the brushes. Proper drying stops mold and damage.
Cleaning Brush Compartments
Cleaning the brush compartments in a robot vacuum is important for its good performance. Dirt and debris collect inside these areas and can stop the brushes from working well. Regular cleaning keeps the vacuum running smoothly and extends its life.
Spend time to carefully clean these compartments to avoid damage. This section explains easy steps to clear dust and check for blockages.
Clearing Dust And Dirt
Open the brush compartments gently. Use a soft cloth or a small brush to remove loose dust. Check corners and edges where dirt hides. Avoid using water unless the manual says it is safe. Removing dust helps brushes move freely and clean better.
Checking For Blockages
Look inside the compartments for tangled hair or large debris. Use scissors or tweezers to cut and pull out stuck dirt. Blockages stop the brush from spinning. Make sure the area is clear before closing the compartments. This keeps the vacuum efficient and protects its parts.
:strip_icc()/cleaning-robot-vacuum-ad1e61d2c9ec4c4e89fbe96bba3c16dc.jpg)
Reassembling The Brushes
After cleaning the brushes on your robot vacuum, reassembling them correctly is very important. Proper reassembly ensures the vacuum works well and lasts longer. Take your time and follow clear steps to avoid mistakes.
Placing Brushes Back
Start by placing each brush in its original spot. Match the shape and size of the brush with the slot. Gently push the brush into place without forcing it. Make sure the brushes sit flat and are aligned properly. Check that no dirt blocks the slots before placing the brushes.
Ensuring Secure Fit
After placing the brushes, press them firmly to lock in place. Listen for a click or feel a snap indicating a secure fit. Shake the brushes lightly to confirm they do not move. A loose brush can cause poor cleaning and damage. Double-check all clips and screws are fastened tightly for safety.
Maintenance Tips
Keeping your robot vacuum’s brushes clean is key to its good performance. Proper maintenance helps your device work longer and clean better. Below are simple tips to care for your vacuum brushes.
Cleaning Frequency
Clean the brushes at least once a week. If you have pets or a dusty home, clean them twice a week. Regular cleaning stops dirt from building up. Remove hair, threads, and dust from the brushes carefully. This keeps your vacuum running smoothly.
Brush Replacement Signs
Check the brushes for wear and tear. If the bristles look bent or worn out, it is time to replace them. Notice if the vacuum cleans less well than before. Strange noises or the brush not spinning properly also indicate replacement need. Changing brushes on time keeps your vacuum effective and protects its motor.
Troubleshooting Brush Issues
Brush issues can reduce your robot vacuum’s cleaning power. Fixing these problems keeps your device working well. This section guides you through common brush problems and how to solve them.
Brush Not Spinning
The brush may stop spinning due to hair or debris wrapped around it. Remove the brush and clear any stuck material. Check if the brush is properly seated in its slot. A loose brush will not spin correctly. Inspect the brush motor for damage or blockage. Clean the motor area gently to remove dust or dirt. Restart the vacuum to see if the brush spins again. Replace the brush if it is worn out or broken.
Unusual Noises
Strange sounds often mean something is stuck in the brush. Turn off the vacuum and remove the brush. Look for small stones, cords, or hair tangled tightly. Clean the brush and the brush holder carefully. Check for cracks or damage on the brush itself. Inspect the wheels that turn the brush for smooth movement. Test the vacuum after cleaning to check for noise. If noise remains, the motor may need service or replacement.
Frequently Asked Questions
How Often Should I Clean Robot Vacuum Brushes?
Clean your robot vacuum brushes every 1-2 weeks. Frequent cleaning prevents hair and debris buildup, maintaining optimal performance. Check the brushes more often if you have pets or heavy dust. Regular maintenance extends the vacuum’s lifespan and improves cleaning efficiency.
What Tools Do I Need To Clean Robot Vacuum Brushes?
Use a small brush, scissors, and a cleaning tool often included with the vacuum. These help remove hair, dirt, and debris tangled in the brushes. Avoid sharp objects that can damage the bristles or brush housing. Proper tools make cleaning easier and safer.
Can I Wash Robot Vacuum Brushes With Water?
Most brushes can be washed with water, but check your vacuum’s manual first. Remove the brushes and rinse them gently with water. Let them dry completely before reinstalling to avoid motor damage. Avoid soaking parts with electronic components.
Why Is Brush Cleaning Important For Robot Vacuums?
Cleaning brushes ensures efficient dirt pickup and prevents motor strain. Dirty brushes reduce suction and can cause the vacuum to malfunction. Regular cleaning improves cleaning performance and prolongs the vacuum’s life. It also helps maintain a hygienic home environment.
Conclusion
Cleaning your robot vacuum’s brushes keeps it working well. Dirt and hair can slow it down or cause damage. Regular care helps your vacuum last longer and clean better. Take a few minutes every week to remove buildup. This small effort saves you from bigger problems later.
Keep your home cleaner with a smoothly running robot vacuum. Simple steps, big difference.