

How do you vacuum under car seats? Remove loose items, move the seat to expose one area at a time, and use a crevice tool along the carpet edges and seat rails. The job is simple once you avoid the wiring, connectors, and tight spots that a wide vacuum head can’t reach.
Under-seat dirt is usually a mix of crumbs, sand, pet hair, and lost items. In many vehicles, yellow under-seat connectors are part of the Supplemental Restraint System, which includes airbags and seatbelt pretensioners. Keep the ignition off, inspect the area first, and then clean methodically.
How Do You Vacuum Under Car Seats?
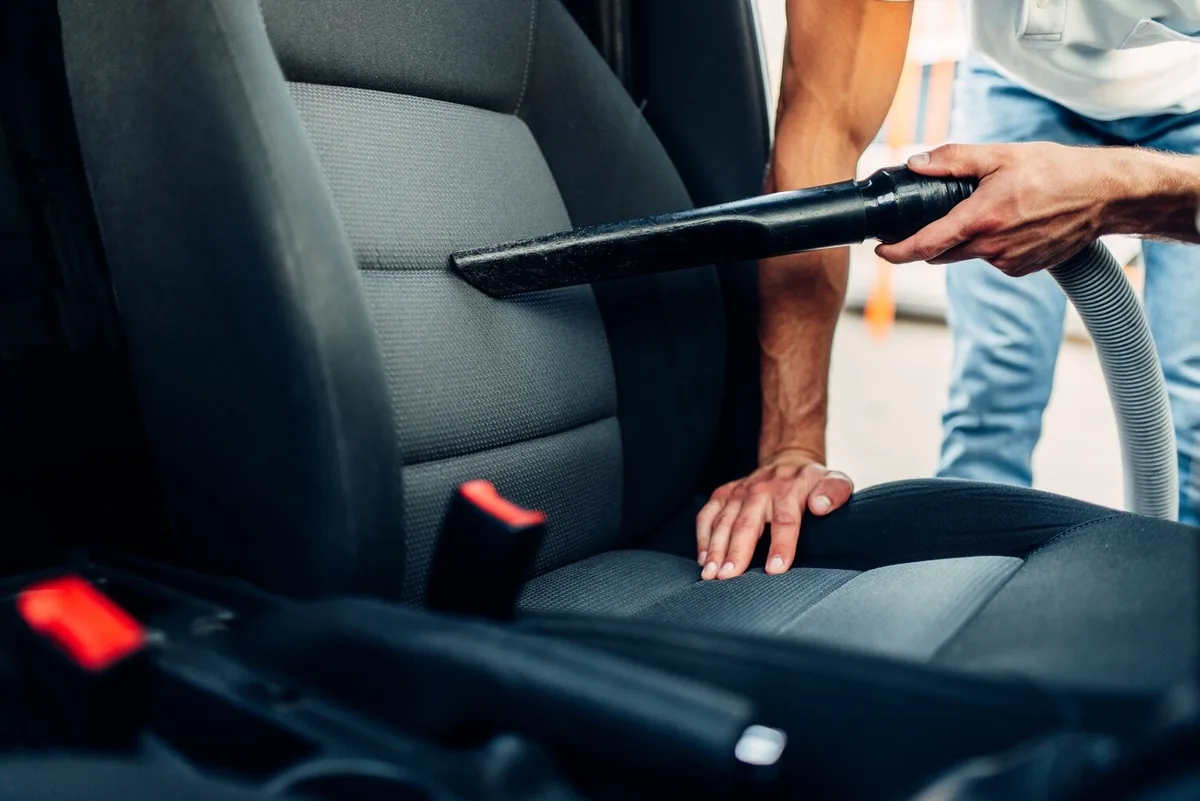
Image source: Web (Bing) / vroom.zone (Web image (fair-use with source credit))
Quick Answer
How do you vacuum under car seats? Turn the vehicle off first.
Remove loose objects and floor mats. Slide the seat back or forward.
Use a crevice tool around the carpet edges. Brush stubborn grit loose, then vacuum again.
Keep clear of wires and yellow connectors.
Before You Start: Check Seat Movement, Clearance, and Under-Seat Wiring
Park on level ground, switch off the ignition, and set the parking brake. Open both doors if possible. That gives you room to move the seat and reach under it from either side.
Remove large debris by hand before starting. Coins, pens, toys, and hair clips can jam in seat rails or damage a vacuum nozzle.
A seat rail is the metal track that lets the seat slide forward and backward. Dirt collects in these channels, so use a narrow tool and light pressure. Don’t force the nozzle into a rail.
Manual Seats vs. Power Seats
If your seat has a manual slider, move it fully back to clean the front carpet. Then move it fully forward to reach the rear section.
If the seat uses electric controls, check its path first. A bottle or toy under the seat can stop the mechanism or crack trim. Move the seat in short increments if clearance is tight.
What to Look for Under the Seat
Use a flashlight before putting any tool under the seat. Look for electrical wiring, connectors, seatbelt hardware, ventilation ducts, and small valuables.
Yellow connectors often relate to the vehicle’s restraint system. Don’t pull, disconnect, or vacuum directly against them. Follow your vehicle owner’s manual, and consult NHTSA vehicle safety guidance if you need help identifying restraint-system components.
Tools That Actually Reach Under Car Seats
A vacuum hose, crevice tool, and soft detailing brush handle most under-seat messes. You don’t need a large vacuum head. You need a tool narrow enough to pass beside the seat rails.
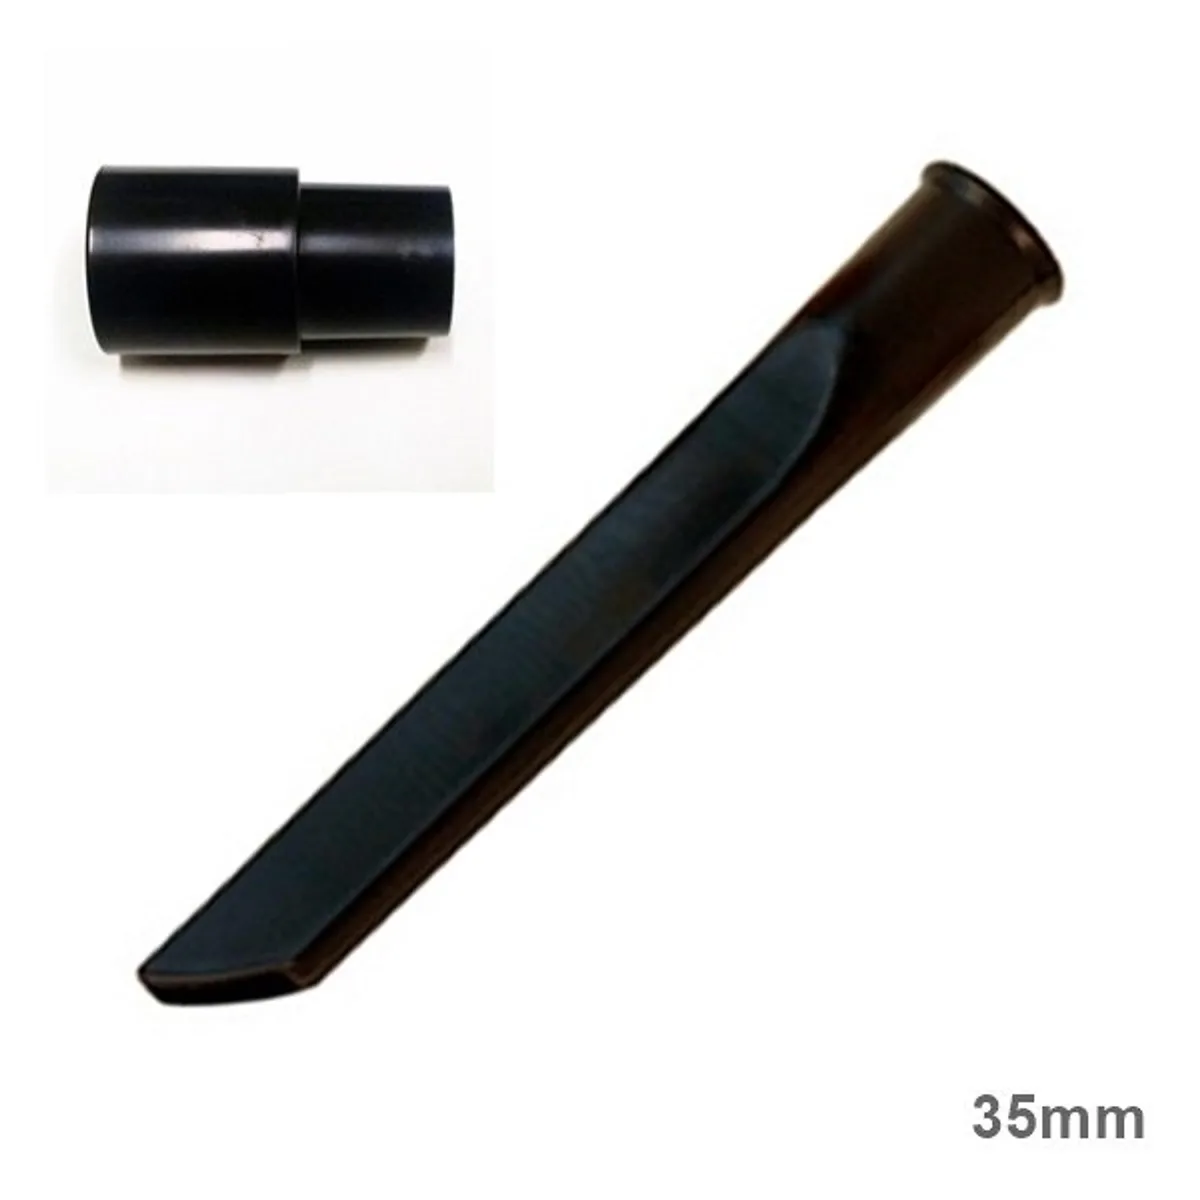
Image source: Web (Bing) / centraloutlet.com.au (Web image (fair-use with source credit))
| Tool | Best use | Limitation |
|---|---|---|
| Crevice tool | Seat rails and carpet edges | Hard plastic can scuff trim |
| Flexible hose | Fixed seats and narrow gaps | Can kink and reduce airflow |
| Soft brush | Pet hair and embedded grit | Keep it away from wiring |
| Handheld vacuum | Quick crumb cleanup | Small bin and shorter runtime |
| Shop vacuum | Heavy sand and larger debris | Bulky hose may be awkward |
A cordless vacuum is handy for short cleanups. A corded vacuum or shop vacuum suits a deeper clean, especially if you’re tackling sand. This guide to corded and battery-powered vacuums explains the practical difference.
If suction feels weak, empty the bin and inspect the filter. A blocked filter is a common cause of poor dirt pickup.
Decision Guide: Move the Seat or Clean Around It?
Choose the method that gives you access without disturbing electrical parts. If the seat moves freely, expose the carpet in two passes. If it does not, work from both sides with a flexible hose.
If the Seat Slides Fully Forward and Back
Move the seat all the way back first. Vacuum the carpet in front of it, then clean the rail channels. Move it forward and repeat behind the seat.
Work slowly around adjustment levers. Keep the hose away from switches and plastic trim.
If the Seat Is Power-Operated or Has Limited Travel
Check beneath the seat before using the controls. Then move it a few inches at a time and vacuum each exposed section.
If the gap remains narrow, use a flexible hose. Don’t lift the seat, remove seat bolts, or reach behind wiring to gain access. As of 2026, front seats often contain sensors and electrical modules.
If Debris Is Caught in the Seat Tracks
Use a soft brush to loosen dirt toward an open edge. Then collect it with the crevice tool.
Avoid metal picks and high-pressure air. Both can scratch the rail, push dirt deeper, or disturb nearby wiring.
If You’re Cleaning Under a Rear Bench or Fixed Rear Seat
Check the owner’s manual before lifting a rear seat cushion. Some fold or release with a latch, while others are bolted in place.
If the rear seat stays fixed, vacuum from each side. A flashlight will show wrappers, leaves, and other missed debris.
How to Vacuum Under Car Seats Step by Step
Remove loose items. Pick up coins, toys, wrappers, and anything that could block the hose.
Take out the floor mats. Vacuum the visible carpet first, so dirt does not get dragged into cleaned areas.
Move the seat back. Clean the front carpet, outer edge, and accessible seat rails.
Move the seat forward. Vacuum the rear carpet and the center area beneath the seat.
Use a crevice tool. Make slow pulls toward yourself rather than pushing debris farther underneath.
Brush stubborn dirt loose. Vacuum immediately after brushing, especially around sand or pet hair.
Refit the mats securely. Check that the driver’s mat is locked into its retainers and cannot interfere with the pedals.
If you find dry leaves under the seat, remove the large pieces first. Narrow nozzles can clog with bulky debris. This advice on handling cabin leaves covers the best approach.
How to Handle Common Under-Seat Debris
Crumbs and small hard items are easiest to remove by hand first. Then vacuum the remaining dust from the carpet fibers and rail edges.
For pet hair, use a soft brush to lift it from the carpet before vacuuming. For sand, tap or brush the carpet lightly and make several short vacuum passes. This method also helps with fine beach sand.
If carpet is damp from a spill, don’t use a dry-only vacuum. Blot up moisture first, then use a wet/dry vacuum only if it is rated for liquid pickup.
Safety Rules for Vacuuming Around Power Seats and Airbag Wiring
Keep the ignition off while cleaning. Never disconnect an under-seat plug just to improve access.
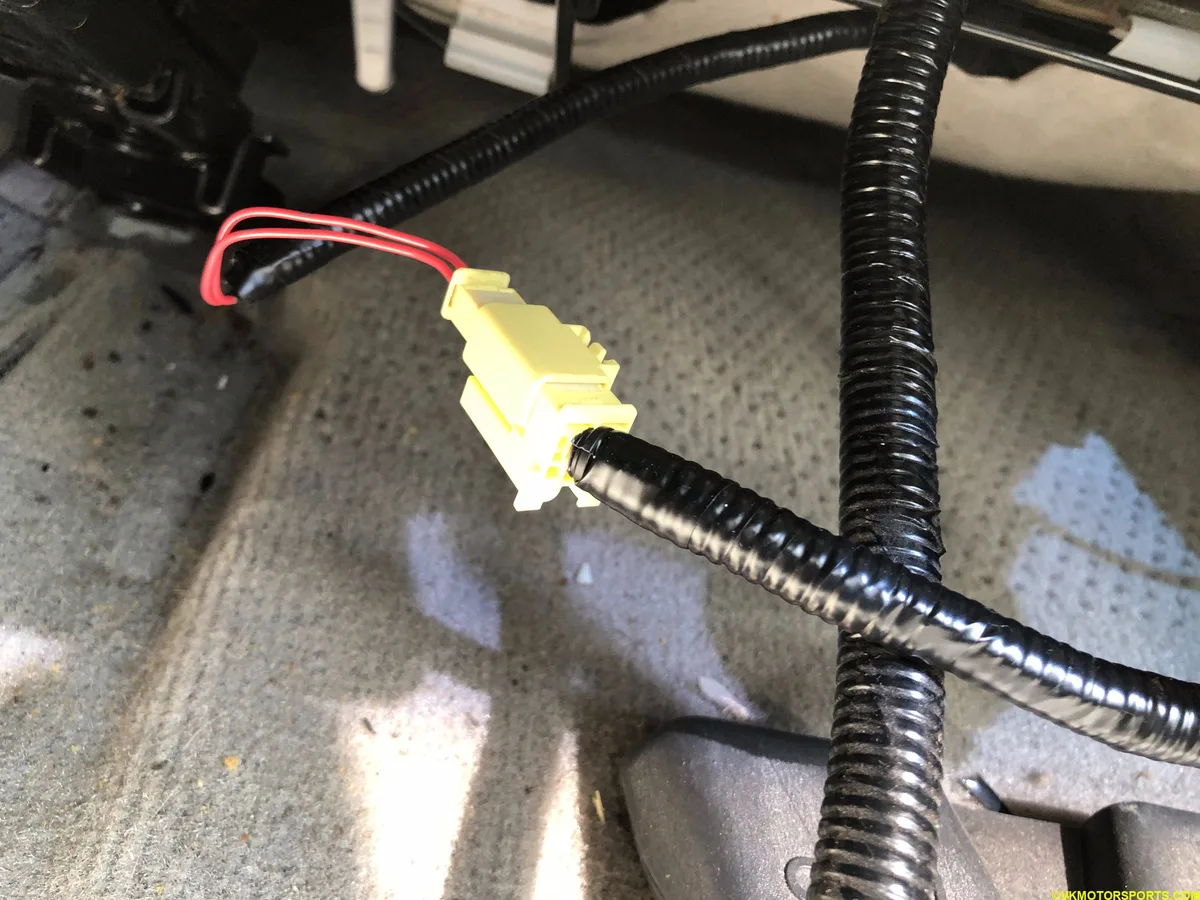
Image source: Web (Bing) / storage.googleapis.com (Web image (fair-use with source credit))
Keep the nozzle and brush clear of wiring bundles. If you spot damaged insulation, a loose connector, or an airbag warning light, stop cleaning that area and arrange a vehicle inspection.
Avoid soaking carpet near electrical components. Moisture can travel under the seat and create more serious problems than a dirty floor.
Common Mistakes That Make Under-Seat Cleaning Harder
Don’t force a vacuum nozzle into the seat rails. It can scratch trim and push debris beyond reach.
Don’t ignore the filter. A dirty filter cuts airflow, especially when cleaning fine dust and sand. Regular filter cleaning helps keep suction consistent.
Don’t leave loose objects under the driver’s seat. They can slide forward and interfere with pedal movement.
Vacuum Options for Car Interiors: Handheld, Shop Vac, or Car-Wash Vacuum
A handheld vacuum is best for quick weekly cleanups and light crumbs. It is easy to carry, but the small bin may fill quickly.
A shop vacuum is better for a deep clean, pet hair, and heavy sand. Its stronger airflow helps, though you may need a smaller attachment for tight areas.
A car-wash vacuum works well when you lack power at home. Bring a crevice tool if the machine accepts attachments. Otherwise, focus on exposed carpet and work from both sides.
Pro Tips for a Faster, More Thorough Under-Seat Clean
Shine a flashlight from the opposite door. Low-angle light makes grit, coins, and pet hair easier to spot.
Vacuum from the door edge toward the center. This pulls debris into open space instead of packing it behind the seat rails.
Empty the bin before a deep clean. If your vacuum smells musty or hot, stop using it and address the source of the odor before continuing.
Keep Dirt From Building Up Under Your Car Seats
Vacuum under the front seats about once a month. Clean sooner after road trips, beach days, pet transport, or snack-heavy drives.
Shake out floor mats regularly. In winter, remove road salt and damp debris promptly to keep it from grinding into the carpet.
FAQs About Vacuuming Under Car Seats
Can you remove a car seat to vacuum under it?
Avoid removing a vehicle seat for normal cleaning. Seat bolts, occupant sensors, airbags, and electrical connectors may require a manufacturer-approved procedure. A crevice tool and flexible hose usually provide enough reach without taking the seat out.
Is it safe to vacuum around yellow connectors under a car seat?
Yes, if you keep the nozzle clear and do not touch the connector. Yellow plugs often relate to airbag or seatbelt restraint wiring. Never disconnect them while cleaning, and get professional help if the connector looks loose or damaged.
What is the best vacuum attachment for under car seats?
A crevice tool is usually the best attachment because it fits beside seat rails and trim. Add a flexible hose if the seat has limited clearance. Use a soft brush first when pet hair or packed sand will not lift easily.
How often should you vacuum under car seats?
Once a month works for most vehicles. Clean more often if children eat in the car, pets ride with you, or you regularly carry sand, mud, leaves, or road salt. Frequent light cleaning prevents debris from becoming embedded.

