Are your burner coils looking dirty or not heating up like they used to? Cleaning them might be the simple fix you need.
When burner coils get clogged with grime and spills, they can slow down your cooking and even cause uneven heat. But don’t worry—you can easily restore their shine and performance with just a few easy steps. Keep reading, and you’ll learn how to clean your burner coils quickly and safely, so your stove works like new again.
Gather Cleaning Supplies
Before you start cleaning burner coils, gather all the supplies you need. Having the right tools and safe cleaning agents makes the job easier. It also helps protect your coils from damage. Prepare everything in one place to save time and work safely.
Essential Tools
Get a soft cloth or sponge for wiping dirt and grease. Use a toothbrush or small brush to scrub tight spots. A bowl or container holds warm water for rinsing. Rubber gloves protect your hands from harsh substances. A screwdriver may help remove coils if needed. Keep paper towels handy for drying the coils.
Safe Cleaning Agents
Choose mild soap or dish detergent to clean the coils. Avoid strong chemicals that can damage metal parts. White vinegar works well to remove tough stains and grease. Baking soda mixed with water creates a gentle scrubbing paste. Never use abrasive cleaners or steel wool on burner coils.
Prepare The Burner Coils
Preparing burner coils is the first step in cleaning them safely and effectively. Proper preparation helps avoid damage and keeps you safe. Taking time to prepare ensures the coils come out easily and are ready for cleaning.
Follow simple steps to get your burner coils ready. These steps protect your stove and yourself during the cleaning process.
Turn Off Power
Always turn off the power before handling burner coils. This stops any electric current from causing harm. Unplug the stove or switch off the circuit breaker. Double-check that there is no power running to the coils. Safety is the top priority.
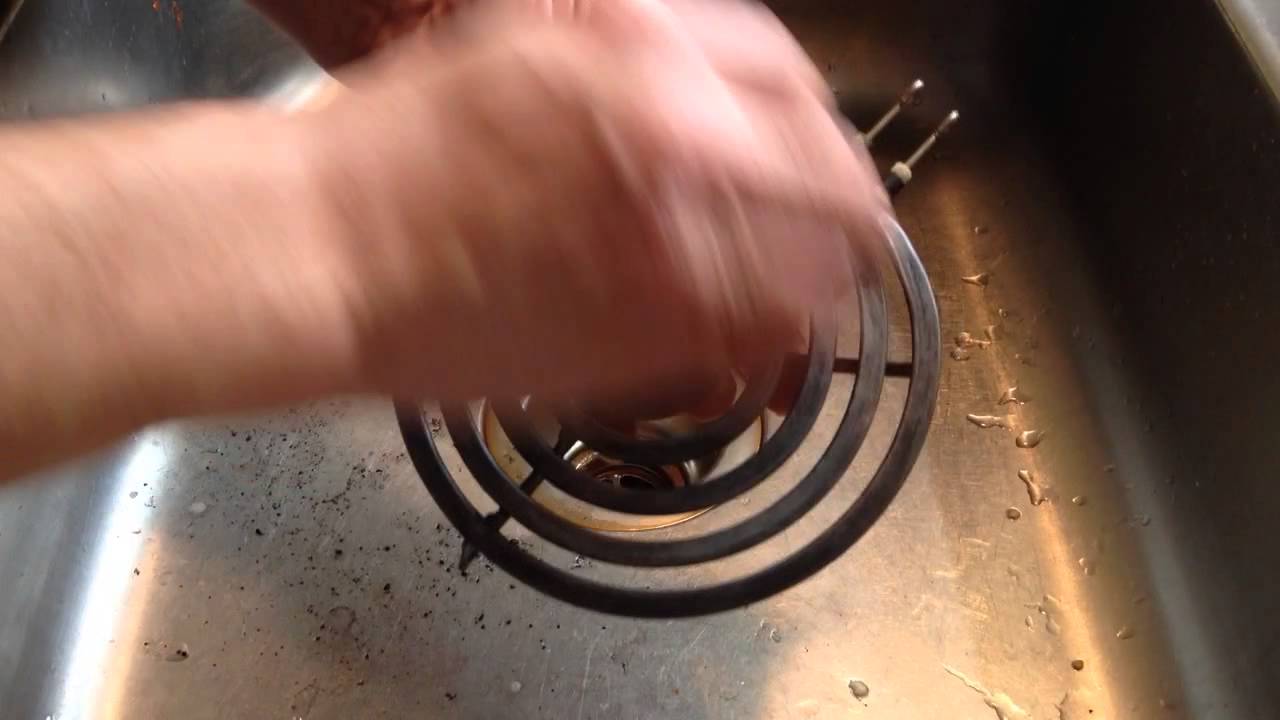
Remove Coils Safely
Remove burner coils carefully to avoid damage. Gently lift the coil from its socket. Avoid pulling or twisting hard. Use both hands to keep the coil steady. Place the coil on a soft surface to prevent scratches. Handle with care to keep the coil in good shape.
Clean The Burner Coils
Cleaning burner coils is important for your stove’s performance and safety. Dirt and food spills can block heat and cause uneven cooking. Regular cleaning helps your coils last longer and work better.
Soak In Warm Solution
Start by removing the burner coils from the stove. Fill a bowl with warm water and add a few drops of dish soap. Let the coils soak in this solution for 20 to 30 minutes. This softens grease and stuck-on food, making cleaning easier.
Scrub Gently
Use a soft brush or sponge to clean the coils. Avoid hard scrubbing to prevent damage. Focus on areas with thick grease or stains. Be careful around electrical parts to keep them safe.
Rinse Thoroughly
Rinse the coils under warm running water to remove soap and dirt. Make sure no soap remains, as it can burn when the coil heats up. Dry the coils completely with a towel before placing them back on the stove.

Dry And Inspect Coils
Drying and inspecting burner coils is a crucial step in their cleaning process. Proper drying prevents rust and damage. Careful inspection helps spot any problems early. This keeps your stove working safely and efficiently.
Air Drying Tips
After washing, let the coils dry naturally. Avoid using cloths that leave lint. Place them on a clean towel in a dry spot. Keep them away from direct sunlight. Do not use a hairdryer or heat source. Air drying takes longer but protects the metal. Make sure coils are completely dry before reinstalling.
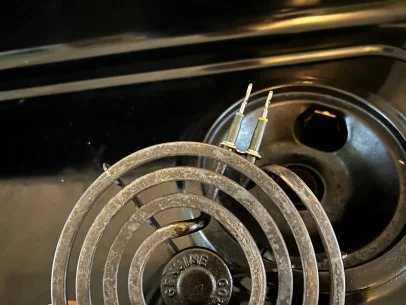
Check For Damage
Look closely at the coils for cracks or breaks. Bent or warped coils can cause uneven heating. Check the electrical connectors for corrosion or wear. Damaged coils can be a fire risk. Replace any coil that shows signs of damage. Clean coils extend the life of your stove and keep it safe.
Reinstall The Burner Coils
Reinstalling burner coils is a key step after cleaning. Proper reinstallation ensures your stove works safely and efficiently. Take your time to place each coil correctly. Double-check connections to avoid issues later. Careful reinstallation can prevent sparks and uneven heating.
Proper Placement
Place each burner coil into its slot carefully. Align the coil’s prongs with the socket holes. Press gently until the coil fits snugly. Avoid forcing the coil, which may cause damage. The coil should sit flat on the stove surface. This ensures even heat distribution during cooking.
Test Functionality
Turn on the burner to test its function. Watch for a steady, blue flame or even heating. If the burner sparks or does not light, turn it off immediately. Check the coil’s position and connections again. Repeat testing until the burner works properly and safely.
Maintain Clean Burner Coils
Maintaining clean burner coils keeps your stove working well. Dirty coils cause uneven heat and longer cooking times. Clean coils also prevent smoke and bad smells. Regular care saves money on repairs and boosts safety.
Regular Cleaning Schedule
Clean burner coils every one to two months. More often if you cook daily or spill food. Remove coils carefully and wipe with a damp cloth. Use mild soap for tough stains. Dry coils completely before putting them back.
Avoid Common Mistakes
Never soak burner coils in water. Water can damage electrical parts. Avoid harsh scrubbers that scratch the coil surface. Do not use bleach or strong chemicals. Make sure coils are cool before cleaning to avoid burns.
Frequently Asked Questions
How Often Should I Clean Burner Coils?
Clean burner coils every 3 to 6 months. Frequent cleaning prevents grease buildup and ensures efficient heating. Regular maintenance extends coil lifespan and improves stove safety. Always clean coils when they appear dirty or after heavy cooking sessions.
What Materials Are Safe For Cleaning Burner Coils?
Use mild dish soap, warm water, and a soft cloth. Avoid abrasive cleaners or steel wool to prevent coil damage. Baking soda paste can remove stubborn stains safely. Always unplug coils before cleaning for safety.
Can I Clean Burner Coils Without Removing Them?
Yes, you can clean coils without removal using a damp cloth and mild cleaner. However, removing coils allows deeper cleaning and better grime removal. Always ensure coils are cool before cleaning to avoid burns or electrical hazards.
How Do I Fix Burner Coils That Won’t Heat?
Check if coils are properly connected and not damaged. Clean any debris around the connection points. If coils still don’t heat, they may need replacement. Consult your stove’s manual for troubleshooting or call a professional.
Conclusion
Cleaning burner coils keeps your stove working well and safe. Regular care stops food buildup and clogs. A clean coil heats evenly and saves energy. Use simple steps and gentle cleaners to avoid damage. Take your time and be gentle with each coil.
Clean coils help cook food better and avoid smells. Keep this routine to enjoy a fresh, efficient stove. Small efforts bring big benefits in the kitchen.