

Can Central Vacuum Hoses Be Repaired?
A central vacuum hose is a crucial part of your cleaning system. When it gets damaged, it can make your entire vacuum cleaner useless. This leads to a common question: can these hoses be repaired, or do you need to buy a new one? The good news is that central vacuum hoses can often be repaired, saving you money and the hassle of replacement. The repair method depends on the type of damage and the hose material.
Many issues with central vacuum hoses stem from wear and tear, accidental damage, or manufacturing defects. Understanding these causes is the first step in determining if a repair is feasible. Common problems include cracks, tears, punctures, and electrical failures in hoses with power cords.
Knowing how to identify and fix these issues can extend the life of your central vacuum system significantly.
Common Types Of Central Vacuum Hose Damage
Central vacuum hoses, while built for durability, are not immune to damage. The most frequent problems include:
- Cracks and Tears: Over time, the flexible material of the hose can develop small cracks or larger tears. This often happens at stress points, like where the hose connects to the wand or the power unit. These can lead to leaks, reducing suction power.
- Punctures: Sharp objects can easily puncture a vacuum hose. This creates holes that allow air to escape, significantly impacting the vacuum’s efficiency.
- Kinks and Collapses: While often temporary, severe or repeated kinking can weaken the hose material. This can lead to permanent kinks or even hose collapse, making it difficult for air and debris to pass through.
- Electrical Issues: Hoses designed for powerheads, which have an integrated electrical cord, can suffer from wiring problems. This might include frayed wires, broken connections, or a malfunctioning switch. These issues can prevent the powerhead from operating.
- Connection Problems: The ends of the hose, where they attach to wands or the main unit inlet, can become worn or damaged. This can result in a loose fit or a complete inability to connect properly.
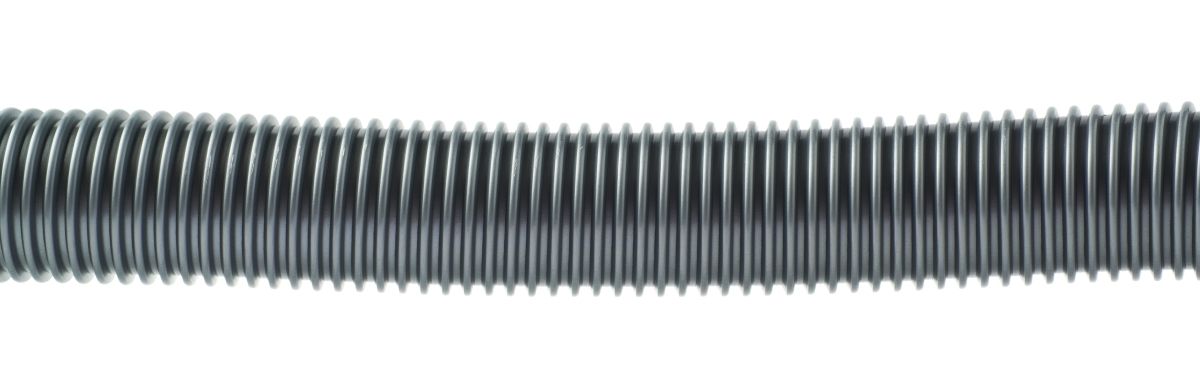
Repairing Cracks And Tears
Small cracks and tears are often the easiest to fix. For non-powered hoses, specialized hose repair tape is a popular and effective solution. This tape is usually a strong, flexible, and adhesive material designed to create an airtight seal.
Using Hose Repair Tape
To repair a crack or tear with tape, follow these steps:
- Clean the Area: Ensure the damaged section of the hose is clean and dry. Any dirt or moisture will prevent the tape from sticking properly.
- Cut the Tape: Cut a piece of repair tape that is long enough to overlap the damaged area by at least an inch on each side.
- Apply the Tape: Carefully wrap the tape tightly around the hose, ensuring a smooth, wrinkle-free application. Press down firmly to activate the adhesive and create a strong seal.
- Test the Repair: Once applied, allow the tape to set for a few minutes. Then, test the hose by running the vacuum. Check for any air leaks around the repaired area.
For larger tears or areas that experience a lot of flexing, applying multiple layers of tape can provide extra strength and durability.
Fixing Punctures
Punctures, like tears, can be effectively repaired using strong, flexible tape. The key is to ensure the patch is airtight and durable.
Patching Punctures
The process for patching a puncture is similar to repairing a tear:
- Prepare the Surface: Clean and dry the area around the puncture thoroughly.
- Cut a Patch: Cut a piece of hose repair tape or a strong, flexible patch material. Make sure the patch is large enough to cover the hole with significant overlap.
- Apply the Patch: Apply the tape or patch firmly over the puncture. For added security, you can apply tape to both the inside and outside of the hose if possible, though this is often difficult without disassembling the hose.
- Reinforce if Necessary: For critical areas or larger punctures, consider using a flexible epoxy putty designed for plastics before applying tape. This can provide a more robust repair.
Addressing Kinks And Collapses
While severe kinks can weaken the hose permanently, minor kinks can sometimes be resolved. If a hose has developed a persistent kink that restricts airflow, it might be a sign of internal damage or a weakened section.
Restoring A Kinked Hose
For minor kinks:
- Gentle Straightening: Try to gently straighten the hose by hand. Avoid forcing it, which could worsen the damage.
- Warm Water Method: For some rubber or plastic hoses, immersing the kinked section in warm (not hot) water can make the material more pliable. Gently work the kink out while the hose is warm. Ensure the hose is completely dry afterward.
If the hose remains kinked or collapsed after these attempts, the internal structure may be compromised, and replacement might be the only option.
Repairing Powered Hoses
Repairing powered hoses, which contain electrical wires for powerheads, is more complex and carries potential safety risks. These hoses require careful handling to avoid electrical shock or further damage.
Electrical Repair Considerations
- Inspect the Cord: Check the integrated power cord for any cuts, frays, or damage. If the outer insulation is compromised, the wires inside could be exposed.
- Connection Points: Examine the connections at both ends of the hose, where it plugs into the wall unit and where it connects to the powerhead. Loose or corroded connections can cause intermittent power or complete failure.
- Internal Wiring: If the issue is with the internal wiring, it often requires specialized knowledge and tools. DIY electrical repairs on vacuum hoses are generally not recommended unless you have significant electrical experience. The risk of electric shock or fire is too high.
- Professional Repair: For powered hoses with electrical issues, seeking professional repair services from a central vacuum specialist is the safest and most reliable approach. They have the expertise to diagnose and fix wiring problems safely.
When To Replace, Not Repair
While many hose issues are repairable, there are times when replacement is the better choice. Consider replacing your hose if:
- Damage is extensive: Multiple large tears, significant punctures, or widespread cracking make a reliable repair difficult.
- Hose has collapsed: If the hose has permanently lost its shape and cannot be restored, it will severely impact suction.
- Electrical issues persist: If basic troubleshooting doesn’t resolve power problems in a powered hose, it’s often safer to replace it.
- Cost of repair is high: Sometimes, the cost and effort of repairing a heavily damaged hose approach the cost of a new one.
- Age and Material Degradation: Very old hoses may have degraded materials that are brittle and prone to further damage, making repairs temporary.
A damaged hose can not only reduce cleaning efficiency but also pose a safety hazard, especially with powered hoses.
Diy Repair Vs. Professional Help
For simple tears, cracks, and punctures on non-powered hoses, DIY repairs using specialized tape are usually straightforward and effective. These repairs can significantly extend the life of your hose.
However, for powered hoses with electrical problems, or for extensive damage on any hose, professional help is strongly advised. A qualified technician can properly diagnose the issue, perform a safe repair, and ensure the hose functions correctly and safely. Attempting complex repairs without the right knowledge can lead to further damage or personal injury.
Tools And Materials For Hose Repair
If you decide to tackle repairs yourself, having the right supplies is key.
Essential Repair Supplies
- Central Vacuum Hose Repair Tape: Look for products specifically designed for vacuum hoses. These are typically strong, flexible, and airtight. Brands like Duct-Seal or similar heavy-duty, flexible tapes can work.
- Rubbing Alcohol: For cleaning the damaged area before applying tape or patches.
- Scissors or Utility Knife: For cutting tape and patch materials cleanly.
- Flexible Epoxy Putty (Optional)

