

Replacing a central vacuum inlet can seem like a daunting task, but it’s often a manageable DIY project. These inlets are the points where you plug in your vacuum hose to access the main system. Over time, they can become loose, cracked, or simply stop working, necessitating a replacement. Knowing how to perform this replacement ensures your central vacuum system remains functional and efficient.
This guide will walk you through the process step-by-step. We’ll cover the tools you’ll need, how to safely remove the old inlet, and how to install the new one, ensuring a secure and functional connection.
Preparing For The Replacement
Before you begin, it’s crucial to gather the necessary tools and understand the basic components involved. Having everything ready will make the process smoother and safer.
Tools And Materials You’ll Need
You won’t need a huge array of specialized tools for this job. Most homeowners will have these items in their toolbox already.
- Screwdriver Set: You’ll likely need both Phillips and flathead screwdrivers to remove the faceplate and mounting screws.
- Wire Strippers/Cutters: To prepare the wires for connection.
- Voltage Tester (Non-Contact): Essential for ensuring the power to the inlet is off.
- New Central Vacuum Inlet: Make sure the new inlet is compatible with your system. Check the brand and model if possible.
- Wire Nuts or Terminal Connectors: For securely connecting the wires.
- Pliers: May be helpful for gripping wires or holding small components.
- Utility Knife or Small Pry Bar: To gently remove the old faceplate if it’s stuck.
- Safety Glasses: To protect your eyes from dust or debris.
Understanding The Components
A central vacuum inlet typically consists of a faceplate, which is the decorative cover you see on the wall, and a mounting bracket behind it. Wires from the central vacuum unit connect to terminals on the back of the inlet. The faceplate usually snaps or screws into place, covering the bracket and wire connections.
Safely Disconnecting The Old Inlet
Safety is paramount when working with any electrical components. Always ensure the power is completely off before touching any wires.
Turning Off The Power
The first and most critical step is to turn off the power to your central vacuum system. Locate the circuit breaker that controls your central vacuum unit. It’s usually in your home’s main electrical panel. Flip the breaker to the “off” position.
To be absolutely sure, try turning on the central vacuum unit at its main switch or by plugging in a hose to one of the inlets. If it doesn’t turn on, the power is likely off. You can also use a non-contact voltage tester near the wires of the inlet you’re replacing to confirm there’s no electricity.
Removing The Faceplate
Most central vacuum inlets have a faceplate held on by small screws, often located at the top and bottom. Gently unscrew these. Some faceplates might be snap-on types; in this case, you may need to carefully use a utility knife or a small pry bar to gently dislodge it from the wall.
Be careful not to damage the surrounding drywall.
Disconnecting The Wires
Once the faceplate is off, you’ll see the mounting bracket and the wires connected to the back of the inlet. There are usually two wires: a low-voltage wire (often white or blue) and a main power wire (often black or red). These wires are typically connected to screw terminals or push-in connectors on the back of the inlet.
Carefully loosen the screws or release the connectors to detach the wires. Make a note of which wire goes to which terminal. If the wires are directly connected to the inlet without terminals, you might need to use wire strippers to expose a fresh section of wire before reconnecting.
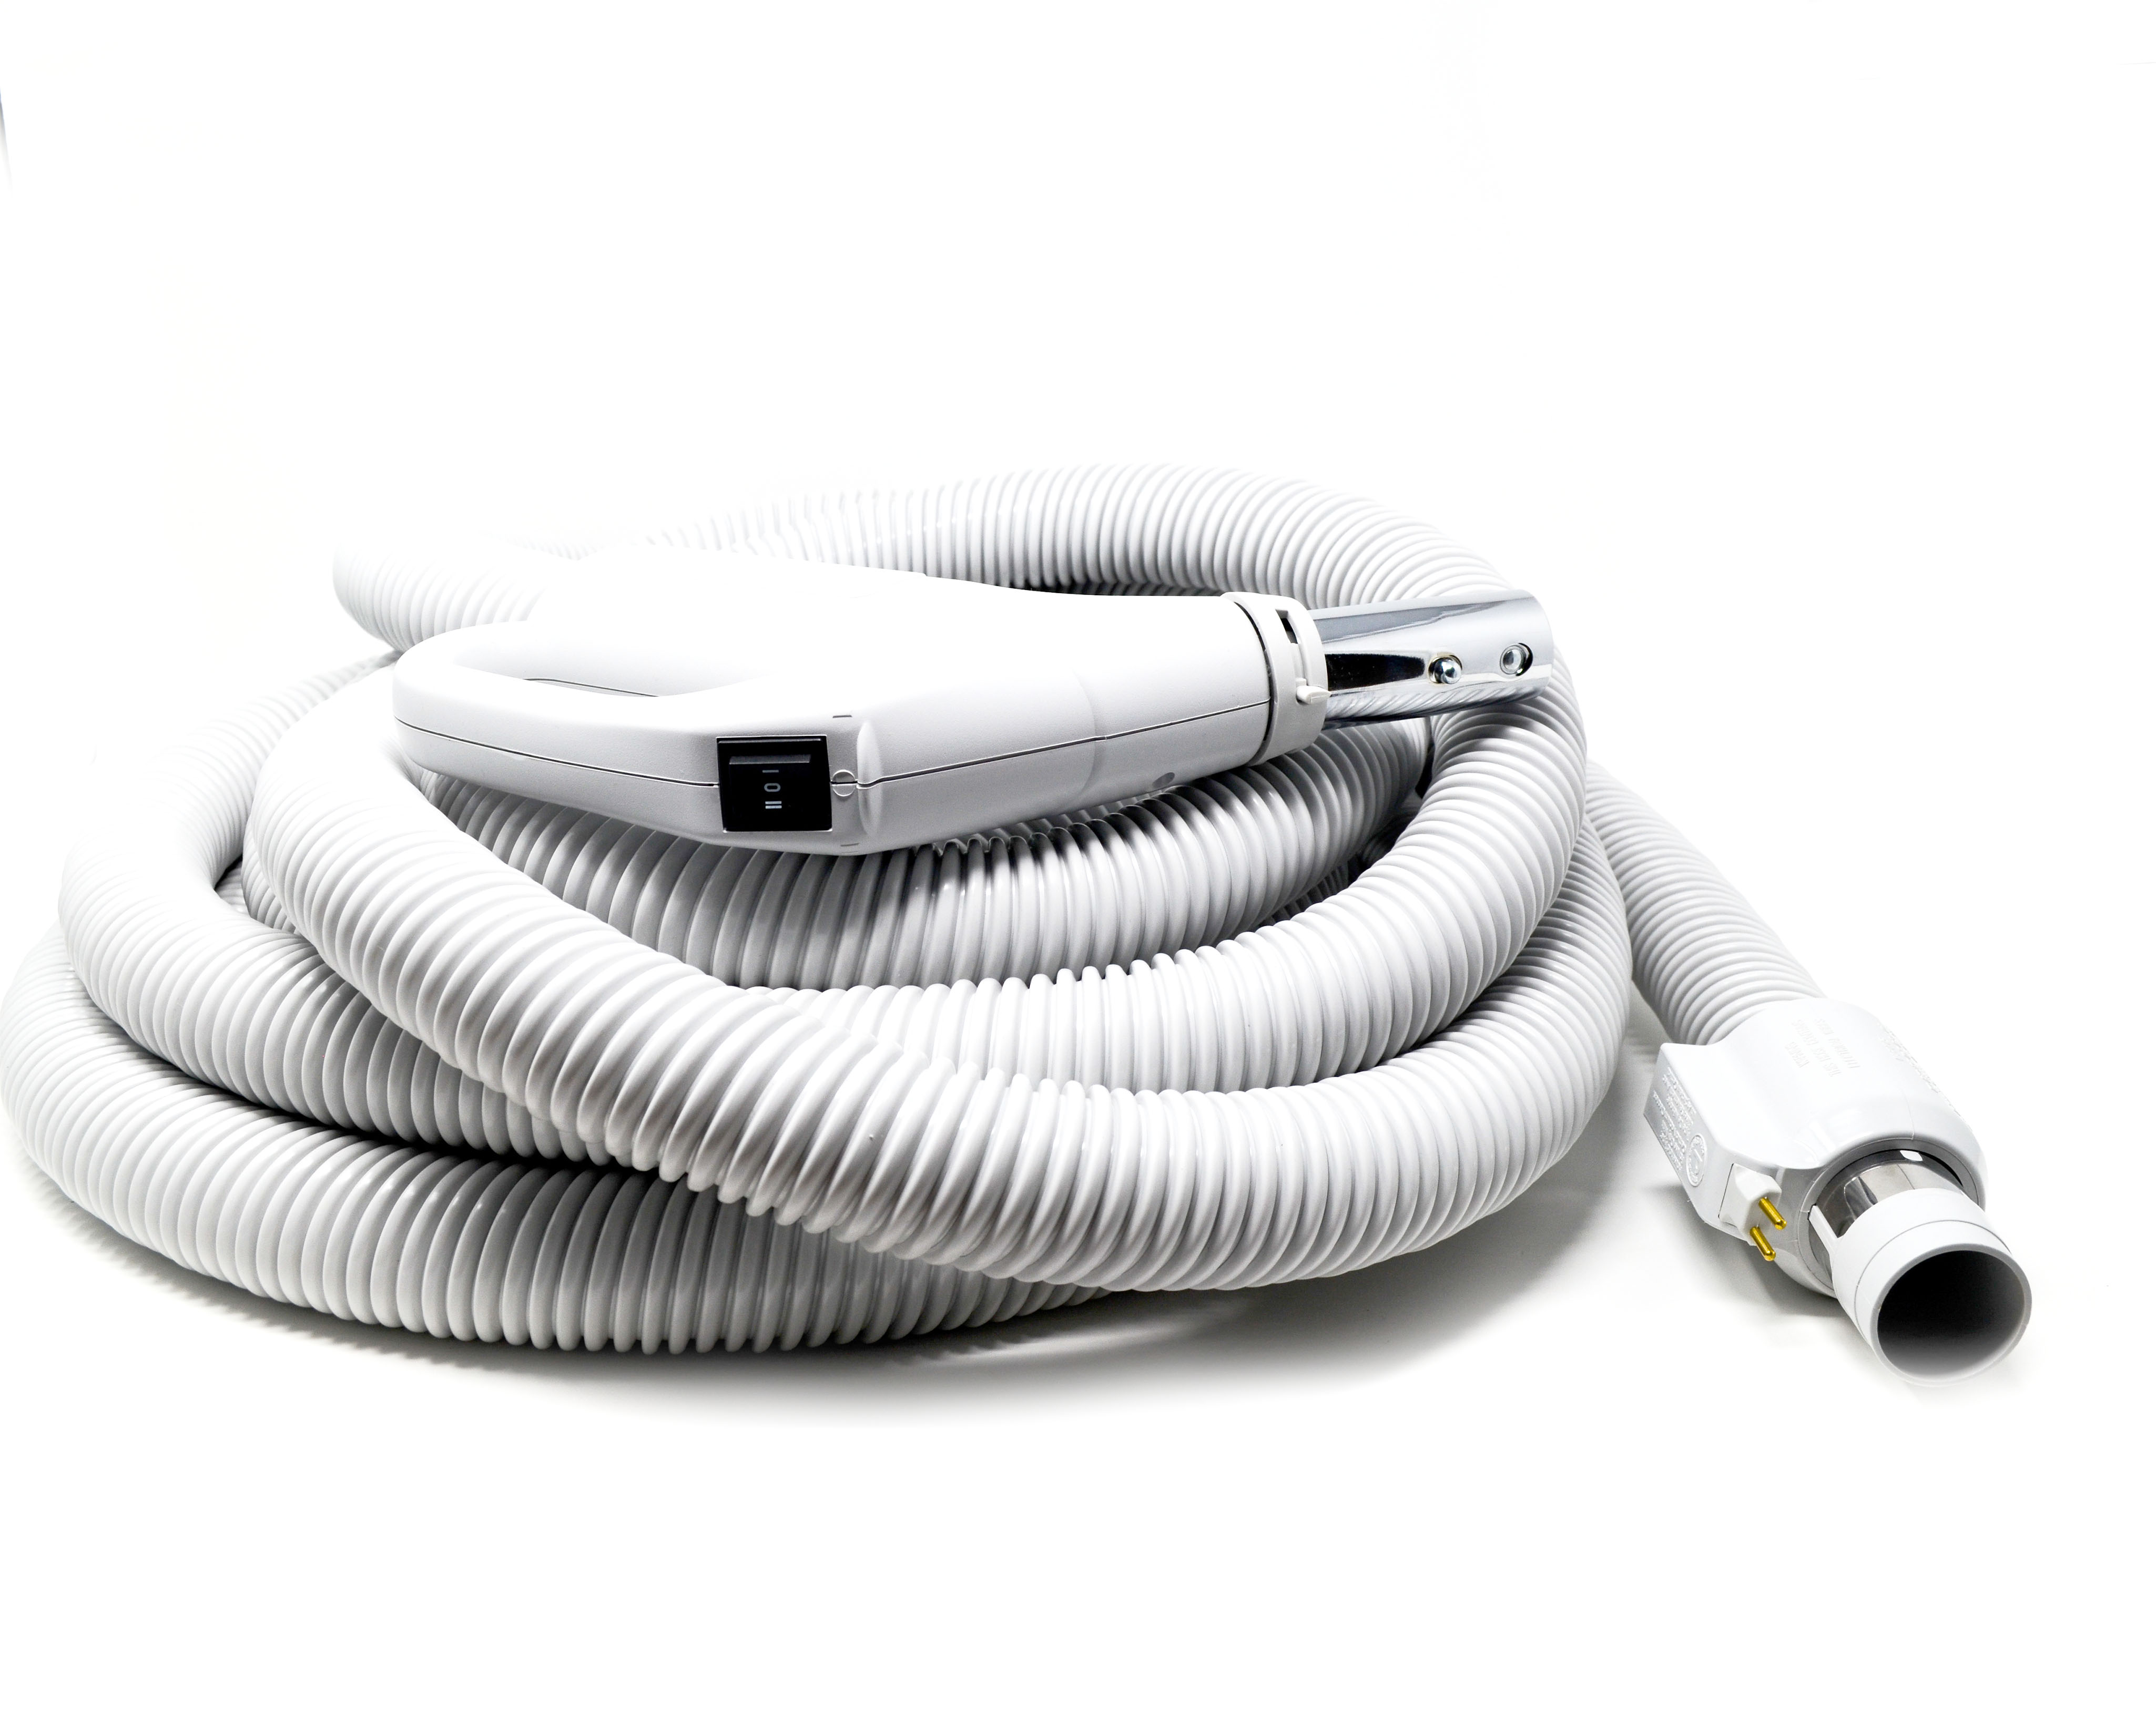
Installing The New Central Vacuum Inlet
With the old inlet removed and the power safely off, you’re ready to install the new one.
Connecting The Wires
Take your new central vacuum inlet. You’ll see similar terminals on the back. Connect the wires you just removed to the corresponding terminals on the new inlet. If you’re unsure which wire goes where, consult the instructions that came with your new inlet or your central vacuum system’s manual.
Typically, one wire is for the low-voltage signal that tells the main unit to turn on when you plug in the hose. The other wire is for the main power. Ensure the connections are secure. Use wire nuts or terminal connectors if the wires need to be joined. In my experience, a loose wire connection is a common cause of a central vacuum not working correctly after a repair.
Mounting The New Inlet
Position the new inlet so that its mounting bracket aligns with the existing screw holes in the wall or the electrical box. Secure the mounting bracket to the wall using the screws provided with the new inlet or the original screws if they are in good condition.
Make sure the bracket is snug against the wall.
Attaching The Faceplate
Once the inlet is securely mounted, you can attach the new faceplate. Most faceplates simply snap into place over the mounting bracket. Align it carefully and press gently until it clicks into position. If your faceplate uses screws, secure them now.
Testing The New Inlet
After the installation is complete, it’s time to test your work.
Restoring Power
Go back to your electrical panel and flip the circuit breaker for the central vacuum system back to the “on” position.
Performing The Test
Plug your central vacuum hose into the newly installed inlet. The central vacuum unit should turn on automatically. If it doesn’t, immediately turn off the power again and re-check your wire connections. Make sure the wires are firmly attached to the correct terminals.
If the unit turns on, let it run for a minute or two. Then, unplug the hose; the unit should turn off. This confirms that both the automatic on/off function and the inlet connection are working correctly.

Common Issues And Troubleshooting
Even with careful installation, you might encounter minor issues.
Inlet Not Working
If the new inlet doesn’t power on the unit, the most common culprits are:
- Incorrect Wire Connections: Double-check that the wires are connected to the right terminals.
- Loose Connections: Ensure all wires are making firm contact.
- Faulty New Inlet: Though rare, the new inlet itself could be defective.
Low Suction
If the unit turns on but you have poor suction, inspect the connections again. Also, check that the faceplate is not obstructing airflow and that the inlet is properly seated against the wall.
Power Stays On Or Off
If the central vacuum unit doesn’t turn off when you unplug the hose, or doesn’t turn on when you plug it in, it often points to an issue with the low-voltage wiring. Ensure those specific wires are securely connected.
When To Call A Professional
While replacing a central vacuum inlet is often a DIY-friendly task, there are situations where calling a professional is the better choice.
Complex Wiring Or System Issues
If your central vacuum system has a complex wiring setup, or if you suspect the problem goes beyond a simple inlet replacement (like issues with the main unit or the pipe network), it’s best to consult a qualified technician. They have the expertise to diagnose and fix more intricate problems.
Uncertainty Or Lack Of Confidence
If you’re not comfortable working with electrical wiring or feel unsure about any step of the process, don’t hesitate to hire a professional. Safety should always be your top priority. Improper wiring can lead to electrical hazards or damage to your system.

Frequently Asked Questions
How Often Should Central Vacuum Inlets Be Replaced?
Central vacuum inlets are generally durable and don’t require regular replacement unless they become damaged or malfunction. They can last for many years, often the lifetime of the home, if properly installed and not subjected to physical abuse.
Can I Use Any Central Vacuum Inlet For My System?
It’s important to use an inlet that is **compatible with your specific central vacuum brand and

