

Your robot vacuum starts strong, then halfway across the rug it sounds tired. How do you clean a robot vacuum filter when that happens? The answer depends on which type you own, and the wrong move can ruin it in one rinse.
Suction drops, dust stays put, and the filter is almost always the culprit.
Manufacturer specifications indicate that a clogged filter can cut airflow by more than 30 percent, forcing the motor to work harder and drain the battery faster. HEPA filters catch particles down to 0.3 microns but clog quicker than standard foam. As of 2026, most robot vacuums ship with either a washable foam filter or a non-washable pleated HEPA cartridge.
Knowing which one sits inside your dustbin is step one.
Image source: Web (Bing) / robots.net (Web image (fair-use with source credit))
Quick Answer
How do you clean a robot vacuum filter? Check the type first. Rinse washable foam filters under cold water, then air-dry 12 to 24 hours.
Dry-brush non-washable HEPA filters instead. Never wet those.
Before Anything: Why Your Robot Vacuum Is Losing Suction
Think of the filter like a straw. It pulls air through a narrow path while trapping dust. Every particle trapped means one less pathway for air.
As the filter fills, those pathways shrink.
The Clogged Filter Effect on Motor Strain and Airflow
That's the cascade effect. The motor spins harder to pull air through the clog. Aggressive motor strain drains the battery faster and pushes dust past the filter's edges.
Some robot vacuums, particularly budget models, can overheat when forced to run blocked for too long.
Your first instinct is to empty the dustbin more often. That helps, but only a little. Emptying the bin removes large debris, yet the filter still holds the fine dust that does the real damage.
Cleaning the filter matters more than the bin.
Signs your filter is clogged:
- The motor sounds whinier or higher-pitched than usual.
- Fine dust streaks appear behind the robot on hard floors.
- Battery drains faster than it did a month ago.
- The app or on-board indicator flags the filter.
Full-size machines face the same issue, and regular scheduled upkeep keeps them alive for years. Robot vacuums run nearly every day in many homes, and that duty cycle grinds down filters faster than most people expect. Plan on cleaning the filter every two weeks in an average home, and every week if you have pets.
The Branching Point: Washable or Non-Washable Filter
Right about now you have one of two filters sitting in your dustbin. They need opposite care.
- Washable filters are foam or sponge. They handle running water without issue.
- Non-washable filters are pleated paper or HEPA membrane cartridges. Water collapses their structure.
If you wash the wrong one, the fibers bind together. The filter compresses into a stiff mat, air can't pass through, and suction dies permanently. No amount of drying or fluffing brings it back.
What Happens If You Choose the Wrong Cleaning Method
A single rinse can destroy a pleated paper filter in under a minute. The paper swells, the pleats flatten, and the filter loses its shape entirely. That turns a $15-$30 replacement part into a forced purchase.
Washable foam, on the other hand, tolerates repeated rinses. Most manufacturers rate them for roughly 20 to 30 cleanings before the foam starts breaking down. Beyond that, tiny holes appear and unfiltered dust escapes into the motor.
| Filter Type | Safe to Wash? | Typical Life | Cleaning Method |
|---|---|---|---|
| Washable foam | Yes | 2-3 months | Cold rinse and air dry |
| Pleated paper | No | 3-6 months | Tap and dry brush |
| HEPA cartridge | No | 3-6 months | Tap, brush, compressed air |
The takeaway is to know which one you own before touching water. Some popular hard-floor robot vacuum choices ship with washable filters standard, which makes the decision easier for those owners.
Use this as your rule of thumb: when in doubt, dry-clean first. You can always wash a foam filter later, but you can't un-wash a paper one. Robot vacuum filters are small, so they clog far faster than full-size vacuum bags.
How to Tell Them Apart (Without Guessing)
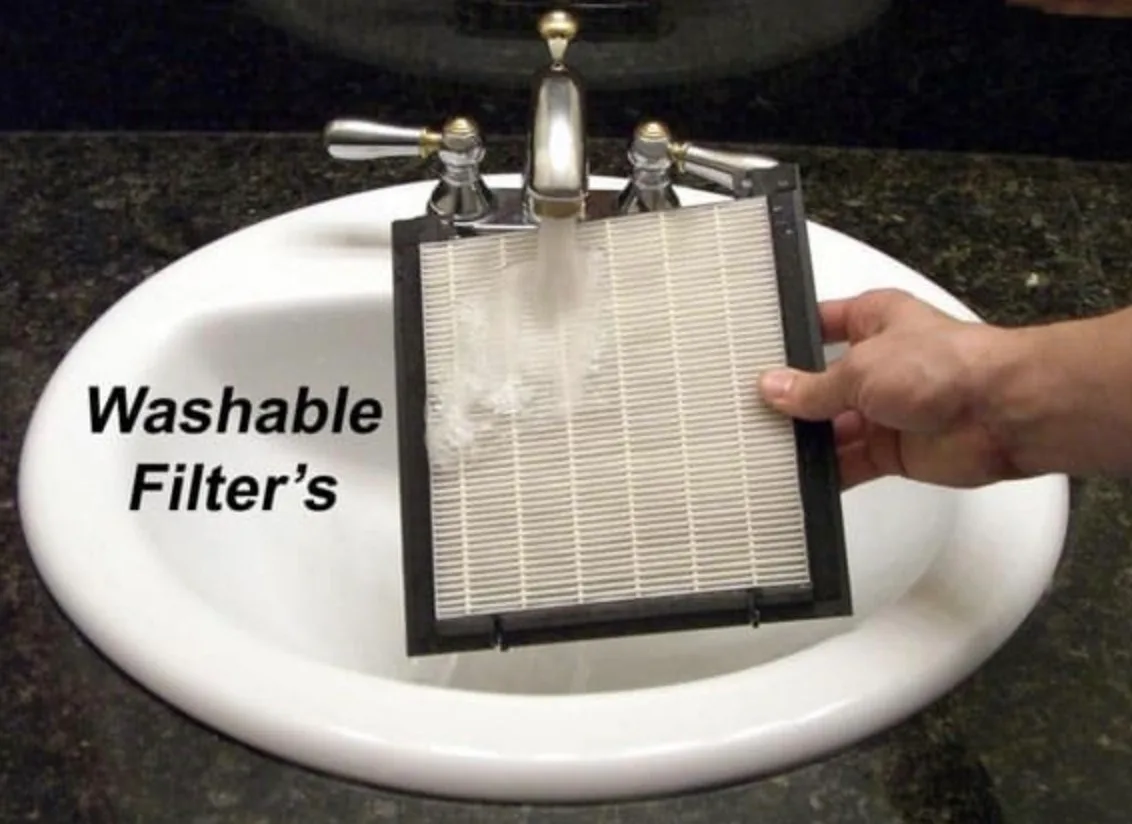
Image source: Web (Bing) / storage.googleapis.com (Web image (fair-use with source credit))
The quickest way to identify your filter is by squeezing it between two fingers.
Foam filters are soft, porous, and slightly springy. They often come in blue, green, or gray and look like a coarse kitchen sponge. Press a fingernail in, and the indent springs back.
Pleated paper filters are rigid. They have accordion folds wrapped in a cardboard or plastic frame, usually white or cream. They do not compress when you squeeze them.
HEPA cartridges sit in a plastic housing with a white membrane stretched across one face. Many have "HEPA" printed directly on the frame, sometimes with a rating like H13.
Visual and Tactile Cues for Foam, Pleated Paper, and HEPA Cartridges
| Filter Shape | Looks Like | Feels Like | Wash? |
|---|---|---|---|
| Foam block | Kitchen sponge | Soft, squishy, springs back | Yes |
| Pleated paper | Mini accordion | Stiff, crinkly, rigid frame | No |
| HEPA cartridge | Flat membrane in plastic | Firm, smooth, taut | No |
Checking the Manual and Filter Markings
Look at the filter frame itself. Many manufacturers stamp "washable" or "do not wash" directly into the plastic edge. Check the maintenance chapter of your user manual too.
Robot manufacturers publish exact care instructions per model, and iRobot's official maintenance guides list filter care for every Roomba generation.
If the filter is unmarked, touch a single drop of water to a hidden corner. Foam soaks it up without changing shape. Pleated paper absorbs it, swells slightly, and changes color.
That one drop tells you everything.
Give the filter a quick sniff while it's out. A musty smell means moisture already got in, which usually forces an early replacement. That smell can transfer to your whole dustbin too.
If you've owned a full-size vacuum, you've likely seen this split before. Upright machines follow the same logic, with washable foam or paper HEPA cartridges deciding their care routine.
Action Path A: Cleaning a Washable Foam or Sponge Filter
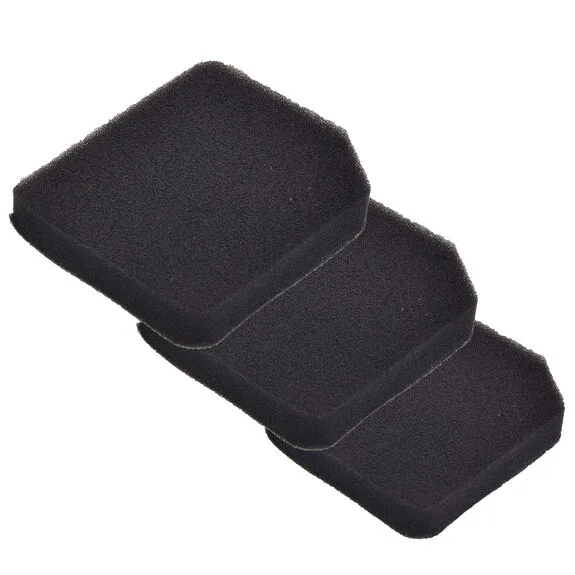
Image source: Web (Bing) / bissellcleaner.com (Web image (fair-use with source credit))
The Step-by-Step Rinse Process for Foam and Mesh Filters
- Remove the dustbin from the robot vacuum. Most pop out with a small button or clip.
- Empty every bit of debris into a trash can.
- Lift the filter out. Many filters sit under a retaining flap or twist lock.
- Tap the filter against the trash can edge to knock off loose dust.
- Run it under cold or lukewarm water. Hot water warps foam and breaks down its cells.
- Press the foam gently with your fingers to push water through. Do not wring, twist, or squish hard.
- Keep rinsing until the water runs clear.
- Press out as much water as you can.
- Lay the filter on a clean towel. Let it dry 12 to 24 hours in a well-ventilated spot, away from direct sunlight.
- Reinstall only when fully dry. A damp filter clogs instantly and invites mold.
Do not use soap, detergent, or dish liquid. Foam soaks up soap residue, and later rinses push that residue out into your dustbin. Also never dry it with a hair dryer, radiator, or microwave.
The heat melts the foam's open-cell structure.
| Tool | Why You Need It |
|---|---|
| Cold running water | Rinses dust out without warping foam |
| Soft brush | Lifts particles trapped in deep pores |
| Clean towel | Holds the filter during the air-dry period |
The drying phase is the part people skip most. The same drying patience applies to upright vacuums with washable filters, so don't rush it there either. In a heavy-pet home, clean the foam weekly.
In an average home, every two weeks keeps suction strong.
Washing two filters in rotation fixes the downtime problem. Run one filter while the other dries, and your robot never sits idle.
Action Path B: Handling a Non-Washable HEPA Filter
Dry-Brushing, Tapping, and Compressed-Air Alternatives
If your filter is pleated paper or HEPA, keep it bone dry.
- Remove the dustbin and empty it completely.
- Take out the filter cartridge.
- Hold it over a trash can and tap the frame firmly against the edge. Repeat 5 to 10 times.
- Use a soft-bristle brush, like an old toothbrush or the vacuum's own cleaning brush, to sweep along the pleats. Brush only in the direction the folds run.
- If you have compressed air, blow from the inner face outward. This pushes trapped dust out without collapsing the pleats.
- Inspect the filter against a light. If the pleats still look gray or caked, it's time to replace it.
- Reinstall the filter, making sure it snaps flat.
A few things you should never do:
- Never run water over it, even a tiny splash.
- Never use a vacuum cleaner attachment to suck dust off it. That risks pulling the pleats apart.
- Never poke the paper with a sharp tool.
True HEPA filters capture 99.97 percent of particles at 0.3 microns, a threshold the Environmental Protection Agency recognizes as the gold standard for indoor air. That performance only holds while the membrane stays intact. The first time water hits it, the membrane seals over and airflow dies.
If allergies are a big concern for you, even the best air-sensitive vacuum picks need this same careful filter treatment to stay effective.
Plan on replacing non-washable filters every 2 to 3 months with normal use, or sooner in heavy-pet homes. A filter that looks brownish or smells musty is past saving. When you reach that point, installing a fresh replacement works the same way on robot vacuums and uprights alike.
| Symptom | Meaning | Action |
|---|---|---|
| Pleats look gray but hold shape | Heavy dust load | Brush again, consider replacement |
| Filter smells musty | Mold or damp exposure | Replace immediately |
| Pleats are flattened or torn | Structural damage | Replace now |
| White filter turned brown | Fine particulate damage | Replace now |
Compressed air cans work, but hold them upright and keep the nozzle a few inches away from the pleats. Keep a spare filter on hand before you need it. That way, if the one in the vacuum is still drying, the machine stays usable.
A spare also comes in handy when you realize the old filter is beyond saving mid-cleaning.
The Drying Rule: Never Rush the 12- to 24-Hour Air-Dry
Water trapped inside foam is a silent killer. It collapses airflow, blocks pores, and triggers mold growth in the dustbin. The EPA's indoor air quality guidance explains why damp spaces turn into allergen factories, and that's exactly what a sealed bin creates.
A wet filter also pulls fine dust straight into the motor.
How do you know when it's fully dry? Press the foam flat and study the texture. A dry filter springs back fast and feels room-temperature across the whole surface.
If any area feels cooler than the rest, give it more time.
| Filter Type | Minimum Dry Time | Ready When |
|---|---|---|
| Washable foam | 12-24 hours | Springs back, even color, no cool spots |
| Washable mesh | 6-12 hours | Feels dry to the touch |
| HEPA cartridge | Never gets wet | Skip this section entirely |
Speed the process by setting the filter beside a fan or an open window. Keep it out of direct sunlight, and never use a hairdryer or radiator. Heat cooks the foam's open-cell structure and shrinks it for good.
Your robot isn't special here. The same dried-out window affects upright vacuums, and those machines suffer equally from impatient filter swaps.
Why Residual Moisture Ruins Motors and Grows Mold
Moisture migrates. You think the foam is dry, install it, and the robot runs for ten minutes. Afterward, the heat from the motor pushes leftover humidity into the filter seat and the bin walls.
Over multiple cycles, that moisture turns into a musty film. Aggregate reviews show that moldy robot vacuum filters are one of the most common complaints that stops people using the machine entirely. The fix is simple: wait the full night.
Seven Filter Cleaning Mistakes That Cost You Money
- Washing a non-washable HEPA filter. One rinse binds the fibers permanently. Replacement is the only fix.
- Using hot water or detergent on foam. Heat and soap break down the open cells. You'll notice the filter going stiff.
- Wringing or twisting out moisture. Twisting tears the foam's internal structure. Press gently instead.
- Reinstalling a damp filter. Wet filters clog in hours. They also push moisture toward the motor.
- Blasting it with a vacuum hose. Pulling or pushing air through the pleats damages the medium. Tap and brush instead.
- Keeping a filter that smells musty. That odor means mold is already living inside it. Toss it.
- Waiting for suction to die. A clogged filter makes the motor strain on every run. Clean small and often.
The same kind of mistake ruins full-size vacuums. Before you rinse anything, confirm whether those parts are washable at all.
Clean vs. Replace: Knowing When to Toss the Filter
Cleaning extends life, but it cannot restore a broken filter. If the foam has holes or the pleats are flattened, no amount of rinsing brings them back.
| Filter Symptom | Clean Again? | Replace? |
|---|---|---|
| Fine dust still escapes after cleaning | No | Yes |
| Musty smell after a full dry-out | No | Yes |
| Bent or cracked frame | No | Yes |
| White paper turned gray-brown | No | Yes |
| Foam feels crusty or stiff | No | Yes |
| Suction returns after cleaning | Yes | Not yet |
The 2-to-3-month lifespan matters too. A washable foam filter loses its elasticity after about 20 to 30 rinses. Once the foam stops bouncing back, it stops sealing properly.
In a home with pets, plan on replacement every two or three months regardless of how careful you are.
When the time comes, the swap takes about 30 seconds. If you've done an older full-size filter swap before, the process here feels identical.
Tuning the Maintenance Schedule to Your Household
One schedule doesn't fit every home. The right rhythm depends on how much debris your robot actually collects.
| Household Type | Filter Cleaning Frequency | Replacement Cadence |
|---|---|---|
| Single person, hard floors | Every 3-4 weeks | Every 3-4 months |
| Family, mixed flooring | Every 2 weeks | Every 2-3 months |
| One pet | Every 1-2 weeks | Every 2 months |
| Multiple pets or allergy sufferers | Weekly | Every 4-6 weeks |
| Climate or Season | Adjustment |
|---|---|
| Peak pet shedding season | Shorten intervals by half |
| Wildfire smoke or high pollen | Clean weekly no matter what |
| Humid summer weather | Check for musty odors early |
| Dry winter months | Dust builds up faster, brush more |
Hard-floor homes trap more fine dust in the air and on the surface. Those popular hard-floor robot vacuum setups tend to require filter cleaning slightly more often than rugs-only homes.
Pet Owners, Allergy Sufferers, and High-Dust Homes
If you have shedding pets, the filter is your first line of defense against airborne dander. Brushing it out weekly keeps the motor working and cuts the allergens released back into the room. Allergy households should treat filter cleaning as a zero-flexibility task.
Miss two cycles and you'll feel the difference in the air.
Pro-Level Maintenance Hacks for the Whole Dustbin
The filter doesn't work alone. A clean dustbin, sealed gaskets, and clear sensors keep the whole path efficient.
- Keep a spare filter. One dries while the other runs. That eliminates down time completely.
- Empty the dustbin after every session. Fine dust settles and cakes onto the filter faster when the bin stays full.
- Wipe the filter seat. A dry microfiber cloth keeps the seal tight and stops dust escaping around the edges.
- Clear the brush roll hair wrap. A tangled brush forces the motor to work harder, which multiplies the strain on a clean filter.
- Check the sensor window. Dust covering the robot's cliff sensors causes erratic navigation and missed cycles.
Brands publish exact filter care steps in their official maintenance documentation, which is useful when your model uses an unusual filter shape. Consistent upkeep also matters for your second machine. If a robot handles daily touch-ups in an allergy home, running your main air-sensitive vacuum with the same filter discipline keeps the whole house healthier.
Final Flowchart: Your Step-by-Step Filter Care Decision Guide
Step 1. Remove the filter and squeeze it lightly. Foam that springs back is washable. Rigid pleats or a sealed membrane are not.
Step 2. For washable foam, rinse under cold water. Press the water out gently and air-dry for 12 to 24 hours. A damp foam filter loses suction and grows mold fast.
Step 3. For pleated paper or HEPA cartridges, stay dry. Tap the frame against a trash can, brush along the pleats, and use compressed air if you have it.
Step 4. Reinstall only when the filter is fully dry and free of visible dust. If suction still feels weak, the filter is probably ready for replacement.
Step 5. Replace the filter every 2 to 3 months, or sooner if it smells musty, shows tears, or fails to recover after a full cleaning cycle.
Run through these steps every one to two weeks, and your robot vacuum will keep pulling its weight without the motor strain.
That's the whole routine. Now your filter stays clean, your suction stays strong, and your robot stays out of the repair shop.

