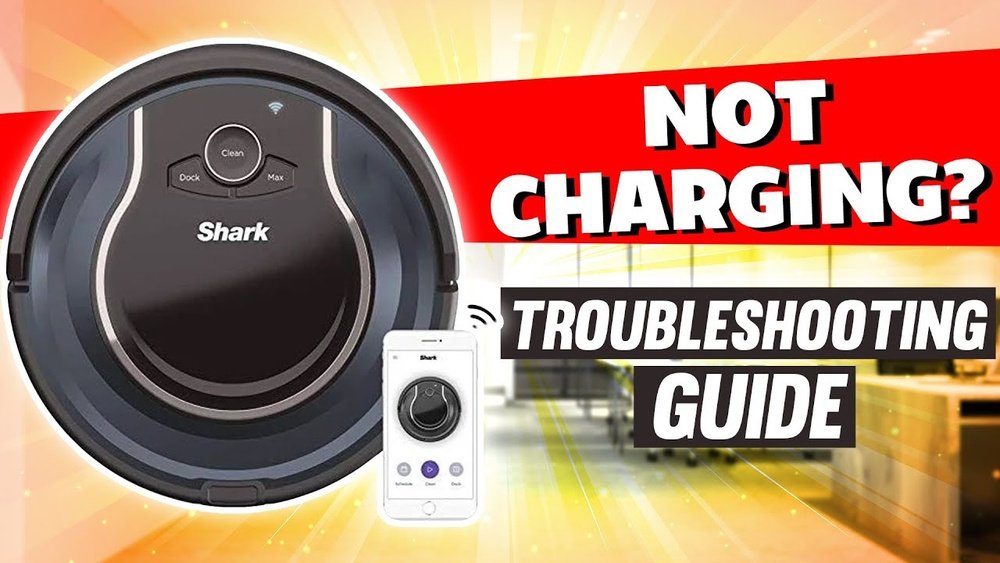
Is your robot vacuum refusing to charge, leaving your floors unattended and your patience running thin? You’re not alone.
When your trusty cleaning helper won’t power up, it can feel frustrating and confusing. But don’t worry—understanding why your robot vacuum isn’t charging is easier than you think. You’ll discover simple reasons behind the problem and clear steps to fix it, so your vacuum can get back to work without delay.
Keep reading to find out how to bring your robot vacuum back to life quickly and effortlessly.
Common Charging Problems
Robot vacuums need proper charging to work well. Common charging problems stop them from getting power. These issues often come from simple causes. Finding the problem helps fix the charging quickly.
Power Source Issues
Check if the power outlet has electricity. Sometimes, the socket might be off or broken. Try plugging another device to see if it works. A loose or damaged power cord can also stop charging. Make sure the cord is firmly connected to the dock and outlet.
Docking Station Placement
The vacuum must connect properly with the dock to charge. If the dock is in a hard-to-reach spot, the vacuum may miss it. Place the dock on a flat surface with no obstacles around. Keep it near a power outlet and away from stairs or rugs. This helps the vacuum dock smoothly every time.
Battery Health
Over time, batteries lose their ability to hold power. An old or damaged battery can stop charging. Check the vacuum’s battery status in the app or manual. Replacing the battery may be needed if it no longer charges. Proper battery care extends the vacuum’s life and performance.

Inspect Charging Contacts
Inspecting the charging contacts on your robot vacuum is a key step. These small metal parts connect the vacuum to its charger. They carry the electricity needed to power the battery. Dirt or damage on these contacts can stop charging. Checking them can save time and fix the problem quickly.
Cleaning Dirty Contacts
Dust and grime build up on the contacts over time. This blocks the flow of electricity. Use a soft cloth or cotton swab to clean the contacts gently. Avoid harsh chemicals that can harm the metal. Clean both the contacts on the vacuum and the charging base. Regular cleaning keeps the connection strong and reliable.
Checking For Damage
Look closely at the contacts for scratches or bends. Damaged contacts may not touch the charger properly. Small dents or corrosion can stop charging completely. If damage is visible, contact customer support or consider replacement parts. Fixing or replacing damaged contacts restores proper charging function.
Reset The Robot Vacuum
Resetting your robot vacuum can fix many charging problems. It clears minor bugs and resets the system. This step often helps the vacuum start charging again.
There are two main types of resets. A soft reset restarts the vacuum without deleting data. A hard reset restores factory settings and erases all data.
Soft Reset Steps
Turn off the robot vacuum using the power button. Wait for 10 seconds. Turn it back on. This simple restart can solve small glitches.
Place the vacuum on its charging dock. Check if the charging light appears. If not, repeat the soft reset once more.
Hard Reset Options
Find the reset button on your robot vacuum. It is usually a small hole needing a paperclip. Press and hold the button for 10 seconds.
The vacuum will turn off and restart automatically. This clears all settings and may fix deeper issues. Set up your robot vacuum again after this reset.
Update Firmware
Updating your robot vacuum’s firmware can fix charging problems. The firmware controls how the vacuum works. Old or faulty firmware may stop the vacuum from charging properly. Regular updates improve performance and fix bugs. Checking and installing updates is simple and important.
Checking For Updates
Start by connecting your robot vacuum to Wi-Fi. Open the vacuum’s app on your phone or tablet. Look for a section named “Firmware Update” or “Software Update.” The app will show if a new update is available. If there is an update, read the notes. These notes explain what the update fixes or improves.
Installing Firmware
To install the update, tap the “Download” or “Update” button. Keep your vacuum on its charging dock during the process. Do not turn off the vacuum or your phone. The update may take a few minutes to complete. Once done, the vacuum will restart automatically. Check if the charging issue is fixed after the update.
Replace The Battery
Sometimes, a robot vacuum stops charging because its battery wears out. Batteries have a limited life and need replacement after some time. Changing the battery can solve charging problems and bring back your vacuum’s power. This step is simple but very effective.
Signs Of Battery Failure
The vacuum runs less time than before. It may stop cleaning suddenly. Charging takes too long or never finishes. The vacuum might not turn on at all. These signs show the battery is weak or dead.
Choosing A Replacement
Pick a battery that fits your vacuum model. Check the voltage and capacity to match the original. Use a battery from a trusted brand or the manufacturer. Avoid cheap copies to ensure safety and good performance. Replace the battery carefully following the instructions.

Test The Charging Adapter
Testing the charging adapter is a key step to find out why your robot vacuum is not charging. The adapter connects your vacuum to the power source. If it has a problem, the vacuum cannot get power. Checking the adapter helps spot issues early and saves time on repairs.
Checking Voltage Output
Use a multimeter to check the adapter’s voltage output. The voltage should match the number on the adapter label. If it is too low or zero, the adapter may be faulty. A wrong voltage can stop the vacuum from charging properly. Testing voltage is simple and shows if the adapter works well.
Using Alternative Chargers
Try a different charger that fits your vacuum model. Using another adapter can confirm if your original charger is bad. If the vacuum charges with another adapter, the first one is the problem. Avoid using chargers with different voltage or connectors. This method helps find charger issues fast and safely.
Contact Customer Support
Contacting customer support is the best step if your robot vacuum is not charging. They can guide you through simple fixes or tell you about warranty coverage. Support teams know the product well. They help solve issues quickly. Don’t hesitate to reach out for help. It can save time and avoid frustration.
Warranty Options
Many robot vacuums come with a warranty. This covers repairs or replacements for a set time. Check your warranty status before trying other solutions. Customer support can explain what is covered. They might offer free repair or replacement. Keep your purchase receipt handy for proof. Warranties protect you from extra costs.
Professional Repairs
If your vacuum is out of warranty, customer support can suggest repair options. They may recommend authorized service centers. These professionals have the right tools and parts. Avoid fixing complex issues yourself. Wrong repairs can cause more damage. Trust experts to handle battery or charging problems. This ensures your vacuum works well again.

Frequently Asked Questions
Why Is My Robot Vacuum Not Charging Properly?
Your robot vacuum may not charge due to dirty charging contacts, misaligned docking station, or battery issues. Clean contacts and ensure proper docking. Replace the battery if needed.
How Do I Fix A Robot Vacuum That Won’t Charge?
Check the power outlet, clean charging contacts, and align the vacuum with the dock. Reset the vacuum or replace the battery if these steps fail.
Can A Faulty Battery Cause Charging Problems?
Yes, a faulty or old battery often prevents charging. Replacing the battery usually resolves the issue and restores normal charging performance.
Does The Charging Dock Affect Robot Vacuum Charging?
Absolutely. A damaged or dirty charging dock can block power flow. Clean the dock and check for damage to ensure proper charging.
Conclusion
A robot vacuum that won’t charge can be frustrating. Check the power source and charging dock first. Clean the charging contacts to ensure good connection. Inspect the battery for damage or wear. Sometimes, a reset or software update helps. Regular care keeps your vacuum working well.
Small fixes often solve charging problems quickly. Stay patient and try these simple steps. Your vacuum can run smoothly again soon.