Is your robot vacuum refusing to connect to WiFi? It’s frustrating when your smart helper can’t link up, leaving you stuck with manual cleaning.
But don’t worry—you’re not alone, and fixing this is easier than you think. In this guide, you’ll discover simple, effective steps to troubleshoot your robot vacuum’s WiFi issues. Keep reading to get your device back online and working smoothly in no time.

Check Wifi Signal Strength
Checking your robot vacuum’s wifi signal strength is a key step in fixing connection issues. Weak signals often cause the vacuum to fail in connecting to your network. Strong wifi helps your device work smoothly and follow commands without interruption.
Locate Your Router
Place your router in a central, open area of your home. Avoid hiding it in cabinets or behind furniture. Walls and large objects block the signal. The closer your robot vacuum is to the router, the better the connection.
Reduce Interference
Other electronics can disturb your wifi signal. Microwaves, cordless phones, and baby monitors may cause problems. Keep your router away from these devices. Turn off unused gadgets to lower interference and improve signal strength.
Use Wifi Extenders
Wifi extenders boost your signal to reach far corners of your house. They help if your vacuum is too far from the router. Place extenders in areas with weak signals. This ensures your robot vacuum gets a strong, steady connection.
Restart Devices
Restarting your devices can fix many WiFi connection issues with your robot vacuum. It refreshes the system and clears temporary glitches. This simple step often solves the problem quickly. Try restarting your robot vacuum, router, and smartphone to restore a stable connection.
Power Cycle The Robot Vacuum
Turn off your robot vacuum completely. Wait for about 30 seconds. Then turn it back on. This process resets the vacuum’s internal system. It can clear errors that stop it from connecting to WiFi.
Restart Your Router
Switch off your WiFi router. Wait for one minute before turning it back on. Restarting the router refreshes the network. It helps solve connectivity issues affecting your vacuum.
Reboot Your Smartphone
Turn off your smartphone and wait for 30 seconds. Then switch it back on. This simple reboot can fix app or network glitches. It makes sure your phone connects properly to the robot vacuum.
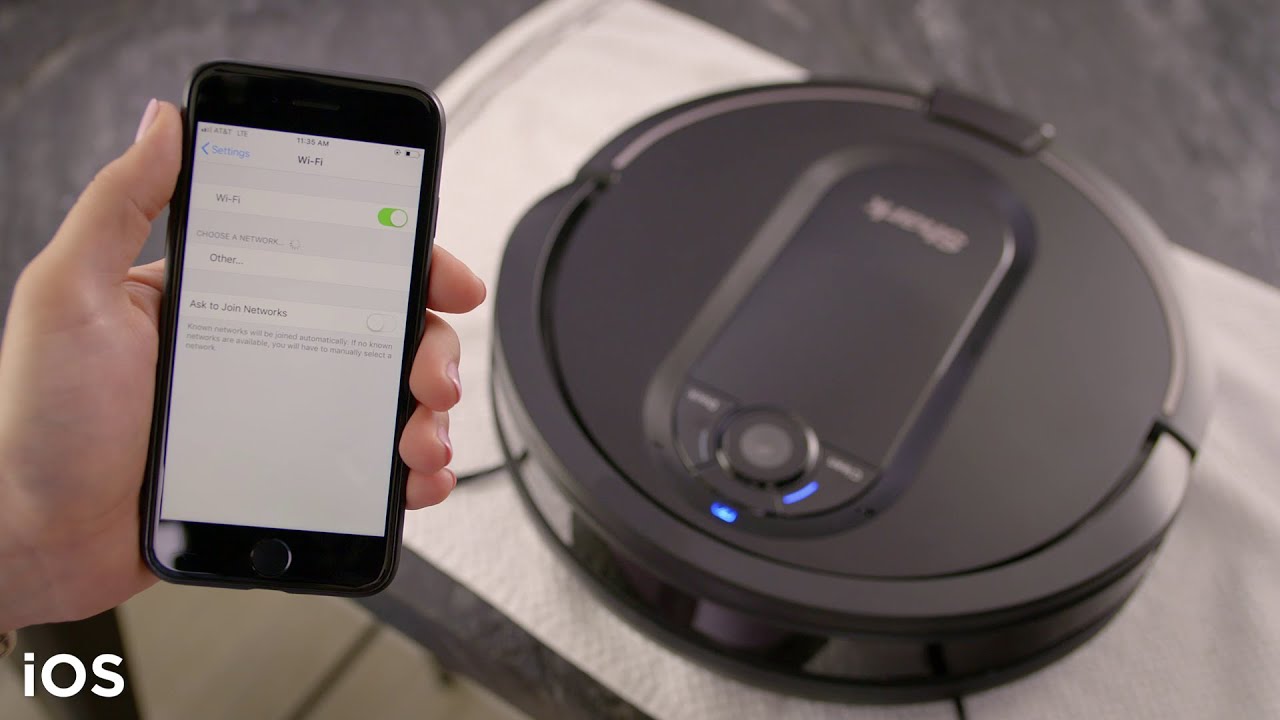
Verify Wifi Settings
Verifying your robot vacuum’s WiFi settings is key to fixing connection problems. The vacuum needs the correct network details to link up properly. Small errors in settings can block the connection. Checking these settings can often solve the issue quickly.
Confirm Network Name And Password
Make sure the network name matches exactly what your vacuum expects. Check for typos or spaces. Enter the WiFi password carefully. Passwords are case sensitive, so use capital and small letters correctly. A wrong password stops the vacuum from connecting.
Switch Between 2.4ghz And 5ghz Bands
Robot vacuums often work better with a 2.4GHz WiFi band. Some models do not support 5GHz. Try switching your router’s settings to 2.4GHz or use a network that offers both. Testing both bands helps find which one your vacuum prefers.
Disable Vpn Or Proxy
VPNs or proxies can interfere with the vacuum’s connection. These services change your network’s settings. Turn off any VPN or proxy on your phone or router during setup. This allows a direct connection to the vacuum’s server.
Update Firmware And App
Keeping your robot vacuum’s firmware and app updated is key to fixing WiFi connection problems. Updates fix bugs and improve device performance. Both the vacuum and its control app need the latest versions to work well together. Follow these steps to check and update them.
Check For Robot Vacuum Firmware Updates
Start by checking if your robot vacuum has new firmware. Open the vacuum’s settings on the control app. Look for an option like “Firmware Update” or “Device Info.” If an update is available, download and install it. This process can fix many connection issues.
Update The Control App
Next, ensure the app you use to control the vacuum is current. Visit your phone’s app store. Search for the vacuum’s app and check for updates. Tap “Update” if available. The latest app version often improves WiFi connectivity and adds new features.
Reinstall The App
Sometimes the app may have bugs causing connection problems. Delete the app from your phone. Then, reinstall it from the app store. This refreshes the app’s data and settings. Reinstalling can fix hidden errors affecting WiFi links.
Reset Network Settings
Resetting network settings often fixes wifi connection problems with robot vacuums. It clears old data that may block connection. This step gives your vacuum a fresh start to join your wifi again. Try these simple methods to reset network settings and restore your vacuum’s wifi link.
Factory Reset The Robot Vacuum
Find the reset button or option in your vacuum’s settings. Hold the button for 10 to 15 seconds. Wait for lights or sounds that show the reset is complete. This action erases all saved wifi and user settings. After reset, set up your vacuum like new.
Forget And Reconnect Wifi Network
Go to your phone’s wifi settings. Select the vacuum’s network and tap “Forget.” Open the vacuum app and try to connect to wifi again. Enter your wifi password carefully. This clears old network info and forces a new connection.
Clear App Cache
Open your phone’s settings and find the vacuum app. Tap on “Storage” and select “Clear Cache.” This removes temporary files that might cause app errors. Restart the app and try to connect your vacuum to wifi again.
Check Router Security Settings
Checking your router’s security settings is important when your robot vacuum won’t connect to WiFi. These settings can block the device from joining the network. Adjusting them can help your vacuum connect smoothly.
Some routers have strict rules that limit which devices can access the WiFi. Changing these rules can solve connection problems. Focus on three key areas: MAC address filtering, open ports, and firewall settings.
Disable Mac Address Filtering
MAC address filtering allows only specific devices to connect to your WiFi. Your robot vacuum’s MAC address might not be on the list. Disable this feature or add the vacuum’s MAC address to the allowed list. This step lets your vacuum access the network without restrictions.
Open Required Ports
Some robot vacuums need specific ports open to communicate with the router. Closed ports can stop the connection. Check the vacuum’s manual for port numbers. Open these ports in your router settings. This action ensures proper communication between the vacuum and router.
Adjust Firewall Settings
Firewalls protect your network but can block your vacuum’s signals. Lower the firewall level temporarily to test the connection. If this helps, create an exception for your vacuum in the firewall settings. This change allows the vacuum to connect safely without exposing your network.
Contact Customer Support
Contacting customer support is often the best step when your robot vacuum won’t connect to WiFi. Support teams have the tools and knowledge to help you fix the problem quickly. They can guide you through specific solutions tailored to your vacuum model.
Before reaching out, prepare some important information. Clear and simple communication helps the support team understand your issue better. Follow their instructions carefully to solve the problem faster.
Gather Device Information
Write down the model number of your robot vacuum. Note the software or app version you use. Have your WiFi network name and password ready. This information helps customer support identify your device and connection setup. It speeds up the troubleshooting process.
Describe The Issue Clearly
Explain the problem in simple words. Say exactly what happens when the vacuum tries to connect to WiFi. Mention any error messages or lights on the device. Tell if you tried restarting the vacuum or your router. Clear details help the support team find the right solution fast.
Follow Troubleshooting Steps
Listen to the advice from customer support carefully. Follow each step exactly as they say. Do not skip instructions even if they seem simple. Testing all the steps can fix hidden issues. Ask questions if you do not understand something. Support teams are there to help you.
Frequently Asked Questions
Why Won’t My Robot Vacuum Connect To Wifi?
Your robot vacuum may not connect due to weak WiFi signal or incorrect password. Ensure your router is nearby and the password is accurate. Restart both devices and check for firmware updates to resolve connectivity issues.
How Can I Improve Robot Vacuum Wifi Connection?
Place your router closer to the vacuum’s charging station. Remove WiFi interference from other devices. Use a 2. 4 GHz network, as many vacuums don’t support 5 GHz. Restart your router and vacuum to refresh the connection.
What If My Robot Vacuum Loses Wifi Frequently?
Frequent disconnections usually stem from unstable WiFi or outdated firmware. Update your vacuum’s software regularly. Reset your router to clear network issues. Consider using a WiFi extender to strengthen signal throughout your home.
Can Resetting Robot Vacuum Fix Wifi Issues?
Yes, resetting your robot vacuum often solves connection problems. It clears temporary glitches and restores default network settings. Follow the manufacturer’s instructions to perform a factory reset safely.
Conclusion
Troubleshooting a robot vacuum’s WiFi connection can feel tricky. Start with basic checks like WiFi strength and app settings. Restart your router and vacuum to clear minor glitches. Confirm the vacuum supports your WiFi type and frequency. Keep your vacuum’s software updated for best results.
Patience helps—sometimes it takes a few tries to connect. Following these simple steps can restore your vacuum’s connection quickly. Enjoy a cleaner home without the hassle of WiFi issues.