

Wondering how to get your above-ground pool ready for swimming after the winter thaw? You're not alone. Figuring out how to clean an above ground pool after winter can seem like a big task, but breaking it down into manageable steps makes it totally achievable.
We'll guide you through exactly what to do, from the first inspection to that first refreshing dip.
Manufacturer specifications for pool chemicals often recommend specific pH ranges for optimal water clarity and sanitizer effectiveness, typically between 7.2 and 7.6. This ensures that your water is not only safe but also comfortable for swimming. Let's dive into how you can achieve that perfect balance.
Assessing Your Pool's Winter State
Before you grab any cleaning supplies, it’s crucial to take a good, honest look at your pool. The condition it’s in after winter will heavily influence the steps you need to take and the tools you’ll require. Think of this as your initial assessment, much like a doctor checking a patient's vitals before prescribing treatment.
Here's what to check for:
- Cover Status: Did you use a winter cover? If so, was it a solid cover that kept most debris out, or a mesh one that might have let more in? This is your first clue to how much manual cleaning you’ll be doing.
- Water Clarity: What does the water look like? Is it just a bit hazy, or is it a murky green or brown mess? The murkier it is, the more likely you have algae growth or significant organic matter to deal with, which will affect chemical treatment.
- Visible Debris: Can you see large items like leaves, branches, or even small animals that might have found their way in? These need to be removed before you even think about running the pump.
- Equipment Condition: Briefly glance at your pool pump and filter area. Is anything visibly damaged from the cold? Ensure connections look secure and that there are no obvious leaks or cracks.
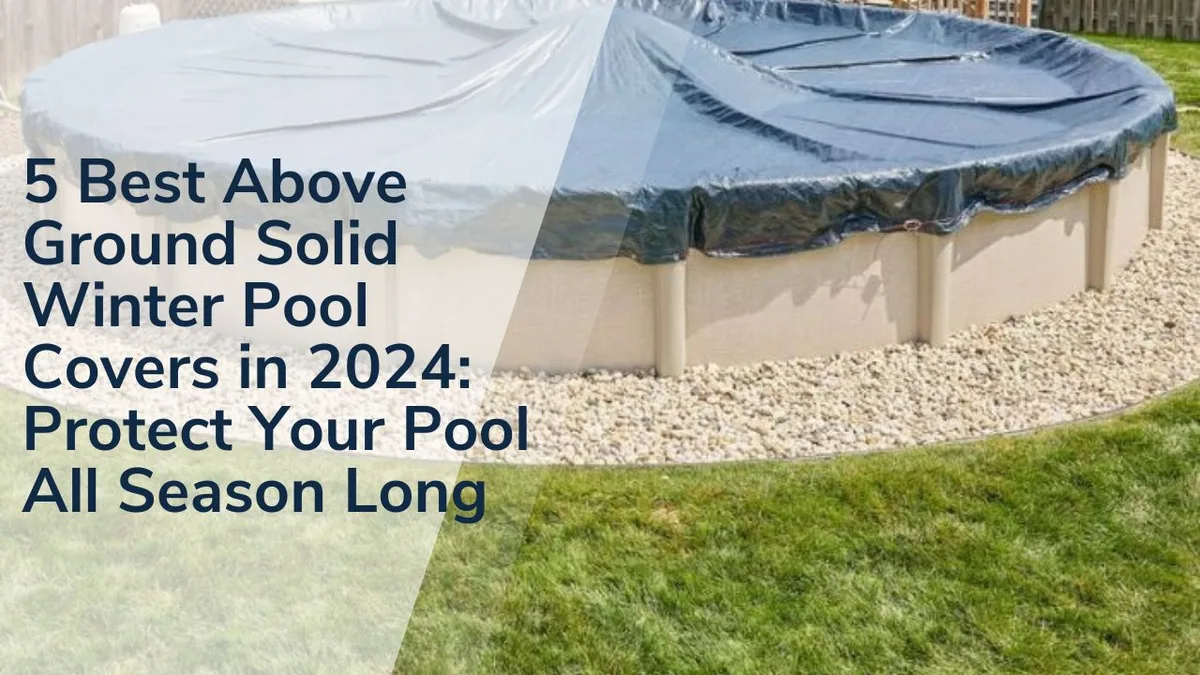
Image source: Web (Bing) / pooladvisors.net (Web image (fair-use with source credit))
Understanding these initial conditions helps you anticipate the workload and gather the right supplies. If your pool looks like a swamp, you know you'll be leaning heavily on chemical treatments and filter run times. If it's relatively clear, you might be able to get away with just brushing and vacuuming.
Quick Answer
To clean an above ground pool after winter, first remove debris and covers. Then, brush walls and vacuum the floor. Next, clean or backwash your pool filter and pump baskets.
Finally, test and balance water chemistry, shock the pool, and run the filter continuously.
Removing Winter Debris and Covers
This is where you get your first real glimpse of the pool's condition post-winter. If you used a winter cover, your primary goal is to remove it carefully without making a bigger mess. If you had a lot of water or debris on top of the cover, you'll need to deal with that first.
- Water Removal from Cover: For solid covers, you likely have accumulated rainwater or melting snow. You'll need a pool cover pump or a submersible pump to remove this water. Drain it away from the pool area, ideally towards a storm drain or a part of your yard that can handle the volume without causing erosion.
- Cover Cleaning: Once the water is gone, carefully fold or roll up the cover. It’s a good idea to rinse it off thoroughly with a hose and let it dry completely before storing it. This prevents mold and mildew from developing during its off-season.
- Initial Debris Skimming: After the cover is off and stowed away, use a large, fine-mesh skimmer net to remove any leaves, twigs, or other floating debris from the pool's surface. It’s much easier to scoop these out now than to let them sink and clog your filter later.
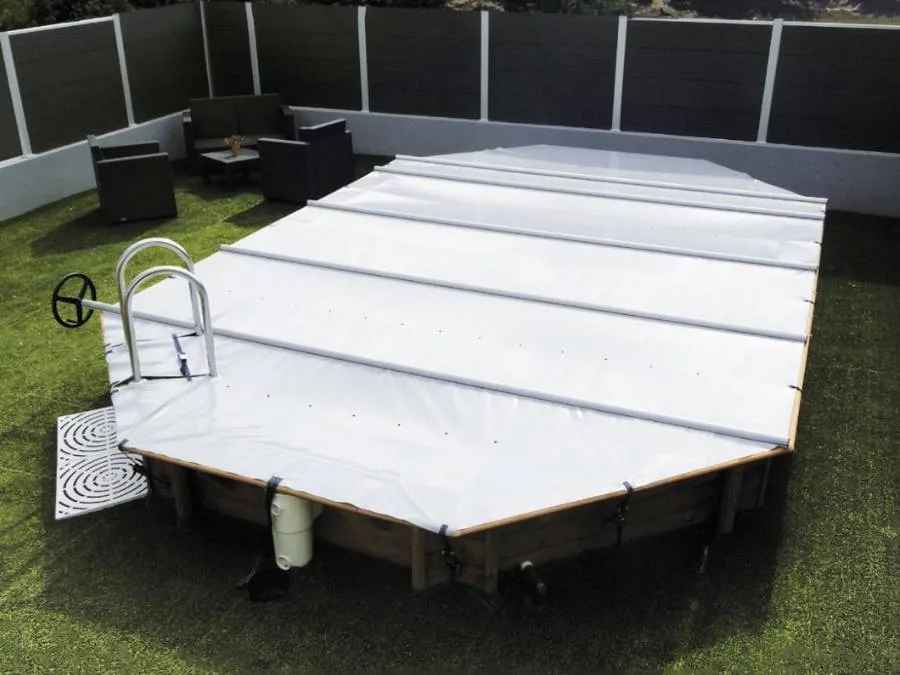
Image source: Web (Bing) / fity.club (Web image (fair-use with source credit))
If your pool was left uncovered, skip the cover removal steps, but be prepared for a much more substantial debris load. In such cases, you might use a leaf rake or a heavy-duty net to get the bulk of the material out. Some homeowners even opt for a shop vac for very large amounts of sunken debris, but extreme caution is advised to avoid damaging the pool liner.
Brushing and Vacuuming: Clearing the Pool Bed
With the surface debris gone, it's time to tackle what's settled on the bottom and walls. This step is critical for loosening grime and preparing the water for filtration. Think of it as preparing the stage for the main act, your filtration system.
Here’s how to approach it:
- Brush the Walls and Floor: Use a pool brush designed for above-ground pools (usually with nylon bristles to avoid scratching the liner). Start at the shallow end and work your way around. Pay special attention to the waterline, where soap scum and mineral deposits often accumulate. Scrubbing helps dislodge algae spores and other settled particles, making them easier to vacuum or filter out.
- Vacuuming: If your water is still somewhat cloudy or you see visible sediment on the pool floor, vacuuming is your next step.
- Manual Vacuuming: Connect your pool vacuum head to your skimmer via a vacuum hose and pole. Slowly and steadily move the vacuum head across the pool floor, overlapping your strokes to ensure you pick up all debris. If the water is very dirty, you might need to vacuum in sections, cleaning your filter as needed between passes, or even drain some dirty water directly out using the vacuum's waste setting if your filter has one.
- Automatic Cleaners: If you use an automatic pool cleaner, ensure it’s functioning correctly. It can do much of the heavy lifting for you, but you may still need to manually brush tricky spots.
The goal here is to get as much physical debris and settled gunk out of the water and off the surfaces as possible before introducing chemicals and running the filter extensively. This makes your chemical treatments more effective and reduces the strain on your filtration system.
Getting Your Pool Filter System Ready
Your pool's filter is the unsung hero that keeps your water clean and clear. Before you can even think about swimming, this system needs to be in top shape. Neglecting the filter is like trying to drink dirty water through a clogged straw, it just won't work effectively.
The type of filter you have dictates the cleaning process:
Cartridge Filters: These filters use a pleated polyester cartridge to trap debris.
- Turn off the pump.
- Release pressure from the filter tank.
- Carefully remove the cartridge.
- Rinse it thoroughly with a garden hose, spraying from top to bottom, getting between the pleats.
- Inspect the cartridge for tears or damage. If it's worn out or heavily stained, it's time for a replacement.
- Reassemble the filter and turn the pump back on.
Sand Filters: These use a bed of special filter sand to trap impurities.
- Turn off the pump.
- Set the multiport valve to "Backwash."
- Turn on the pump and let it run for 2-3 minutes, or until the water in the sight glass runs clear.
- Turn off the pump.
- Set the multiport valve to "Rinse."
- Turn on the pump for another 30-60 seconds to rinse the sand.
- Turn off the pump, set the valve back to "Filter," and turn the pump back on.
Manufacturer specifications typically recommend backwashing when the pressure gauge on the filter reads 8-10 psi above its clean starting pressure.
- Diatomaceous Earth (DE) Filters: These use a fine powder (DE) coated on internal grids to filter out microscopic particles.
- Turn off the pump.
- Turn the multiport valve to "Backwash."
- Run the pump until the filter pressure drops significantly or the water runs clear (check your specific filter's manual).
- Turn off the pump.
- Set the multiport valve to "Rinse."
- Run the pump for 30-60 seconds.
- Turn off the pump, set the valve to "Filter," and turn the pump back on.
- You will then need to add new DE powder to the filter through the skimmer. Follow your filter manufacturer’s instructions for the correct amount, as this is critical for effective filtration.
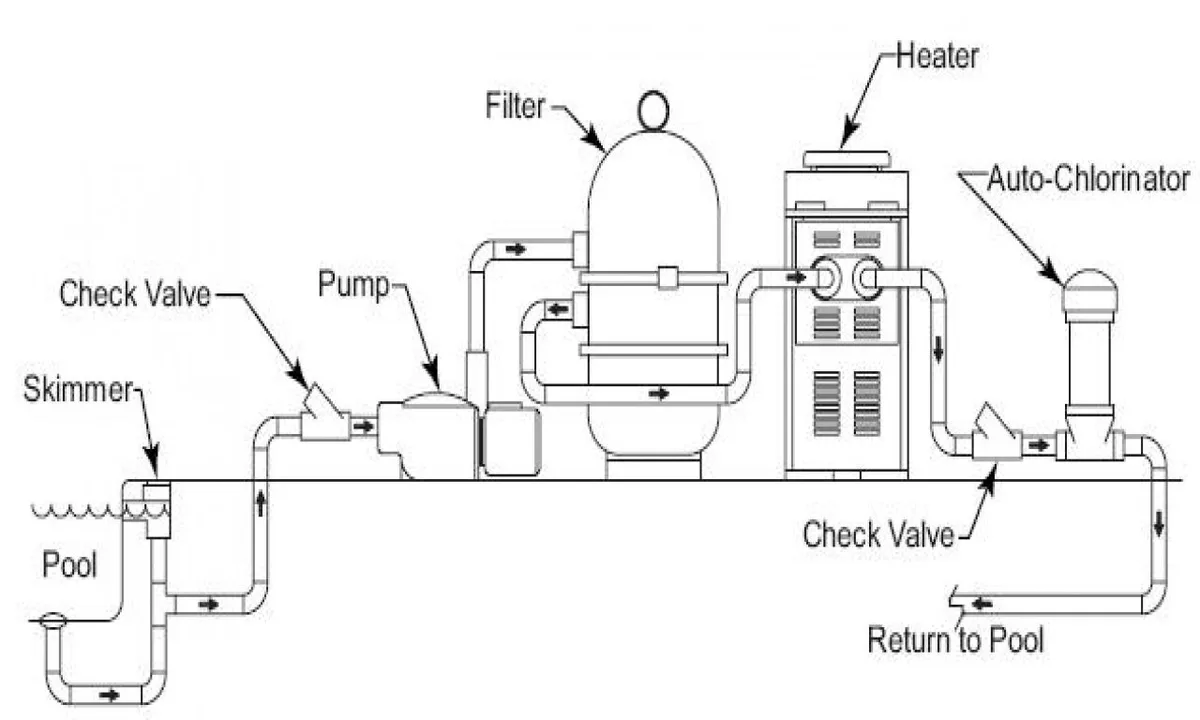
Image source: Web (Bing) / enginelibcora55.s3-website-us-east-1.amazonaws.com (Web image (fair-use with source credit))
Don't forget to check and clean the skimmer baskets and the pump basket for any debris that made it past your initial cleaning. A clean basket ensures unrestricted water flow to your pump.
Balancing and Testing Your Pool Water
This is arguably the most critical step for a healthy, safe swimming pool. You can’t just add chlorine and expect everything to be perfect. Proper water balance is the foundation for effective sanitation and swimmer comfort.
As of 2026, water chemistry guidelines from leading pool associations emphasize this balance for preventing corrosion, scale, and algae.
You’ll need a reliable pool water test kit. Liquid test kits or test strips that measure pH, total alkalinity, and sanitizer levels (like free chlorine or bromine) are common.
Total Alkalinity (TA): This acts as a buffer for your pH. If TA is too low, your pH will bounce around wildly. If it's too high, pH becomes difficult to adjust.
- Target Range: 80-120 parts per million (ppm).
- Adjustment: Use an alkalinity increaser (like sodium bicarbonate) to raise it, or a pH reducer (like muriatic acid or dry acid) to lower it.
pH: This measures how acidic or basic your water is. It impacts swimmer comfort (eyes and skin), the effectiveness of your sanitizer, and the longevity of your pool equipment.
- Target Range: 7.2-7.6.
- Adjustment: Use a pH increaser (like soda ash) to raise it, or a pH reducer (like muriatic acid or dry acid) to lower it.
Sanitizer Level (Chlorine/Bromine): This is what kills bacteria and algae.
- Target Range (Chlorine): 1-3 ppm (though higher levels are needed after shocking).
- Adjustment: Add your chosen sanitizer (liquid chlorine, granular chlorine, or bromine tablets/granules) according to product instructions.
Important Note: Always adjust total alkalinity before adjusting pH. This is because adding chemicals to change alkalinity can also affect pH. It’s a good practice to add chemicals one at a time, allowing them to circulate for several hours (or as per product directions) and re-testing before adding more or moving to the next chemical.
Shocking and Clarifying for Crystal Clear Water
After you’ve balanced your water chemistry, it's time to tackle any lingering contaminants and get that water sparkling. Shocking is a crucial part of this process, essentially a super-dose of sanitizer that oxidizes organic matter and breaks down chloramines (the stuff that causes that strong chlorine smell).
Shocking Your Pool:
- Choose Your Shock: Most above-ground pools use a granular chlorine shock, often calcium hypochlorite. Always follow the product instructions for dosage, which is usually based on pool volume and the severity of the water condition.
- Timing is Key: It's best to shock your pool in the evening. This allows the UV rays from the sun to break down the chlorine more slowly, giving it more time to work.
- Application: Pre-dissolve granular shock in a bucket of pool water (wear gloves and eye protection!) before broadcasting it evenly into the pool, ideally around the perimeter. Avoid adding it directly near metal fittings or the skimmer.
- Filter Run Time: After shocking, run your pool filter continuously for at least 24-48 hours. This is essential to circulate the shock throughout the entire water volume and help break down contaminants.
Using a Clarifier (If Needed):
Sometimes, even after shocking and filtering, the water might remain cloudy. This is often due to very fine particles that are too small for your filter to catch. A pool clarifier works by clumping these tiny particles together, forming larger, more manageable clumps that your filter can then trap.
1.  **Application:** Add the clarifier according to the product's instructions, typically diluted and poured around the pool's edge.
2.  **Filter Again:** Let the filter run for the recommended time (often 12-24 hours) to remove the clumped particles. You might notice debris accumulating on your filter’s pressure gauge, indicating it's working.
Be patient during this stage. It can take a day or two of continuous filtering and proper chemical balance for the water to return to its pristine, clear state.

