

Is your above-ground pool losing water faster than a leaky faucet? You're likely dealing with a tear or puncture in your pool liner, and figuring out how to repair an above ground pool liner is key to getting back to swimming. Don't let a small leak turn into a major problem or a costly professional job.
Fortunately, many common pool liner issues can be fixed yourself with the right approach and a few essential tools. We've gathered the practical, research-backed steps you need to know to tackle these repairs effectively.
Quick Answer
Repair an above-ground pool liner by locating the leak, cleaning the damaged area thoroughly, and applying a vinyl patch kit. Ensure the patch is oversized and firmly pressed to create a waterproof seal. Allow adequate curing time before refilling the pool.
Is Your Pool Liner Leaking? Let's Find the Spot.
Spotting a leak in your vinyl pool liner can sometimes feel like a treasure hunt, but it's the crucial first step to any successful repair. If you've noticed your water level dropping more than an inch or two over 24 hours, or if you see visible damage, it's time to investigate. Identifying the exact location saves you time and ensures you're patching the right spot.
When to Suspect a Leak:
- Consistent water level drop beyond normal evaporation (typically 0.25 inches per day).
- Visible tears, holes, or cracks in the liner material.
- Bubbles appearing under the liner, especially near the bottom.
- Water pooling around the base of the pool structure.
Methods for Detection:
- Visual Inspection: Turn off the pool pump. Let the water settle for a few hours. Carefully examine the entire liner, especially around seams, fittings (like skimmers and return jets), and the floor.
- Dye Test: For small or hard-to-find leaks, you can carefully introduce a small amount of pool-safe dye or food coloring near suspected areas. If there's a leak, the dye will be drawn out through the hole. Do this on a calm day with the pump off.
- Component Check: Leaks can also occur at fittings. Check the seals around your skimmer and return jets. Sometimes, a loose fitting or a worn gasket is the culprit, not a hole in the liner itself.
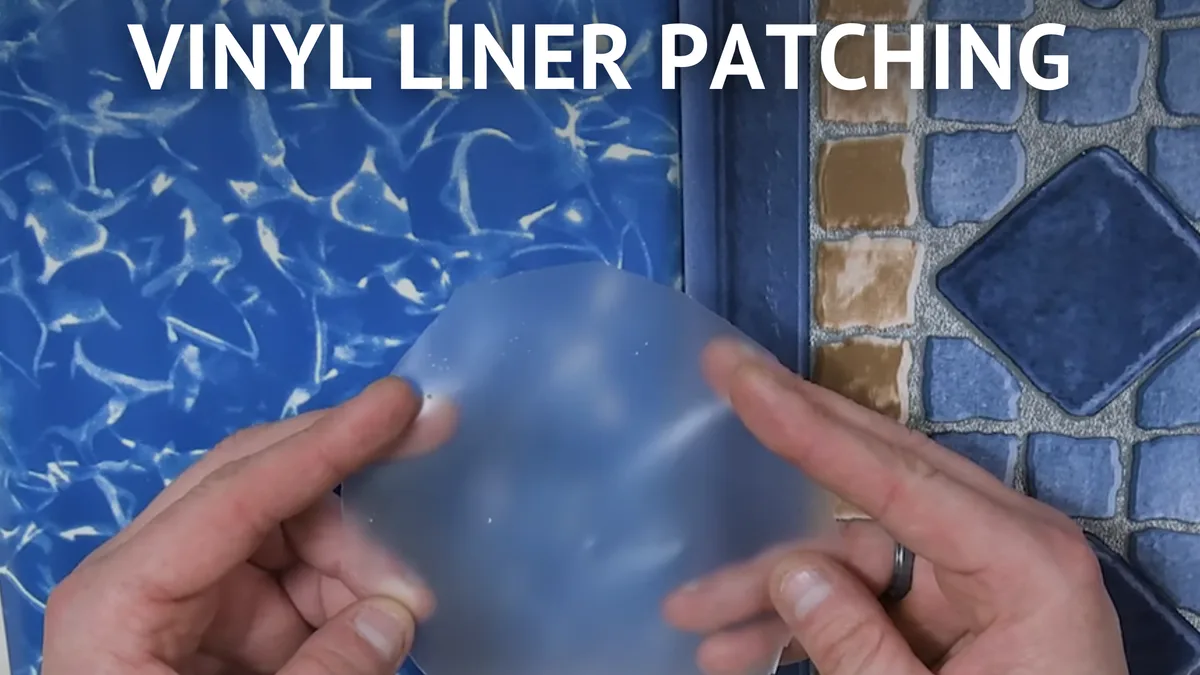
Image source: Bing (Web (fair-use with source credit))
What You'll Need for an Above-Ground Pool Liner Patch
Having the right materials on hand is half the battle when it comes to patching your pool liner. You don't need a whole workshop, just a few specific items designed for vinyl pool repairs. Manufacturer specifications for vinyl liner repair kits generally recommend using products specifically formulated for this purpose to ensure a lasting bond.
- Essential Items:
- Vinyl Pool Liner Patch Kit: This is your primary tool. Look for kits that include vinyl patches and a strong, waterproof adhesive specifically designed for pool liners. Some kits offer pre-adhesive patches.
- Scissors: For cutting the patch to size. Rounding the corners helps prevent peeling.
- Clean, Lint-Free Cloths: You'll need these for thoroughly cleaning and drying the area around the leak.
- Rubbing Alcohol (Isopropyl Alcohol): This is excellent for cleaning grease, oils, and residue from the liner surface, ensuring optimal adhesion.
- A Bucket: Useful for bailing out water if a section of the liner is submerged or very wet.
- Optional: Small Roller or Squeegee: For ensuring the patch is pressed down firmly and smoothly, expelling any air bubbles.
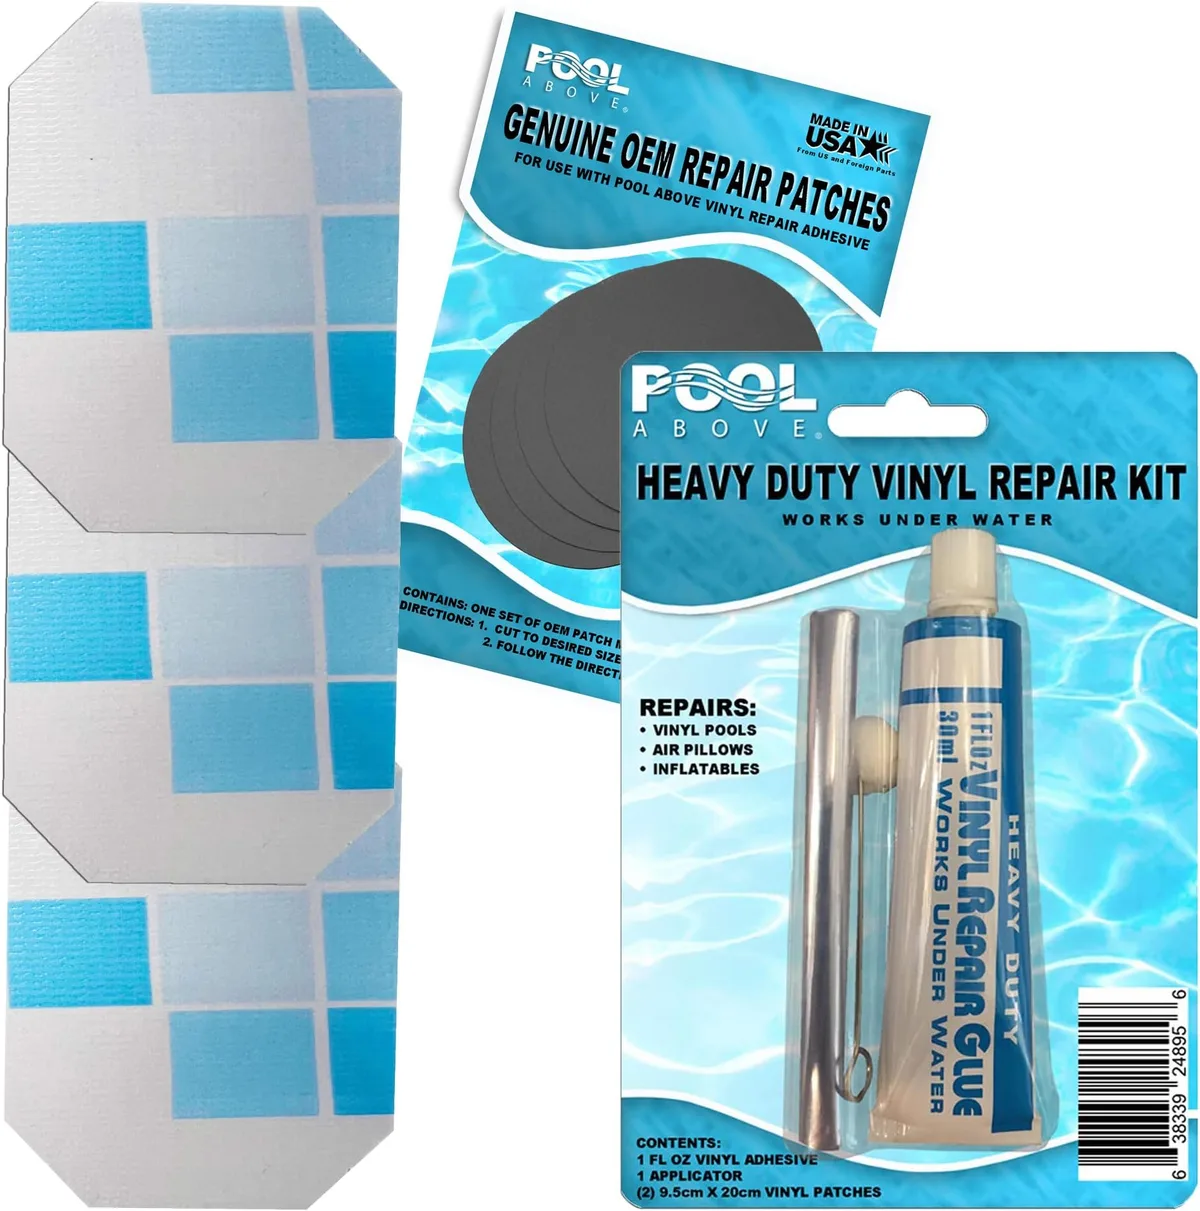
Image source: Web (Bing) / amazon.com (Web image (fair-use with source credit))
The Quick Fix: Patching Small Tears and Pinholes (Visual Guide)
For those little punctures and minor tears, a patch kit is your best friend. This method is straightforward and can often be completed in under an hour, not counting drying time. It's all about meticulous preparation and proper application.
Step 1: Finding and Cleaning the Leak
This is where visual inspection and patience pay off. After you've located the leak, ensure the area is perfectly clean and dry. Any dirt, debris, or moisture will compromise the adhesive's ability to bond with the vinyl.
Rubbing alcohol is highly recommended here; it evaporates quickly and leaves a clean surface.
Step 2: Preparing and Applying the Patch
Cut a patch from your kit that's at least 1-2 inches larger than the damaged area on all sides. This overlap is critical for a secure seal. If your kit uses a separate adhesive, apply it evenly to both the patch (or the liner, per kit instructions) and let it get slightly tacky, this "flash time" is vital for a strong bond.
Carefully position the patch over the leak and press firmly from the center outwards, smoothing out any air bubbles.
Step 3: Letting It Cure
This is where many people rush, but it's non-negotiable. Manufacturer specifications for most pool liner adhesives indicate a minimum curing time of 24 to 48 hours. During this period, avoid putting any stress on the patch, and if possible, keep the water level stable.
Refilling the pool or turning the pump back on too soon can dislodge the patch before it's fully bonded.
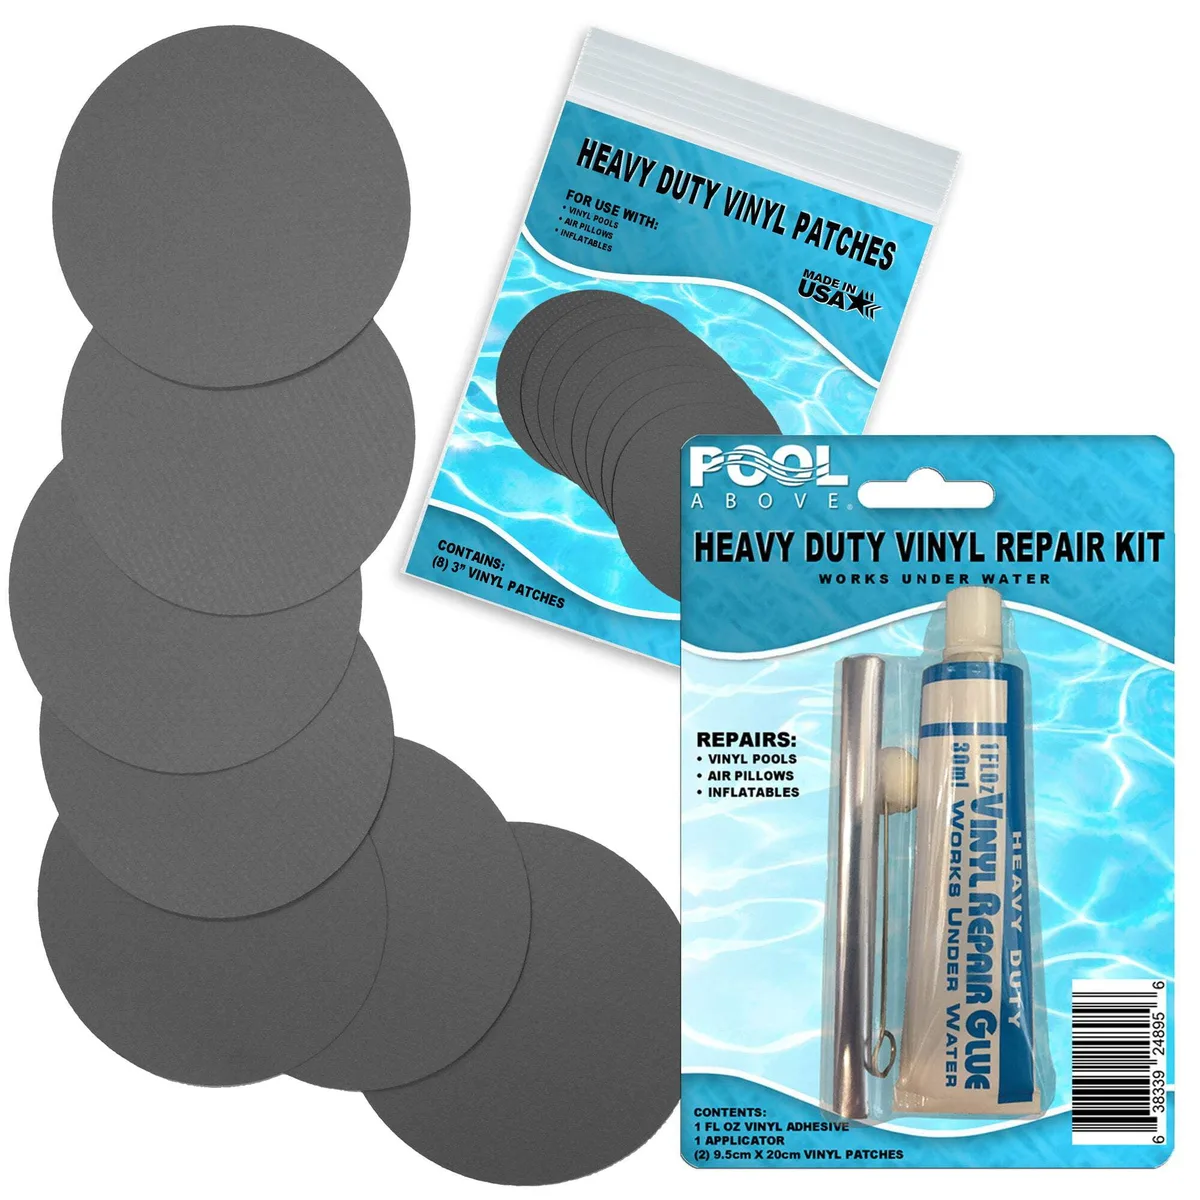
Image source: Bing (Web (fair-use with source credit))
Tackling Bigger Tears and Seam Issues
When tears are more significant, or if you're dealing with a split along a seam, the basic patching technique still applies, but you might need a bit more reinforcement. Larger tears require a larger patch, and seams demand extra attention to ensure they're properly sealed.
For Larger Tears:
- Use a patch that generously covers the entire tear. You might even consider using a larger patch than initially seems necessary.
- If accessible, applying a patch to both the inside and outside of the liner provides the strongest repair. This is often easier if you can drain the pool to that level.
- Ensure the adhesive is applied thoroughly to all edges of the patch.
Addressing Seam Leaks:
- Seams are often high-stress areas. Clean the seam area meticulously, as dirt can get trapped in the seam's texture.
- Cut a patch that runs along the length of the compromised seam, extending well beyond the damaged section.
- Press the patch down firmly along the entire seam, ensuring no gaps remain. The goal is to essentially bridge the damaged seam with a new layer of vinyl.
When to Consider a Full Liner Replacement
While patch kits are excellent for most common issues, there comes a point where repairing a liner is no longer the most practical or cost-effective solution. If your liner is old, brittle, or has multiple large tears spread across it, a replacement might be the better long-term investment.
- Signs It Might Be Time for a New Liner:
- Extensive Damage: Numerous large rips, tears, or holes that are too widespread for effective patching.
- Brittleness: The liner feels stiff, cracks easily when bent, and seems to be degrading. This often happens after many years of sun exposure and chemical treatments.
- Fading and Discoloration: Significant fading can indicate the material itself is breaking down.
- Frequent Leaks: If you're constantly patching, it might be a sign the liner's lifespan is simply over.
- Wrinkles and Indentations: Deep wrinkles that won't smooth out can sometimes hide or indicate structural issues.
Replacing a liner is a bigger project, often requiring professional help to ensure it's installed correctly without damaging the pool structure. However, for a few small, isolated issues, a good patch job as of 2026 can easily keep your pool in working order for seasons to come.
Common Mistakes to Sidestep During Repair
Even with the right tools and a good patch kit, a few common slip-ups can turn a quick fix into a recurring problem. Avoiding these pitfalls ensures your repair lasts and prevents you from having to tackle the same leak again. Our research indicates that improper preparation is the most frequent cause of patch failure.
- Not Cleaning Thoroughly: Applying a patch over dirt, oils, or even just moisture is like trying to glue something to a greasy surface. It just won't stick well. Always use rubbing alcohol for a final clean.
- Patch Too Small: Don't skimp on patch size. A patch that barely covers the hole offers minimal adhesion surface and is prone to peeling. Aim for at least an inch of overlap on all sides.
- Rushing the Cure Time: This is a big one. Vinyl adhesives need time to cure properly. Manufacturer specifications often require 24-48 hours. Reintroducing water pressure too soon stresses the bond and can cause the patch to lift.
- Skipping Corner Rounds: Sharp corners on a patch act like a snag point, making them more likely to lift over time. Rounding them off creates a smoother profile and reduces the chance of edges peeling.
Pool Liner Patching: Expert Tips for a Lasting Fix
Getting a patch to hold long-term isn't just about following instructions; it's about understanding a few key principles. These tips, drawn from aggregated industry feedback and manufacturer guidelines, help ensure your repair stands up to the rigors of pool life.
- Work in Favorable Conditions: Patching is best done when temperatures are mild, ideally between 60-80°F (15-27°C). Cold weather makes vinyl stiff and hinders adhesive performance. Avoid patching in direct, intense sunlight if possible, as it can cause the vinyl to expand rapidly.
- Prioritize Patch Material Quality: Not all patch kits are created equal. Look for kits specifically designed for vinyl pool liners from reputable brands. High-quality vinyl and strong, waterproof adhesive are essential for durability.
- Consider Reinforcement: For larger or critical areas, some professionals suggest a double-patch approach: one on the inside and another on the outside if you can access both sides. This creates a very robust seal.
- Smooth Out Air Bubbles: As you press the patch down, work from the center outwards. Any trapped air bubbles create weak points. A plastic roller or a stiff squeegee can help you achieve a smooth, bubble-free application.
Frequently Asked Questions About Pool Liner Repairs
How long does it take for a pool liner patch to cure?
Curing times vary by product, but most vinyl pool liner adhesives require a minimum of 24 to 48 hours to fully cure. Always check the specific instructions on your patch kit, as this drying time is critical for a strong, waterproof bond.
Can I patch a liner while the pool is full?
Yes, many pool liner patch kits are designed for in-water repairs. The key is to ensure the area around the leak is as dry as possible before applying the patch, even if it requires momentarily bailing out some water. The adhesive needs to bond directly to the vinyl, not water.
What's the difference between a patch kit and pool liner sealant?
A patch kit typically includes vinyl material to cover a hole or tear, often with a strong adhesive. Pool liner sealant is usually a liquid or caulk-like substance used to fill very small gaps or cracks, especially around fittings, rather than a material to cover a significant hole.

