

A pet vacuum cleaner that smells is a common, yet unpleasant, issue for many pet owners. The lingering odor can turn a helpful tool into a source of frustration.
This bad smell usually comes from a buildup of pet hair, dander, dirt, and moisture trapped inside the vacuum. Over time, these things can start to decompose and create a foul odor. Fortunately, understanding the causes can help you tackle the problem effectively and keep your home smelling fresh.
Why Your Pet Vacuum Smells Bad
Pet vacuums are designed to tackle the unique challenges of pet ownership, like shedding fur and tracked-in dirt. However, the very things that make them effective can also lead to unpleasant smells if not managed properly.
Trapped Pet Hair And Dander
Pet hair is notorious for clinging to surfaces and can easily get stuck in various parts of your vacuum cleaner. Alongside the hair, dander, tiny flakes of skin shed by pets, also gets collected. These organic materials become a breeding ground for bacteria and mold when combined with moisture.
Moisture And Dampness
One of the most common culprits behind a smelly vacuum is moisture. This can come from various sources. Pet accidents, like urine or vomit, can be accidentally vacuumed up. Even normal use can introduce humidity from carpets or spills.
When moisture gets trapped inside the vacuum’s dustbin, filters, and hoses, it creates a perfect environment for mold and mildew to grow. This is often the source of that musty, damp smell.
Decomposing Organic Matter
As pet hair, dander, and other organic debris accumulate, they begin to break down. This decomposition process releases volatile organic compounds (VOCs) that are responsible for foul odors. Think of it like food left out too long; the same principle applies to the debris inside your vacuum.
Clogged Filters
Filters are crucial for trapping fine particles and preventing them from being released back into the air. However, pet hair and dander can quickly clog these filters. A clogged filter not only reduces the vacuum’s suction power but also traps moisture and organic matter, leading to odors.
Full Or Damaged Dustbin
If the dustbin is consistently left full, or if it’s not emptied regularly, the trapped debris has more time to decompose and fester. Some dustbins might also have small cracks or seals that are not perfectly airtight, allowing odors to escape.
Common Areas Where Odors Originate
Identifying the specific source of the smell within your vacuum cleaner is the first step to fixing it. Different parts of the vacuum can harbor different types of odors.
The Dustbin Or Bag
This is the most obvious place where smells originate. Pet hair, dander, and any other debris end up here. If the bin isn’t emptied frequently or cleaned properly, the contents can start to rot, especially if there’s any moisture present.
Filters
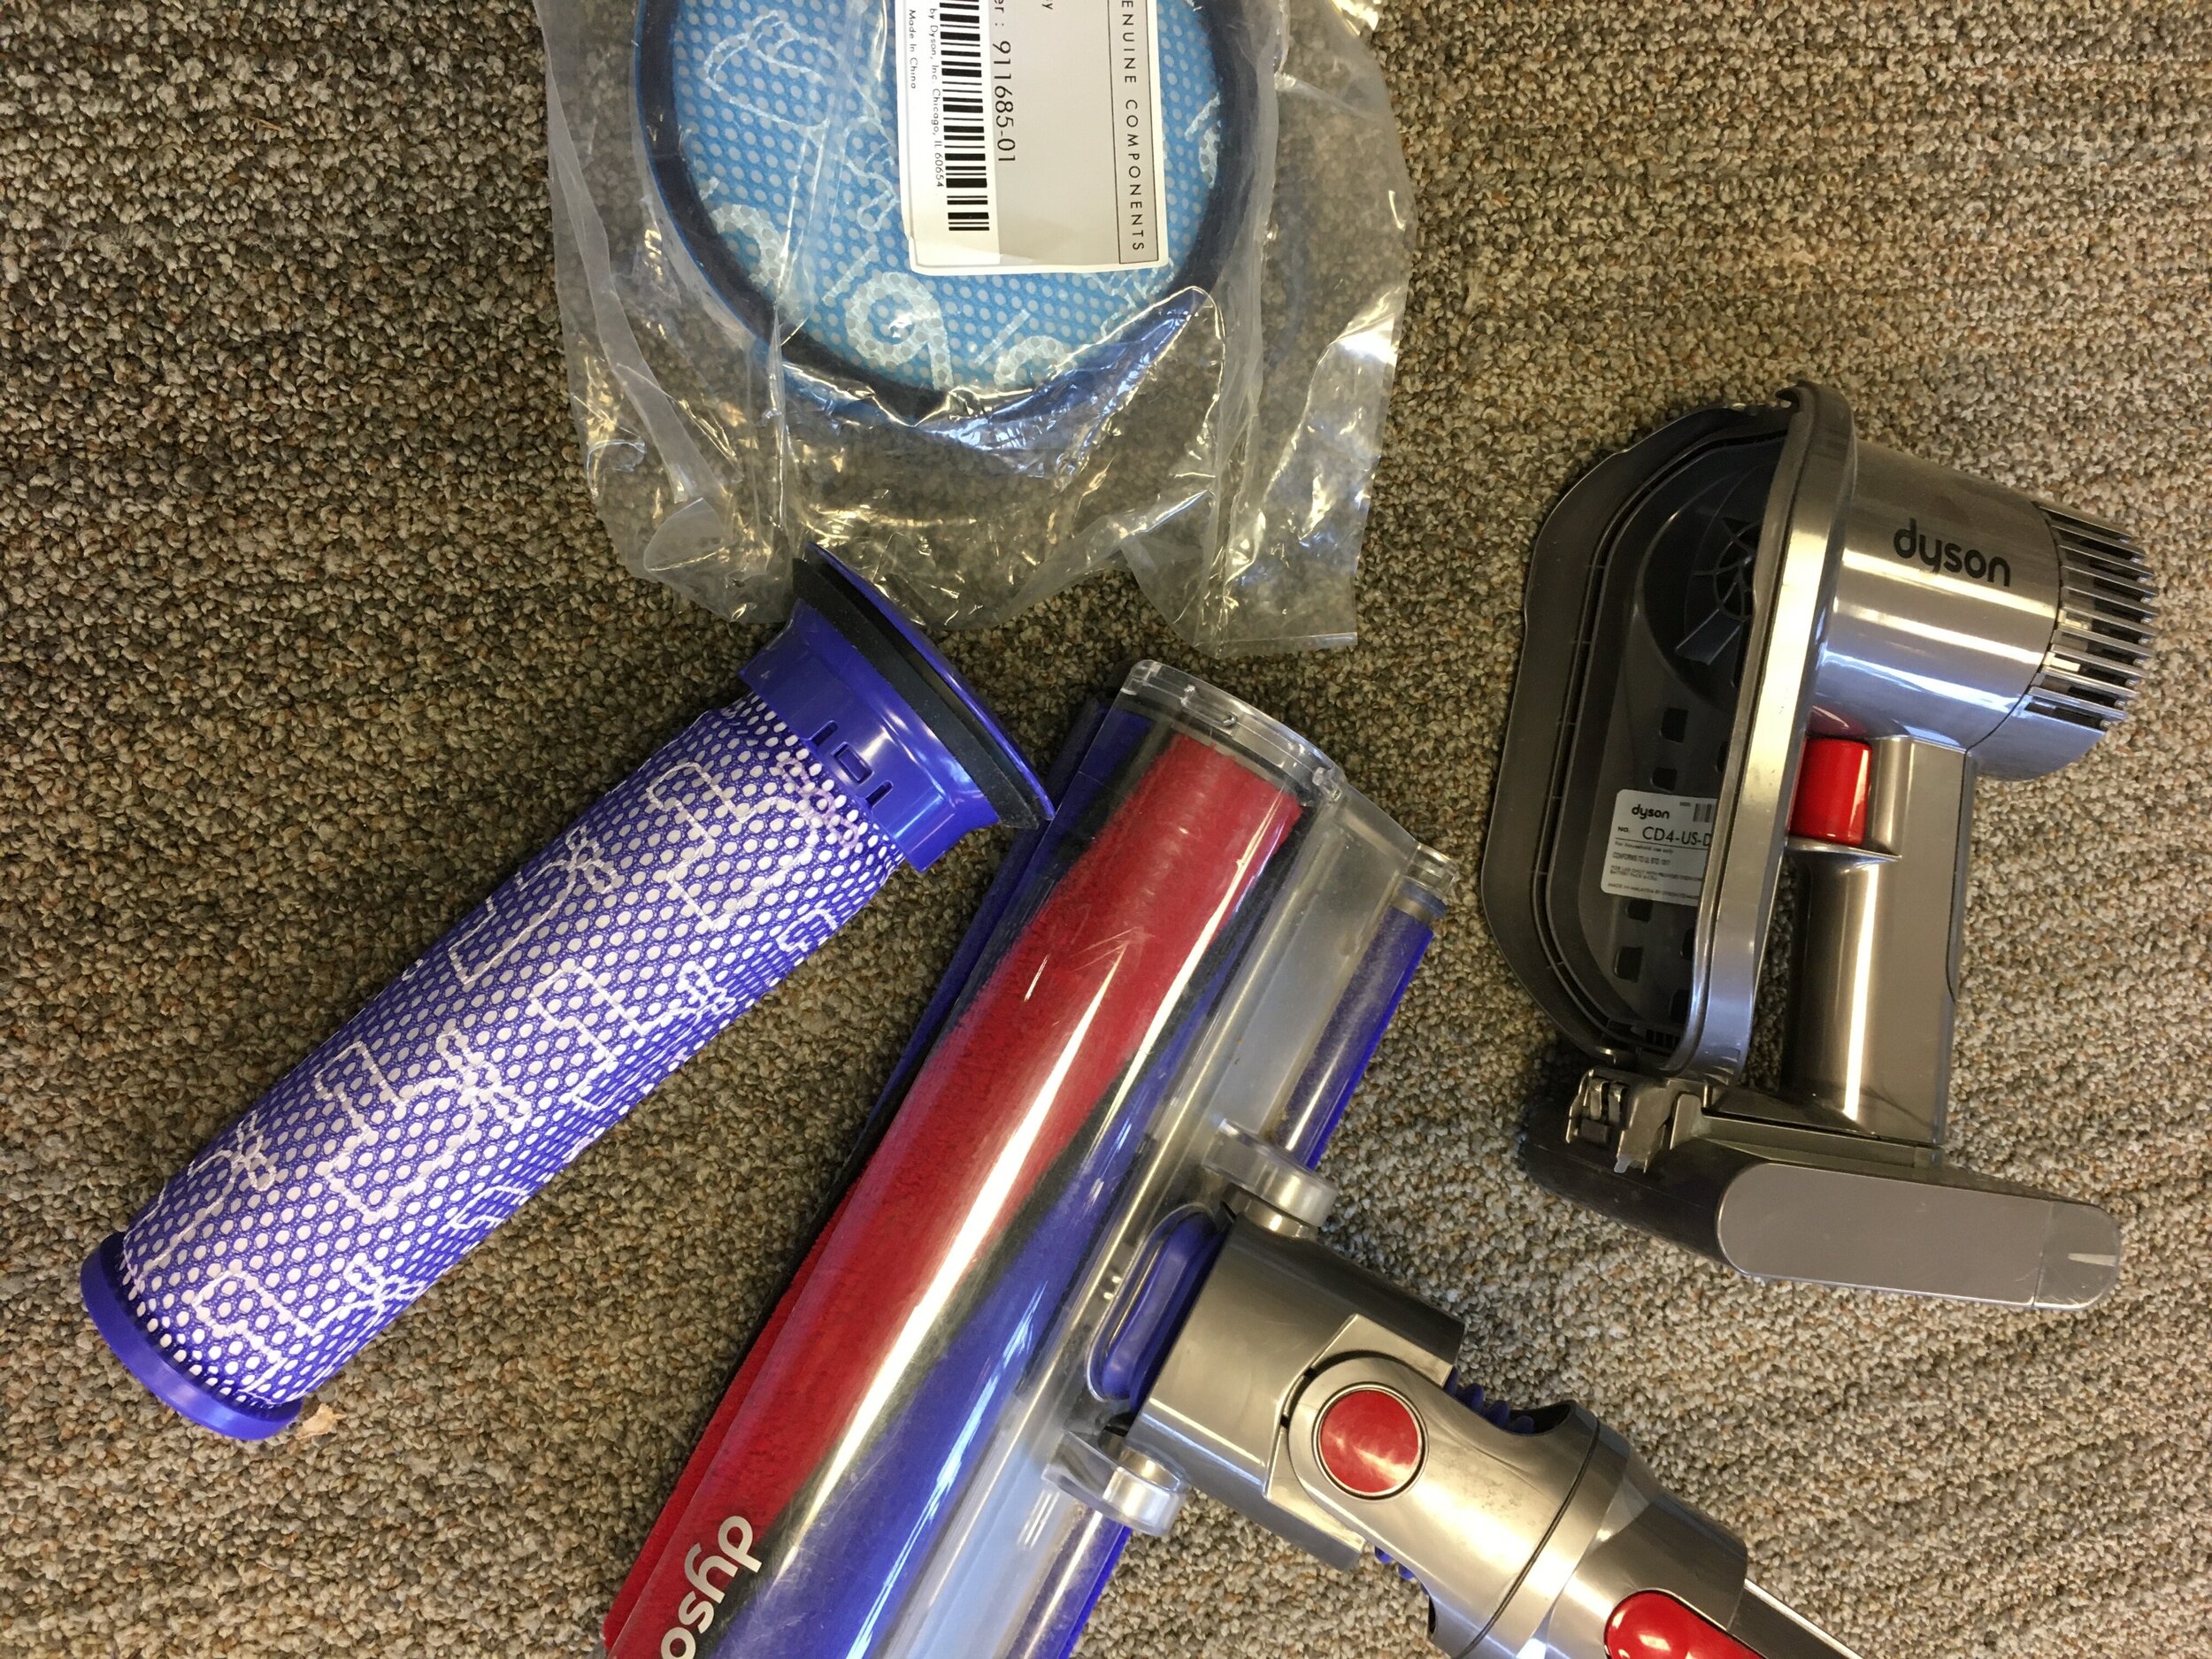
HEPA filters and other types of filters are designed to capture microscopic particles. However, they can become saturated with pet dander, hair, and moisture, leading to a strong, musty odor. These filters often require regular cleaning or replacement.
The Hose And Nozzles
The vacuum hose and various nozzles can trap debris, hair, and moisture, especially in tight corners or bends. This trapped material can decompose, causing smells to emanate from these parts.
Brush Roll
The brush roll is designed to agitate carpets and pick up dirt and hair. It’s a prime spot for hair to get tangled. If left uncleaned, this tangled hair can trap moisture and organic matter, contributing to unpleasant smells.
Internal Airways
Sometimes, the smell isn’t just in one accessible part. Internal airways and channels within the vacuum can also accumulate debris and moisture, leading to a pervasive odor that seems to come from the entire machine.
How To Eliminate Pet Vacuum Smells
Getting rid of that unwelcome odor involves a thorough cleaning and some preventative measures. A regular maintenance routine is key to keeping your pet vacuum smelling fresh.
Deep Cleaning Your Vacuum
A deep clean is essential for tackling persistent smells. This involves disassembling parts of your vacuum and cleaning them thoroughly.
- Empty the Dustbin: Always start by emptying the dustbin or replacing the bag.
- Wash Removable Parts: Most dustbins, and some other plastic parts, can be washed with warm, soapy water. Ensure they are completely dry before reassembling.
- Clean the Hose: Use a long brush or a flexible attachment to clean out the hose. You can also try running warm water through it (ensure it dries fully).
- Clean the Brush Roll: Remove any tangled hair or debris from the brush roll. A pair of scissors or a seam ripper can be helpful here.
- Wipe Down the Interior: Use a damp cloth to wipe down accessible internal areas.
Cleaning And Replacing Filters
Filters are critical for odor control. Most pet vacuums have washable or replaceable filters.
- Washable Filters: If your filter is washable, rinse it under cold water. Avoid using soap, as it can damage the filter material. Allow it to air dry completely for at least 24 hours before putting it back.
- Replaceable Filters: If your filter is not washable, replace it according to the manufacturer’s instructions. This is often recommended every 3-6 months, or more frequently if you have pets.
Using Baking Soda
Baking soda is a natural deodorizer. You can sprinkle a small amount of baking soda into the dustbin before vacuuming, or directly onto carpets before vacuuming. This helps absorb odors as the vacuum runs.
Using Vinegar
White vinegar is another effective natural cleaner and deodorizer. You can wipe down the inside of the dustbin with a cloth dampened with diluted white vinegar. Ensure the parts are dry and the vinegar smell dissipates before use.
Deodorizing Sachets Or Pads
Some vacuum cleaner brands offer deodorizing pads or sachets designed to be placed inside the dustbin or near the filter. These can help mask or neutralize odors. You can also create your own by placing dried herbs like lavender or mint in a small porous bag and placing it in the dustbin.
Preventative Measures To Keep Smells Away
Once you’ve cleaned your vacuum, implementing preventative measures will stop the smells from returning. Consistency is key here.
Regular Emptying And Cleaning
Make it a habit to empty the dustbin after every use, especially if you have multiple pets. This prevents debris from sitting and decomposing. A quick wipe-down of the dustbin can also help.
Promptly Address Spills And Accidents
If you accidentally vacuum up a wet mess or pet accident, clean your vacuum immediately. Don’t let moisture sit inside. This is crucial for preventing mold and mildew growth.
Proper Storage
Store your vacuum in a dry, well-ventilated area. Avoid storing it in damp basements or garages where moisture can accumulate. Leaving the dustbin lid slightly ajar can also help air circulate.
Using Protective Measures
Consider using a pre-filter if your vacuum allows. These can catch larger debris and hair before they reach the main filter, extending the filter’s life and reducing the chance of clogs.
Consider Vacuum Bags
If your vacuum uses bags, choosing bags with odor-absorbing properties can make a significant difference. Replace bags promptly when they are full.
Factors Affecting Pet Vacuum Odors
The type of vacuum and the specific needs of your pets can influence how prone your vacuum is to smelling bad.
Vacuum Type
Bagless vacuums often require more frequent deep cleaning as debris is directly exposed in the dustbin. Bagged vacuums can contain odors better but rely on the quality of the bag and prompt replacement. Vacuums with advanced filtration systems, like HEPA filters, are generally better at trapping odor-causing particles, but they still need maintenance.
Pet Type And Habits
Pets with oily coats might contribute more to odors. Pets that frequently have accidents will obviously increase the risk of moisture-related smells. Frequent shedding from long-haired breeds means more hair to

