

Pet hair can be a constant battle for pet owners, especially when it clings to your vacuum cleaner. A vacuum clogged with fur won’t work effectively and can even start to smell. Learning how to remove pet hair from your vacuum is essential for keeping your home clean and your machine running smoothly.
This guide will walk you through the common places pet hair gets stuck in a vacuum and provide simple, effective methods to clean them. We’ll cover everything from emptying the dustbin to deep cleaning the brush roll and filters. By following these steps, you can ensure your vacuum tackles pet hair with maximum power.
Understanding The Problem: Where Hair Hides
Pet hair is sneaky. It doesn’t just stay in the dustbin; it can wrap around moving parts, clog filters, and reduce your vacuum’s suction power. Understanding these common hiding spots is the first step to a cleaner machine.
The Dustbin Or Bag
This is the most obvious place for pet hair. When the dustbin or bag fills up, hair can start to stick to the sides or even get pushed back into the vacuum’s internal components. Overfilling is a major cause of reduced performance.
The Brush Roll
The brush roll is designed to agitate carpets and loosen dirt and hair. However, long pet hair often gets tangled around the bristles. This tangled hair can prevent the brush roll from spinning freely, making it less effective at picking up more debris.
Hoses And Airways
Hoses and internal airways can become partially blocked by accumulated hair and debris. This blockage restricts airflow, leading to a significant drop in suction power. You might notice the vacuum sounding different or not picking up dirt as well as it used to.
Filters
Vacuum filters, especially the HEPA filters found in many modern vacuums, are designed to trap fine particles. Pet hair, along with dander and dust, can quickly clog these filters. A clogged filter is one of the main reasons a vacuum loses suction.
Essential Tools For Pet Hair Removal
Before you start, gather a few helpful tools. These will make the cleaning process much easier and more effective.
- Scissors or a Seam Ripper: For cutting away stubborn hair from the brush roll.
- A Soft Brush or Old Toothbrush: To loosen dust and hair from nooks and crannies.
- Microfiber Cloths: For wiping down surfaces.
- Gloves: To keep your hands clean.
- Compressed Air (Optional): Can help blow out dust from tight spots.
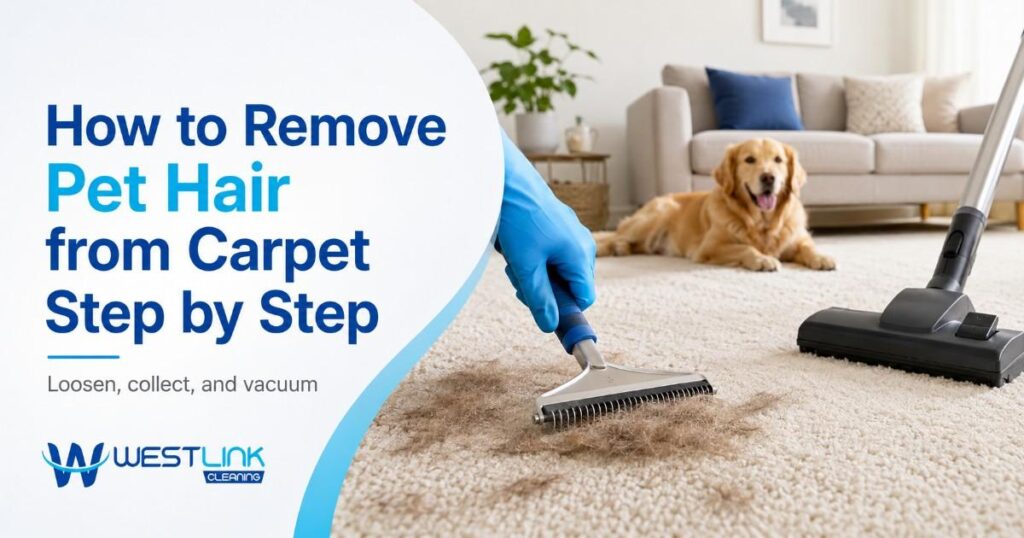
Step-by-step Guide To Cleaning Your Vacuum
Regular maintenance is key. Aim to clean your vacuum’s hair-trapping parts at least once a month, or more often if you have multiple pets.
1. Empty The Dustbin Or Replace The Bag
This is the simplest and most crucial step.
- Bagged Vacuums: Open the vacuum and carefully remove the full bag. Dispose of it immediately, preferably in a sealed trash bag. Insert a new bag, ensuring it’s fitted correctly.
- Bagless Vacuums: Remove the dustbin. Most dustbins can be emptied directly into a trash can. For stubborn hair stuck to the sides, a quick tap or a damp cloth can help. Some dustbins are washable; check your vacuum’s manual to see if yours can be rinsed with water. If washable, ensure it’s completely dry before reattaching.
2. Clean The Brush Roll
The brush roll is often the biggest culprit for hair buildup.
- Access the Brush Roll: Most vacuums allow you to remove the brush roll. This might involve flipping the vacuum over and unscrewing a plate or releasing a latch. Consult your vacuum’s manual if you’re unsure.
- Remove Tangled Hair: Use scissors or a seam ripper to carefully cut the hair wrapped around the bristles. Be cautious not to cut the bristles themselves. Once cut, pull the hair away. A small brush can help dislodge any remaining strands.
- Check for Obstructions: Ensure the ends of the brush roll spin freely. Sometimes, hair can get caught in the bearings at the ends.
3. Clear The Hose And Airways
A blocked hose means no suction.
- Detachable Hose: If your vacuum has a detachable hose, remove it. Hold it up to the light to check for visible blockages. You can try pushing a broom handle or a similar long, blunt object through it to dislodge debris.
- Internal Airways: For internal blockages, you might need to disassemble parts of the vacuum. Again, refer to your manual. Compressed air can sometimes help clear smaller passages.
4. Clean Or Replace Filters
Dirty filters are a major cause of lost suction.
- Locate Filters: Most vacuums have at least one filter, often near the dustbin or motor. Some have multiple filters.
- Washable Filters: Many foam or pleated filters can be washed. Gently rinse them under cool water until the water runs clear. Let them air dry completely (this can take 24-48 hours) before putting them back. Never use a hairdryer, as heat can damage them.
- Non-Washable Filters: If your filter is not washable, you can often tap out loose dust and hair. For heavily clogged filters, replacement is usually necessary. Check your vacuum’s manual for filter type and replacement recommendations.
5. Wipe Down The Exterior And Attachments
Don’t forget the smaller parts.
- Attachments: Vacuum cleaner attachments, like crevice tools and upholstery brushes, can also collect hair. Detach them and clean them with a damp cloth or a brush.
- Exterior: Wipe down the vacuum’s body with a damp cloth to remove any dust and hair accumulation.
Maintaining Your Vacuum For Peak Performance
Consistent maintenance prevents major problems. Here are some tips to keep your vacuum working at its best, especially with pets.
Pro Tip:Regularly inspect your vacuum, especially the brush roll and filters, after each major cleaning session. This quick check can alert you to issues before they become serious blockages.
Frequency Of Cleaning
- After Every Use: Empty the dustbin or bag.
- Weekly: Check the brush roll for tangled hair and remove it. Wipe down the dustbin.
- Monthly: Thoroughly clean the brush roll, check hoses for blockages, and clean or wash filters according to the manufacturer’s instructions. Replace filters as recommended in your manual.
Choosing The Right Vacuum
If you have pets, the type of vacuum you use can make a big difference. Vacuums designed for pet hair often have features like:
- Strong Suction Power: Essential for lifting embedded hair.
- Tangle-Free Brush Rolls: Some newer models have brush rolls designed to minimize hair wrap.
- Multi-Stage Filtration: Helps capture pet dander and allergens.
- Specialized Pet Tools: Attachments designed to remove hair from upholstery and stairs.
Here’s a brief comparison of vacuum types that handle pet hair well:
| Vacuum Type | Pros for Pet Hair | Cons for Pet Hair |
|---|---|---|
| **Upright** | Good suction, often wider cleaning path. | Can be heavy, brush roll prone to tangles. |
| **Canister** | Maneuverable, often better for stairs, versatile. | Can be bulky to store, separate hose can clog. |
| **Stick/Cordless** | Lightweight, easy to store, good for quick cleanups. | Smaller dustbins, battery life may be limited. |
| **Robot** | Automated daily cleaning, good for maintenance. | May miss spots, can get tangled, smaller capacity. |
Dealing With Odors
Pet hair can trap odors. If your vacuum smells, it might be due to trapped hair, dander, or moisture.
- Clean Thoroughly: Ensure all parts, especially filters and the dustbin, are clean and dry.

