

Can a wet/dry vacuum pick up water? The short answer is yes, but only if you set it up the right way. Most people grab one, hear the motor spin, and assume it's ready.
Then they watch their dry paper filter turn into a soggy mess.
That's the exact problem we're going to help you avoid. In our research, manufacturer specifications indicate that most true wet/dry vacuums are fully capable of water pickup, with tank capacities ranging from 5 to 16 gallons and airflow ratings between 50 and 200 CFM. But the motor isn't what determines success.
As of 2026, the filter setup and safety checks are still the deciding factors.
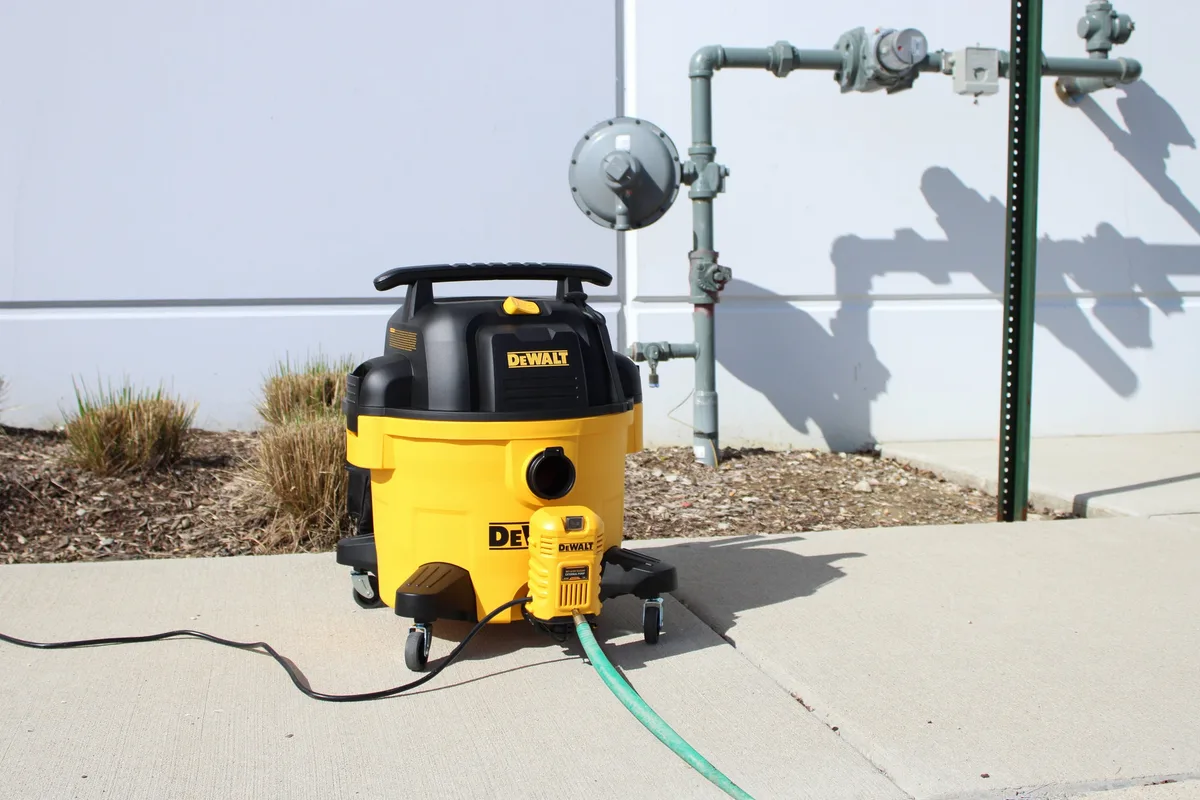
Image source: Web (Bing) / altonindustries.com (Web image (fair-use with source credit))
Quick Answer
Yes, a wet/dry vacuum can pick up water. It must be a true wet/dry model. You need a wet-rated foam filter installed.
Never use a dry paper filter. Watch the float valve so the tank doesn't overflow. Empty and dry everything afterward.
Why a Normal Vacuum Dies on Water (And a Wet/Dry Vac Doesn't)
A regular household vacuum is not built for liquids. The motor sits right in the airflow path, so any water that gets sucked up travels straight toward the electrical components. That's a recipe for a short circuit, a dead machine, or worse, an electrical shock.
Wet/dry vacuums solve that problem with a completely different design. The motor is sealed in a separate compartment. Air and water pull into the tank below, and the motor only sees clean air from the top.
That separation is what makes water pickup possible.
The second big difference is the filter. A standard vacuum uses a paper or cloth bag filter. Water soaks it, breaks it down, and turns it into pulp.
A wet/dry vacuum uses a foam sleeve or a mesh filter that water can pass through without damage. That's the key mechanical difference.
You should also know the limits. A wet/dry vacuum handles puddles, spills, and light flooding. It's not designed to pump out a swimming pool or handle standing water that's several inches deep across a whole basement.
That job belongs to a submersible utility pump.
The Decision Tree: 4 Questions That Decide Your Next Step
This isn't a one-size-fits-all answer. Whether you should vacuum up water comes down to a few specific conditions. Ask yourself these four questions in order, and you'll land on the right decision.
Is It a True Wet/Dry Vacuum?
Check the label and the tank. If the unit says "wet/dry," "wet and dry," or "shop vac" on it, you're good. That means the motor is sealed and the components are rated for liquid pickup.
If you're holding a standard canister vacuum or an upright household model, stop here. Don't use it on water. Use a mop, towels, or wait until you can get the right tool.
Using the wrong vacuum on water can permanently ruin the motor.
Is the Dry Paper Filter Still In?
It's present? Take it out. A dry paper filter, the pleated cartridge or bag, is the single most common cause of water pickup failures.
Water turns that paper to mush and sends debris into the motor compartment.
Set the dry filter aside somewhere clean. You'll need it later for regular dry vacuuming. For now, it's out of the equation.
Are You Near Electricity or Flammables?
Water and electricity don't mix. If there's standing water near an outlet, a power cord, an appliance, or a flooded basement wall, stop. Vacuuming could send current through you.
Per OSHA guidance, you should always use a GFCI outlet or a GFCI extension cord when working with water and electrical equipment. If you can't confirm the outlet is protected, don't risk it.
Also, never vacuum up flammable liquids like gasoline, solvents, or paint thinner. The motor can spark internally, and that's an ignition source. Stick to water only.
How Deep Is the Water?
A quarter-inch puddle: absolutely, vacuum it up with a wet/dry vacuum. That's the perfect tool.
Standing water two inches deep or more across a wide area: reconsider. A wet/dry vacuum can do it, but you'll be emptying the tank constantly. For serious flooding, a submersible pump with a garden hose is far more efficient.
Foam Filter vs. Paper Filter: The Swap That Saves Your Motor
This is the most important step in the entire process. It takes about 20 seconds and prevents a costly repair. If you remember nothing else, remember this one.
Your wet/dry vacuum typically ships with two filters. The paper cartridge filter is for dry debris. The foam sleeve or foam filter is for wet pickup.
They're not interchangeable for water. Paper absorbs water and breaks down, while foam lets water pass through and keeps the motor clean.
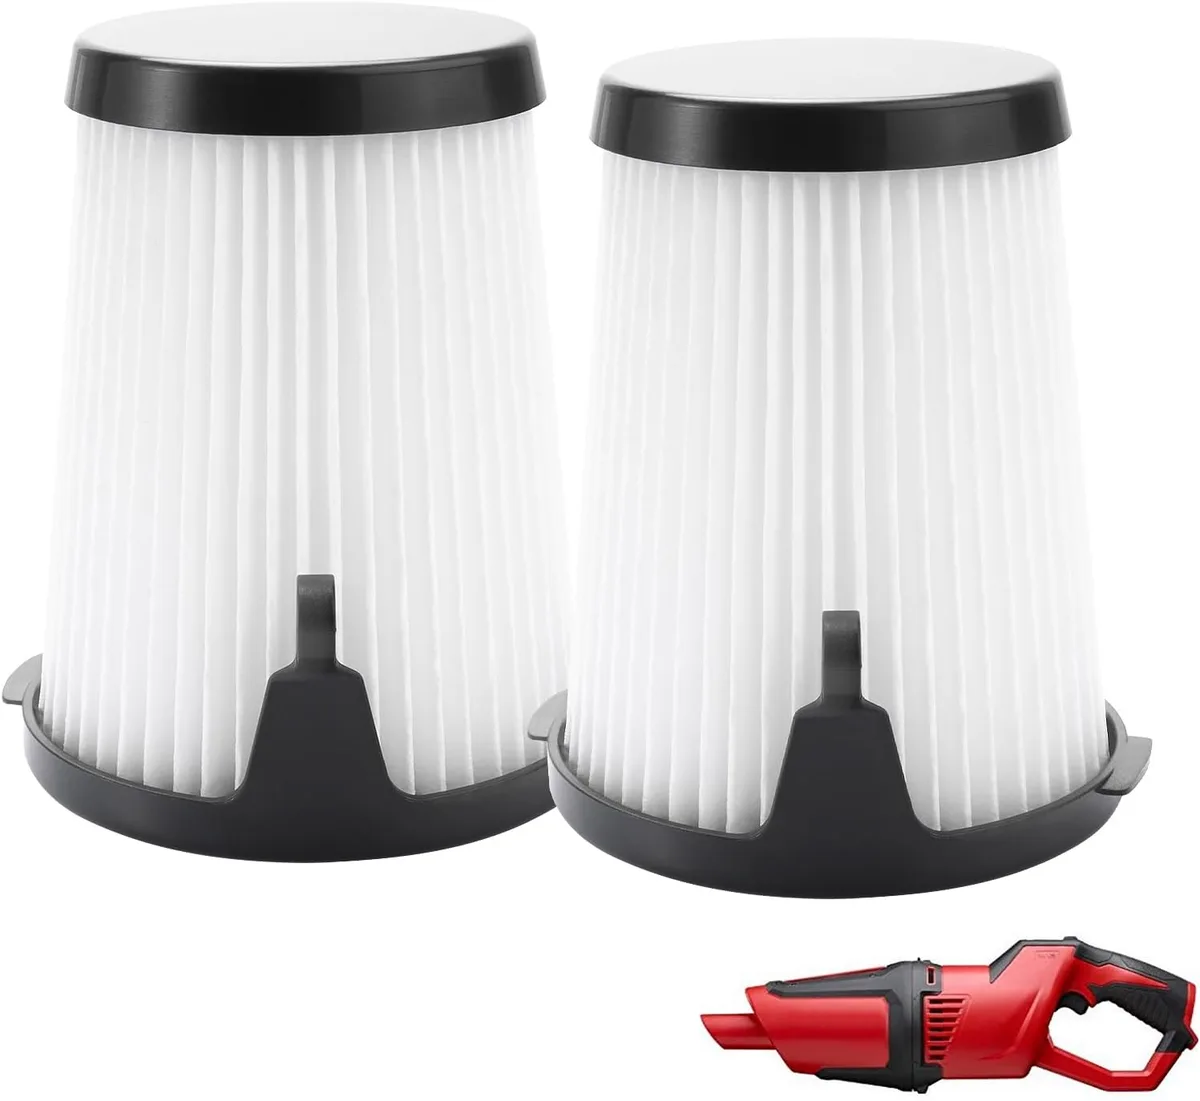
Image source: Bing (Web (fair-use with source credit))
Here's a quick look at how they compare:
| Feature | Dry Paper Filter | Foam Wet Filter |
|---|---|---|
| Best for | Dust, sawdust, dry dirt | Water, spills, wet debris |
| Water exposure | Ruins it quickly | Handles it fine |
| Airflow with water | Clogs instantly | Maintains suction |
| Cleaning | Tap or replace | Rinse and air-dry |
| Reusable | Usually not | Yes, many times |
The swap itself is straightforward. First, unplug the vacuum. Then remove the top housing or cage assembly where the filter sits.
Slide the paper filter off and set it aside. Slide the foam filter into place over the filter cage. Reattach the housing, and you're ready.
One thing to keep in mind: even with a foam filter, wet debris can collect on the filter and reduce suction over time. Stop mid-job, rinse the foam filter under running water, squeeze it out, and put it back. That takes a few seconds and restores full performance.
It's the same kind of routine upkeep that keeps any vacuum running well.
Step-by-Step: Picking Up Water Safely and Fast
Now that you've made the decision, here's the full workflow. Follow these steps in order, and you'll get the water out without damaging your equipment or putting yourself at risk.
Step 1: Unplug and prepare the area. Unplug the vacuum before you touch any filter or attachment. Check the water for any electrical hazards. If you see exposed cords or outlets submerged, call a professional instead of vacuuming yourself.
Step 2: Swap to the foam filter. Remove the dry paper filter and install the clean foam sleeve. Don't skip this step. It's the difference between a successful job and a dead motor.
Step 3: Attach the right nozzle. For water pickup, use a bare floor nozzle or a dedicated wet nozzle. Skip the carpet cleaning tool unless you're extracting water from upholstery. The bare nozzle transfers the water directly from the surface into the tank without a lot of drag.
Step 4: Plug into a GFCI outlet. Use a ground fault circuit interrupter outlet or a GFCI extension cord. If you're working near water in a basement or garage, this is non-negotiable. GFCI protection cuts the power instantly if it detects a current leak.
Step 5: Start from the edges. Approach the puddle from the edge and work inward. This prevents you from spreading water around and gives your vacuum a clear path. Move the nozzle slowly, letting the vacuum do the work.
Slow passes pick up more water than fast ones.
Step 6: Watch the tank level. Most models have a float valve that shuts off suction when the tank gets full. When you hear the motor pitch change or the suction stops, the tank is full. Don't keep pressing.
Unplug, drain the tank, and continue if needed.
Step 7: Empty via the drain port. If your model has a drain valve at the bottom, you can empty the tank without lifting it. Just set up a bucket, open the valve, and let the water flow out. If there's no drain valve, unclip the tank lid and pour it out carefully.
Step 8: Rinse and dry everything. After you finish, rinse the tank with clean water and wash the foam filter. Leave both to air-dry completely before reassembling the vacuum. Mold and mildew love to grow in a damp tank that's been left sealed.
If you hit a snag with suction mid-job, check the hose for clogs or kinks first. A blocked hose kills water pickup instantly. Also make sure the tank lid is seated properly, because a poor seal will cost you airflow.
Sometimes a minor issue like a collapsed hose is the culprit, and it's a quick fix once you troubleshoot suction issues.
Tank Limits and Float Valves: How Full Is Too Full?
Every wet/dry vacuum relies on a float valve to stop water from reaching the motor. That valve is a small ball or foam disk that rises as the water level climbs. When the tank hits capacity, the float seals off the intake port and cuts the airflow.
You'll notice it happening. The motor pitch changes, suction drops sharply, and sometimes you'll hear a slight hiss. That's your vacuum telling you it's full.
Stop there and empty the tank.
Here's the catch: you shouldn't wait for the float to trigger every time. Pushing the vacuum right to the cutoff point means you're running the motor under strain. It also risks a failed float jamming and sending water straight into the motor housing.
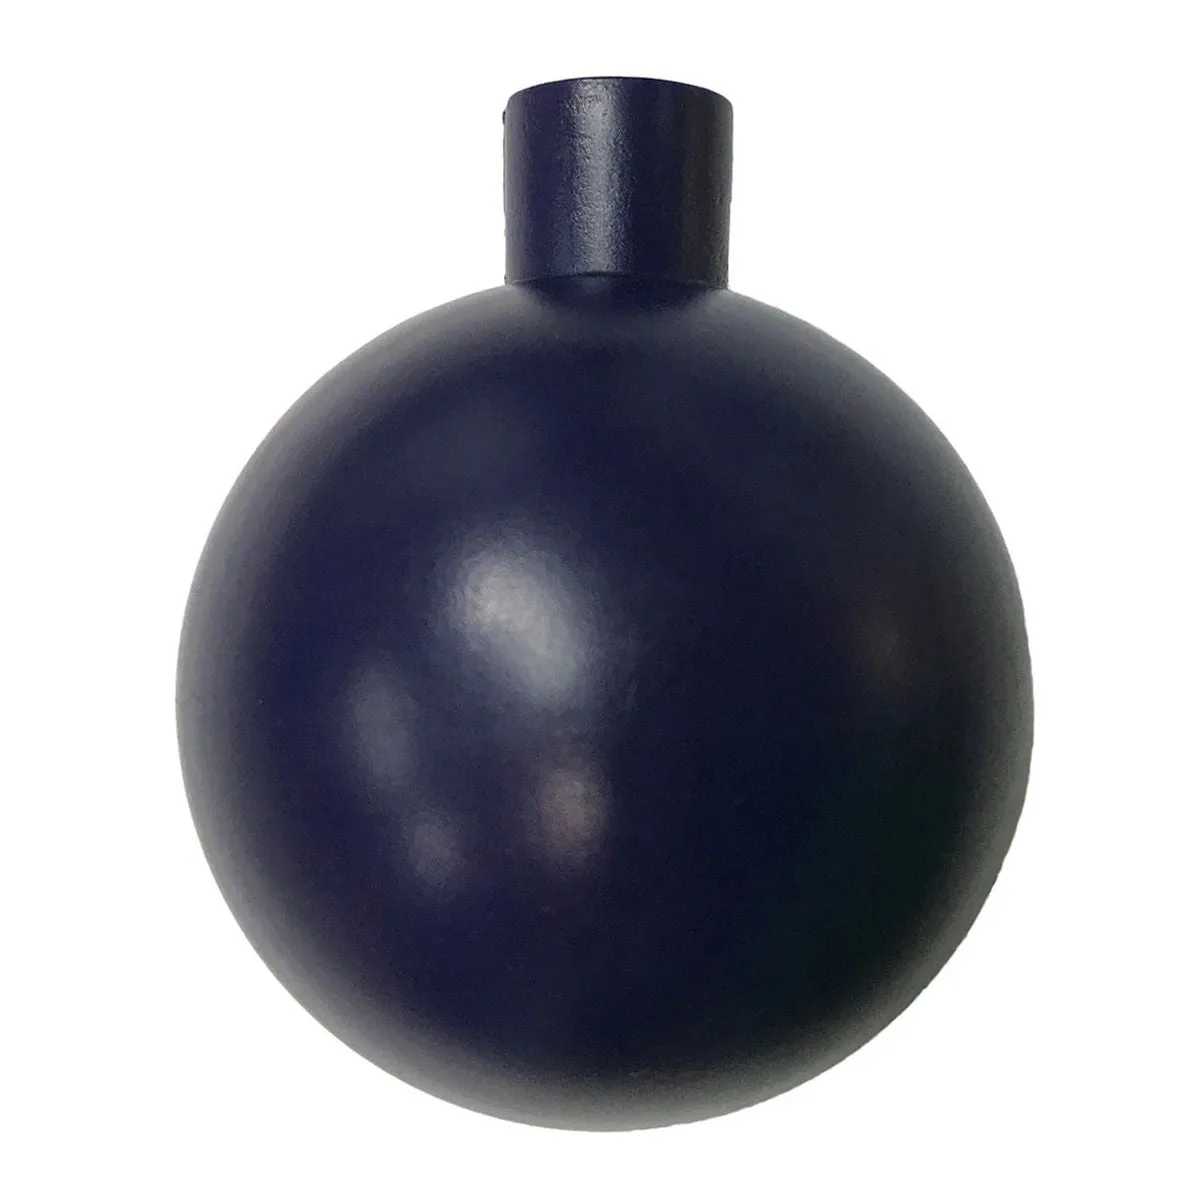
Image source: Bing (Web (fair-use with source credit))
A safer habit is to empty the tank when it's 80 to 90 percent full. Get a feel for how long that takes with your specific machine. If your tank holds 5 gallons, expect to empty it a few times during a serious cleanup.
A 16-gallon unit covers more ground before you need to stop.
If your vacuum has a drain port, you can empty this without lifting the tank. If it doesn't, unclip the lid and pour carefully. Just don't tilt it toward the motor housing.
Safety First: GFCI Outlets, Shocks, and Flammable Liquids
Water and electricity create one of the most dangerous combinations in any home. A wet/dry vacuum is designed to handle water, but that doesn't make it immune to electrical hazards. You need to take this seriously.
The rule is simple. Plug into a GFCI outlet or use a GFCI extension cord. Ground fault circuit interrupters detect current leaking to the ground and cut power in milliseconds.
That small device can be the difference between an inconvenience and a serious injury.
If you're vacuuming in a basement or garage, check for GFCI protection before you start. Many modern homes have it built into certain outlets, but older properties often don't. If you're unsure, use a portable GFCI adapter.
It's cheap insurance.
Never vacuum water that has been in contact with live electrical components. If a lamp or appliance fell into water and it's still plugged in, don't touch anything. Unplug the source first, then deal with the water.
Also, keep the vacuum away from flammables. Gasoline, paint thinner, alcohol, and solvents should never go into a wet/dry vacuum. The motor creates sparks internally, and those sparks can ignite vapors.
Leave that stuff to the pros.
6 Common Mistakes That Ruin Vacuums (and Floors)
Most wet/dry vacuum failures come down to user error, not the machine itself. Here are the six mistakes we see most often in our research, and how to avoid them.
1. Leaving the dry paper filter in. It's the most common mistake. Water turns the paper cartridge into a soggy mess that disintegrates and clogs the motor intake.
Always swap to the foam filter before water pickup.
2. Vacuuming drywall dust before water. Drywall dust mixed with water creates a paste that coats the tank and clogs every filter. If you have a messy job, dry-vacuum the dust first, then swap filters and tackle the water.
3. Waiting too long to empty the tank. A full float valve shuts down suction, but some users try to push through with the vacuum sputtering. That strains the motor and invites water into the pump.
Empty the tank early and often.
4. Using the wrong extension cord. Regular indoor extension cords aren't rated for wet environments. Even with a GFCI, an undersized cord can overheat.
Use a cord rated for outdoor or wet use with the proper gauge.
5. Vacuuming hot ash or embers. It seems obvious, but it happens. Hot debris can melt the hose, ignite the filter, or start a fire inside the tank.
Let ash cool completely before vacuuming.
6. Storing the vacuum damp. A sealed tank with leftover moisture is a breeding ground for mold and mildew. The next time you use it, you'll be blowing spores across your garage.
Always dry the tank and filter before reassembly.
A kinked or collapsed hose can cause similar trouble with suction loss. If the airflow seems weak, check the whole length of the hose for bends. It's a quick fix that saves you from assuming the motor is dead.
Not the Right Tool? When to Grab a Pump or Carpet Extractor Instead
A wet/dry vacuum is a fantastic tool, but it has limits. For certain situations, another tool will do the job faster and safer. Here's how to decide.
| Situation | Best Tool | Why |
|---|---|---|
| Small spill, puddle, or leak | Wet/dry vacuum | Fast, easy, no setup |
| Standing water 2+ inches deep, large area | Submersible pump | Moves hundreds of gallons per hour |
| Soaked carpet or upholstery | Carpet extractor | Pushes water out while vacuuming it up |
| Tiny spill on a hard floor | Mop or towels | Quicker than hauling out the vacuum |
A submersible pump is the right call for genuinely flooded basements. It can push water through a garden hose and out of the house, while a wet/dry vacuum would require emptying the tank every few minutes. That's an exhausting and inefficient job.
A carpet extractor, sometimes called a carpet cleaner, is different from a wet/dry vacuum. It combines spraying hot water with simultaneous suction, which deep-cleans fibers rather than just removing surface water. If your carpet got soaked, an extractor does a much better job.
That's not to say a wet/dry vacuum has no place in serious cleanup. It's perfect for the last inch of water and the muck that's left behind. Run the pump first, then finish the job with the vacuum.
It's about knowing when to switch tools.
For small spills, keep in mind that water clarity doesn't matter to a wet/dry vacuum. It just moves liquid from one place to another. If you need to actually filter or treat water, that's a separate process entirely.
Post-Cleanup Care: Rinse, Dry, and Prevent Mold
What you do after picking up water matters just as much as the pickup itself. Skip this and your vacuum will smell like a swamp the next time you open it. Mold grows fast in a dark, damp tank.
Start by emptying any remaining water from the tank. If it has a drain port, open it and let everything flow out into a bucket. Then rinse the tank with fresh water and pour that out too.
Wash the foam filter under running water. Squeeze it gently to push debris out, but don't wring it violently. You can use a little dish soap to cut through grime.
Rinse until the water runs clear.
Let everything air-dry completely before reassembling. That means the tank, the filter, and the hose. Leave the lid open and the parts separated for a few hours, or overnight if you can.
This drying step is what actually prevents mold from taking hold.
If the vacuum has already developed a musty smell, wash the tank with a solution of one part white vinegar to three parts water. Rinse it well and let it dry in the sun if possible. That usually knocks out the odor.
Regular upkeep like this keeps the machine running reliably, just as it does with any motorized equipment in your home.
Once everything's dry, reinstall the paper filter for dry use. You don't want to leave the foam filter in place and then vacuum dust, because foam lets fine particles through. A quick filter swap at the end of each job keeps both filters in good shape.
Real Scenarios: Basement Seepage, Aquarium Spills, and Soaked Car Seats
Basement seepage: A wet/dry vacuum clears low-water flooding fast. Use a GFCI outlet and empty the tank early. For hose handling, keeping a clean path matters as much as tank capacity.
Aquarium spills: Water changes are easy with a foam filter. Rinse it right after, just like filter upkeep for fine debris.
Soaked car seats: Use a crevice tool and slow passes. If suction weakens, check the hose for kinks. Troubleshoot pool vacuum suction the same way.
Wet/Dry Vacuum Water Pickup FAQs
Can I vacuum water and dry debris together?
No. Swap the foam filter in for water, then swap the paper filter back for dry messes. Mixing them ruins the filter and suction.
How much water can a wet/dry vacuum hold?
Until the float valve trips, usually 80 to 90 percent of the tank. A 5-gallon unit holds about 4 gallons before it needs emptying.
What if water reaches the motor?
That means the float failed or filters were missing. Unplug immediately, dry the motor area, and wait 48 hours.
The 30-Second Decision Guide
- Confirm it's a true wet/dry vacuum.
- Swap in the foam filter, remove the paper cartridge.
- Plug into a GFCI outlet and check tank level.
- Vacuum slowly, empty before the float trips, then rinse and dry. Same pool vacuum upkeep keeps it reliable.

