

Regular cleaning, timely filter changes, and careful brush care keep a robot vacuum reliable and efficient.
Today's Exclusive Deals
Limited-time Exclusive Deals. Check current discount on Amazon.
Check Price on Amazon As an Amazon Associate I earn from qualifying purchases.After testing and maintaining robot vacuums in homes with pets, dust, and daily messes, I have learned that small care tasks prevent most common problems. This guide explains how to maintain a robot vacuum, protect its battery, improve cleaning results, and help it work well for years.
Why regular robot vacuum maintenance matters
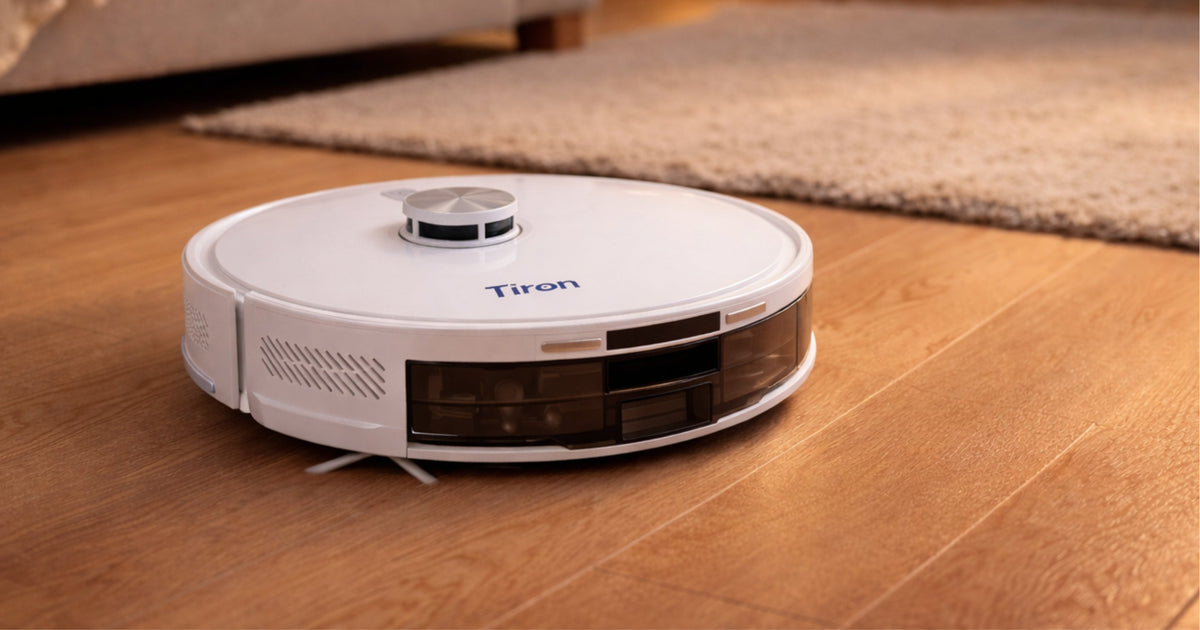
A robot vacuum works hard in a small package. Its brushes collect hair, its filter traps fine dust, and its sensors guide the machine around furniture. Without regular care, each part can lose power or become blocked.
Today's Exclusive Deals
Limited-time Exclusive Deals. Check current discount on Amazon.
Check Price on Amazon As an Amazon Associate I earn from qualifying purchases.Learning how to maintain a robot vacuum can help you:
• Keep suction strong
• Reduce noise and vibration
• Prevent brush and wheel damage
Today's Exclusive Deals
Limited-time Exclusive Deals. Check current discount on Amazon.
Check Price on Amazon As an Amazon Associate I earn from qualifying purchases.• Improve navigation
• Extend battery life
• Reduce repair costs
• Keep floors cleaner
A dirty filter can limit airflow. A tangled brush can increase motor strain. Dust on the sensors can also make the vacuum miss rooms or bump into objects. Think of maintenance as a quick health check for your cleaning device.
Most robot vacuums need basic care each week. Homes with pets, children, rugs, or heavy dust may need more frequent cleaning. Always check your model’s manual before washing parts or replacing components.
How often should you maintain a robot vacuum?
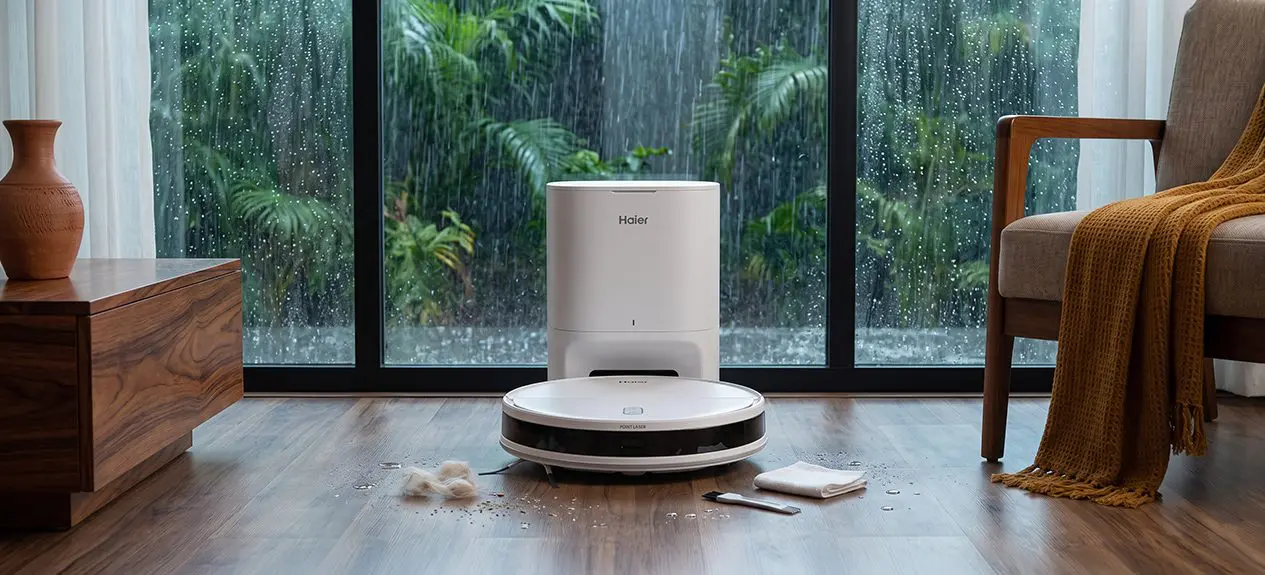
The right schedule depends on your home and how often the vacuum runs. A robot that cleans every day in a home with two dogs needs more care than one used once a week in a small apartment.
Use this simple schedule as a starting point:
• After each run: Empty the dustbin if it is full, and remove visible hair from the brush.
• Once a week: Clean the main brush, side brush, wheels, sensors, and charging contacts.
• Every two weeks: Check and clean the filter, based on the manufacturer’s instructions.
• Every one to three months: Replace the filter if it looks worn, smells bad, or stays clogged.
• Every three to six months: Inspect the battery, dock, wheels, and brush parts.
• Once a year: Review the app, install firmware updates, and replace worn parts.
The best way to maintain a robot vacuum is to link care with a habit you already have. For example, clean the brush every Sunday while you prepare for the week. This takes only a few minutes and prevents larger problems.
My practical lesson is simple: do not wait for a warning message. By the time a robot vacuum says its brush is blocked, hair may already be packed deep inside the brush housing.
Step-by-step guide: How to maintain a robot vacuum
1. Turn off the vacuum before cleaning
Remove the robot from its charging dock before you begin. Turn it off if the model has a power button.
This step lowers the risk of accidental movement. It also protects your fingers when you clean the brush, wheels, or side brushes. Never place wet parts back into the robot while it is connected to power.
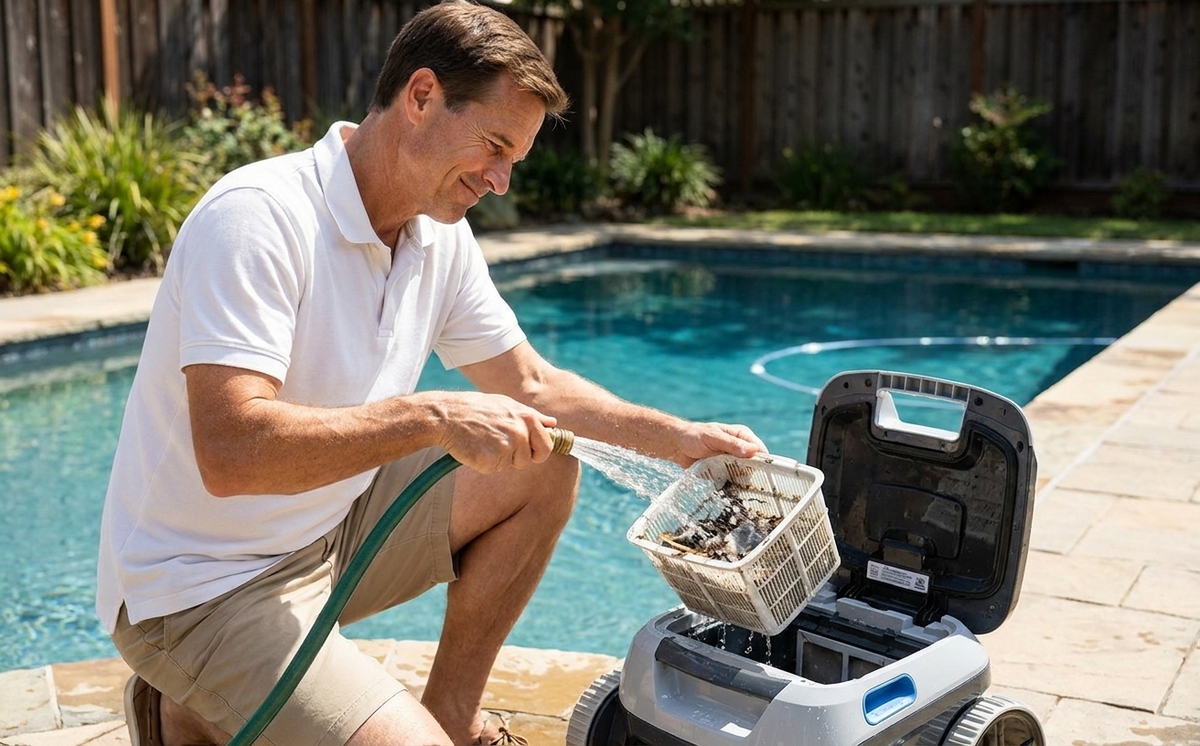
2. Empty and clean the dustbin
Open the dustbin over a trash can. Tap out loose dust, then check the corners for compacted debris.
If the dustbin is washable, rinse it with cool or lukewarm water. Do not wash it unless the manual says it is safe. Many bins contain sensors, filters, or electronic parts that must stay dry.
Let a washed dustbin dry completely before reinstalling it. Even a small amount of moisture can damage internal parts or cause dust to stick inside.
3. Clean or replace the filter
Remove the filter and gently tap it over a trash can. This removes loose dust without pushing particles deeper into the material.
Some filters are washable. Others are made from paper or fine folded material and must stay dry. If the manual does not clearly approve washing, do not rinse the filter.
Replace the filter when it becomes misshapen, torn, gray with embedded dust, or difficult to clean. A blocked filter reduces airflow and may cause the motor to work harder.
4. Remove hair from the main brush
Turn the robot upside down on a soft towel. Release the brush cover and lift out the main brush.
Pull away hair, thread, string, and fibers. Use the cleaning tool supplied with the vacuum, or carefully use small scissors to cut wrapped hair. Keep the scissors away from the brush bristles and rubber fins.
Check the brush ends, too. Hair often wraps around the caps and creates hidden resistance. This was one of the most common mistakes I saw during testing. The brush looked clean at first, but packed hair under the end cap caused a loud clicking sound.
5. Clean the side brushes
Remove the side brushes if your model allows it. Wipe the arms and check for bent or cracked bristles.
Long hair can wrap around the center screw. Remove it gently and tighten the brush again without forcing it. Replace a side brush when its bristles stay bent or no longer reach the floor.
Bent side brushes can reduce edge cleaning. They may also flick dust away from the robot instead of guiding it toward the suction path.
6. Inspect the wheels
Spin the main wheels by hand. They should move smoothly and return to their normal position when pressed.
Remove hair and debris from the wheel wells. Do not pour water into the wheel area. Use a dry cloth, cotton swab, or soft brush instead.
The front caster wheel often collects hair and grit. Remove it only if the manual allows this. A blocked caster can make the robot move in circles or leave uneven cleaning paths.
7. Wipe the sensors
Robot vacuums use sensors to detect walls, stairs, objects, and the charging dock. Dust on these sensors can affect navigation.
Use a clean, dry microfiber cloth. Wipe the underside cliff sensors, front sensors, wall sensors, and camera lens if your model has one.
Avoid sprays and household cleaners. Liquid can leave a film or enter the sensor opening. Clean sensors are a key part of learning how to maintain a robot vacuum correctly.
8. Clean the charging contacts
Wipe the metal contacts on the robot and the dock with a dry cloth. Dust or oxidation can stop the robot from charging.
Make sure the dock sits on a flat surface with clear space around it. Keep cords away from the robot’s path. If the robot repeatedly fails to dock, clean the contacts before assuming the battery is faulty.
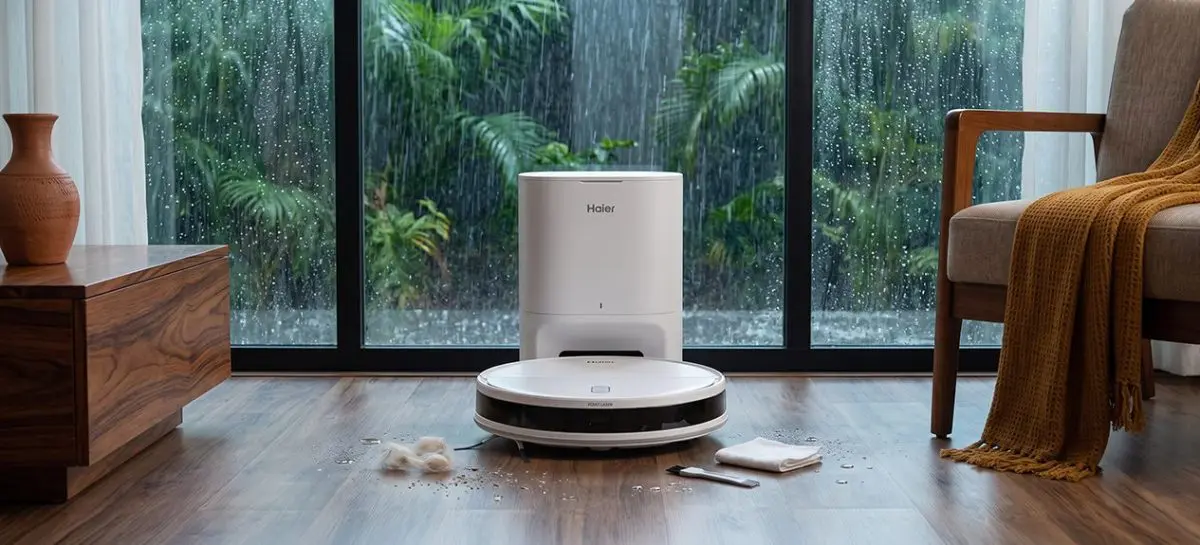
How to maintain a robot vacuum in a home with pets
Pet hair creates extra work for almost every robot vacuum. It can wrap around the brush, fill the dustbin, and block the filter in a short time.
If you have pets, use these habits:
• Empty the dustbin after each cleaning cycle.
• Check the main brush every two or three runs.
• Clean the filter more often than the manual’s minimum schedule.
• Remove fur from the wheel wells.
• Keep pet toys, food bowls, and water away from the cleaning path.
• Watch for litter, wet food, or other damp debris that could damage the machine.
A robot vacuum is not a replacement for cleaning up wet spills. Moist debris can stick inside the dustbin and filter. It can also create odors and damage electrical parts.
For homes with shedding pets, a spare filter and extra main brush are useful. You can keep cleaning while one part dries or waits for replacement. This small backup can make robot vacuum maintenance much easier.
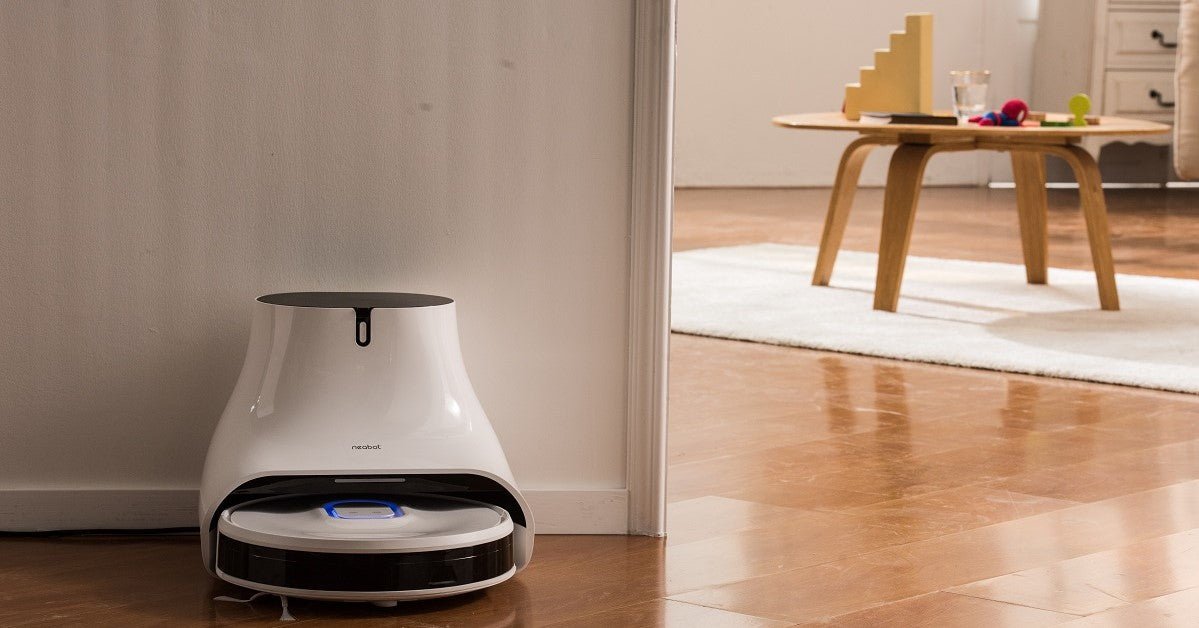
How to maintain a robot vacuum and protect the battery
Most robot vacuums use lithium-ion batteries. These batteries work best when they stay within normal temperature ranges and use the correct charger.
Follow these battery care tips:
• Keep the charging dock indoors and away from heat.
• Use the original dock and power adapter.
• Do not cover the robot while it charges.
• Keep the dock away from direct sunlight and heaters.
• Store the robot according to the manual if you will not use it for a long time.
• Install official firmware updates when available.
Many modern robot vacuums are designed to remain on the dock between cleaning cycles. Do not unplug the dock after every run unless the manufacturer recommends it. The robot may need the dock to recharge, update, or follow its battery management system.
Battery capacity naturally decreases over time. If the robot runs for a much shorter period after proper cleaning and charging, the battery may be worn. Use an approved replacement instead of a low-cost battery with unknown safety standards.

Cleaning the robot vacuum dock
The dock is part of the cleaning system. A dusty dock can reduce charging performance or block the robot’s return path.
Unplug the dock before cleaning it. Wipe the base, charging contacts, infrared window, and cable with a dry cloth.
If your model has an automatic dirt disposal station, check the bag or collection chamber. Replace the bag when full. Inspect the intake path for clogs, especially if the station sounds louder than usual.
Leave open space around the dock. Exact clearance varies by model, but the robot usually needs a clear approach in front and on both sides. Follow the placement instructions in the manual.
Do not move the dock often. A new location can confuse the map and make the robot search for its base.
Robot vacuum maintenance mistakes to avoid
Knowing what not to do is just as important as knowing how to maintain a robot vacuum.
Avoid these common errors:
• Washing electronic parts or non-washable filters.
• Reinstalling a filter before it is fully dry.
• Using household spray on sensors.
• Cutting rubber brush fins while removing hair.
• Pulling hard on wires or charging contacts.
• Running the robot over water, wet food, or spilled drinks.
• Using unapproved batteries or chargers.
• Ignoring repeated error messages.
• Blocking the dock with furniture or loose cables.
• Letting hair build up around the wheel axles.
One mistake I learned to avoid is using compressed air inside the robot. It may push dust farther into motors, sensors, or seals. A soft brush and a dry cloth are safer for most routine cleaning.
Also, do not assume every robot vacuum has the same parts. Some filters can be washed. Some brushes have removable end caps. Some dustbins include electronic sensors. The manual is the final guide for your exact model.

How to troubleshoot common robot vacuum problems
The robot has weak suction
Check the dustbin, filter, and air path first. Remove packed debris and replace a damaged filter.
If suction remains weak, inspect the brush for hair and check whether the motor makes an unusual sound. A persistent problem may need professional service.
The robot leaves dirt behind
A full dustbin, blocked brush, worn filter, or dirty floor sensor may cause poor results. Clean each part and run the robot on a clear floor.
Also check the cleaning mode in the app. Quiet or eco modes may use less suction and may not remove heavy debris as well.
The robot moves in circles
Clean the wheels and underside sensors. Look for hair trapped around the drive wheels.
If the problem continues, one wheel motor or sensor may need repair. Avoid taking apart the robot unless the manufacturer supports user repairs.
The robot cannot find the dock
Clear objects around the dock and wipe the dock sensors. Make sure the dock is plugged in and placed in its saved location.
If you recently moved furniture or the dock, the map may need to be updated. Some models work better after a new mapping run.
The robot smells bad
Empty the dustbin and wash it only if approved. Replace a dirty filter and remove damp debris from the brush area.
Odors that remain after cleaning may point to trapped moisture, mold, or debris inside the air path. Stop using the machine if you notice a burning smell.
How to maintain a robot vacuum through software and maps
Physical care is only one part of robot vacuum maintenance. The app and software also affect performance.
Check the app from time to time for:
• Firmware updates
• Battery health information
• Brush and filter warnings
• Map changes
• Cleaning schedules
• No-go zones
• Room names and cleaning preferences
Keep the map accurate by removing objects that do not belong in the cleaning area. If the robot often gets stuck under a chair, add a no-go zone or move the chair.
Software updates can improve navigation and fix known bugs, but they can also change settings. After an update, check the cleaning schedule and room map. This simple check prevents missed cleanings.
Privacy settings also deserve attention. Camera-equipped models may collect room images or navigation data. Review the app’s privacy controls and choose settings that match your comfort level.
When to replace robot vacuum parts
Replacement parts are normal wear items. They are not a sign that the robot has failed.
Replace parts when you notice:
• A filter that stays clogged or has tears
• A brush with worn bristles or damaged fins
• Side brushes that remain bent
• Wheels that slip or wobble
• A cracked dustbin
• Charging contacts that no longer connect well
• A battery with sharply reduced runtime
Use parts made for your model. A brush that looks similar may not fit correctly or may affect the motor. Check the model number on the robot, dock, or app before ordering.
A good maintenance routine can extend the useful life of parts, but it cannot stop normal wear. Replacing a low-cost brush is often better than letting a damaged part strain the motor.
Frequently asked questions about how to maintain a robot vacuum
How often should I clean my robot vacuum?
Empty the dustbin after each run if it fills quickly, and clean the brush and sensors about once a week. Homes with pets or heavy dust may need maintenance every few days.
Can I wash a robot vacuum filter?
Only wash the filter if the manufacturer says it is washable. Let it dry fully before reinstalling it, because moisture can damage the vacuum or cause dust to stick inside.
Should a robot vacuum stay on the charging dock?
Most models are designed to stay on the dock when not cleaning. Use the manufacturer’s guidance, and keep the dock in a cool, dry place with clear space around it.
How do I stop hair from clogging a robot vacuum?
Remove hair from the main brush, side brushes, and wheels on a regular schedule. Pet owners may need to check these parts after every few cleaning cycles.
Why is my robot vacuum making a loud noise?
A tangled brush, blocked wheel, full dustbin, or dirty filter often causes extra noise. Turn off the robot, inspect these parts, and seek service if the sound continues.
How long does a robot vacuum battery last?
Battery life varies by model, use, temperature, and charging habits. Many batteries lose capacity after years of regular use, but the exact replacement time depends on the vacuum and its care.
Conclusion
Learning how to maintain a robot vacuum is mostly about small, regular tasks. Empty the dustbin, clean the filter, remove hair from the brushes and wheels, wipe the sensors, and keep the charging dock clear.
Use the correct parts, protect the battery, and follow the manual for washable components. Start with a five-minute weekly routine today, then adjust it for pets, dust, and daily use. Your robot vacuum will clean more reliably, and you may avoid costly repairs. Share your best maintenance tip or explore more robot vacuum care guides for model-specific advice.


1 Comment
Pingback: Kenmore Pet Friendly Lightweight Vacuum Cleaner Review: Best Pick - Vacuum Cleaner Tips